
Guide On How To Enable Popup Authentication Dialog In Printer Driver Settings
This function enables an authentication popup dialog to appear when printing, prompting users to enter their username and password before the print job is sent to the printer.
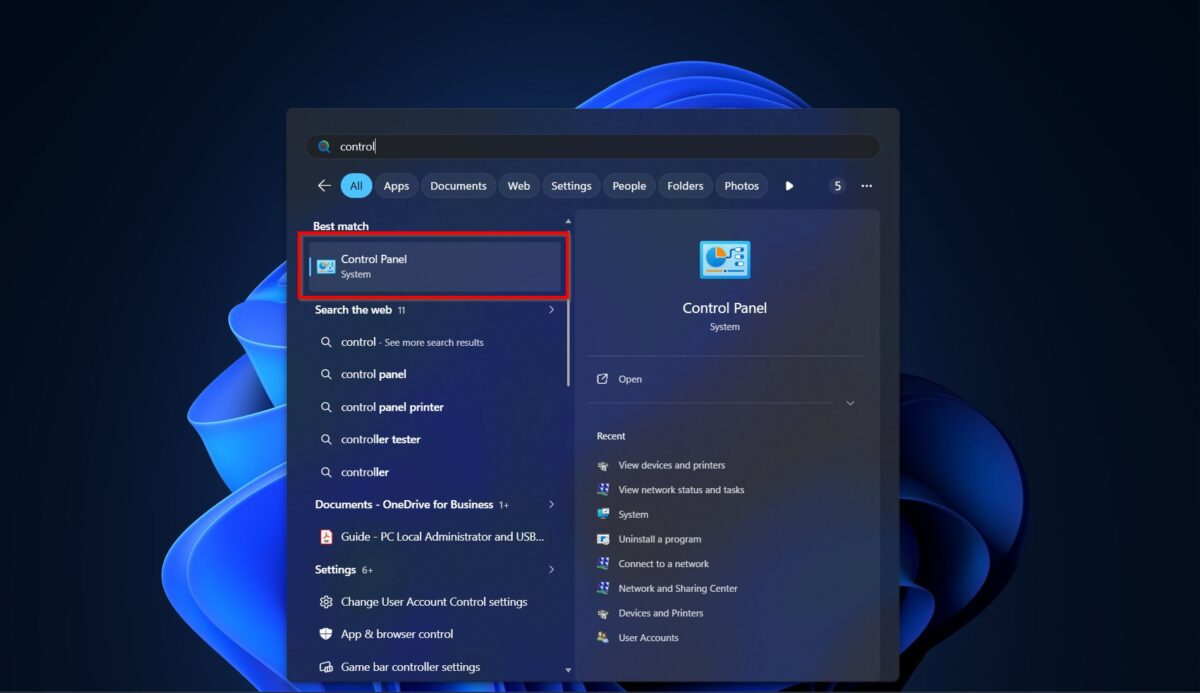
STEP 1 – Search for [Control Panel].
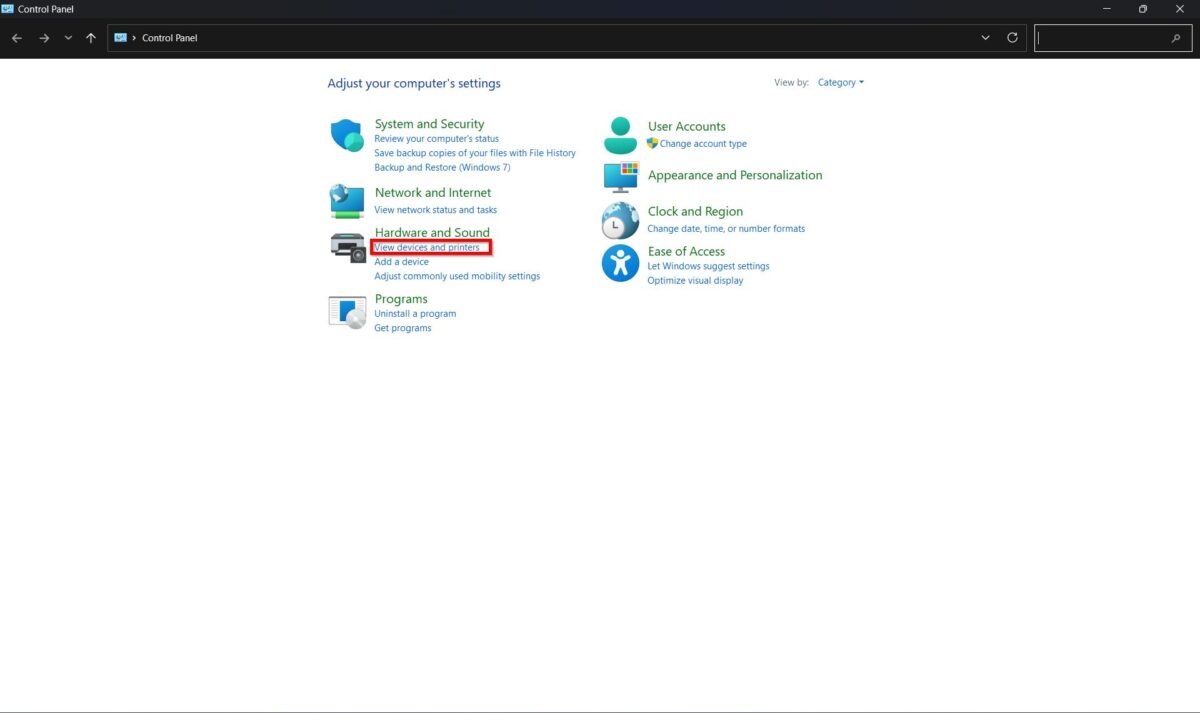
STEP 2 – Select [View Devices And Printers].
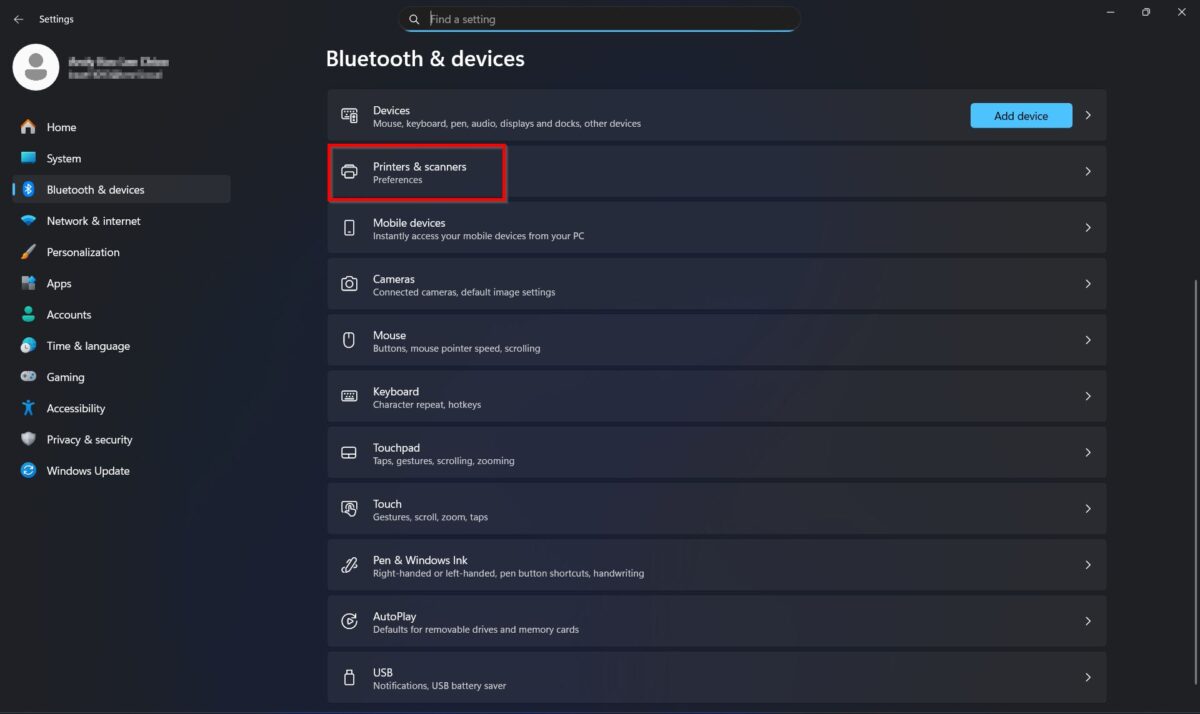
STEP 3 – Select [Printers & Scanners].
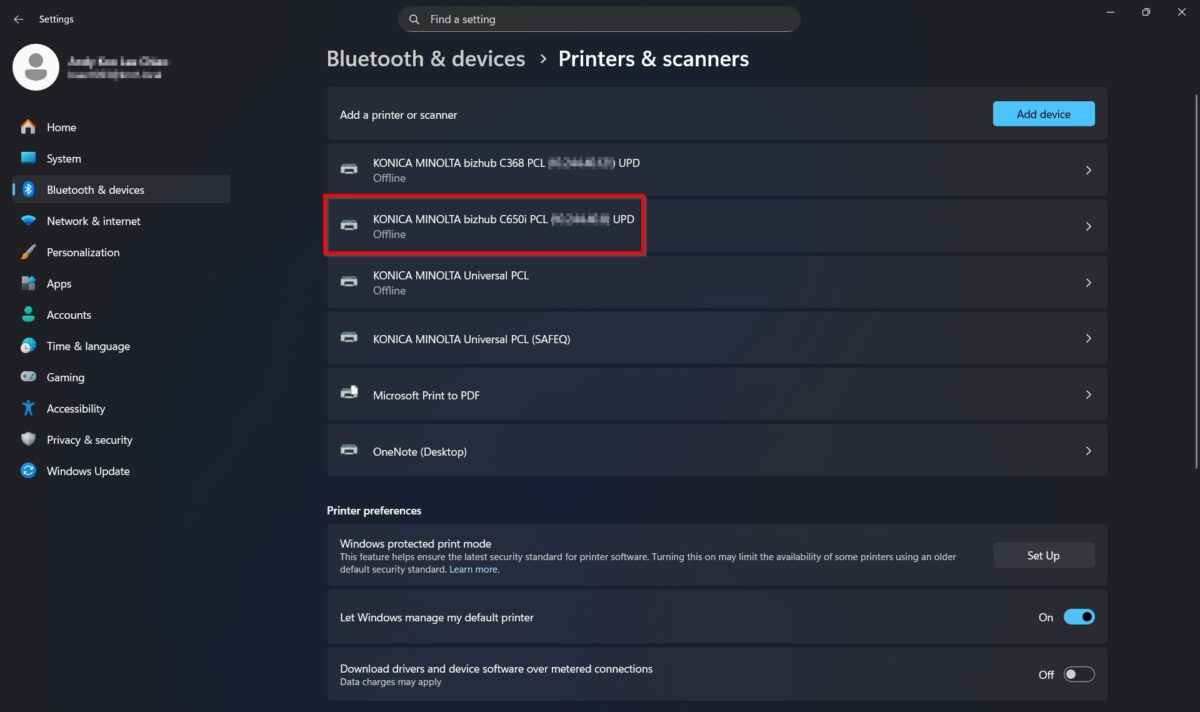
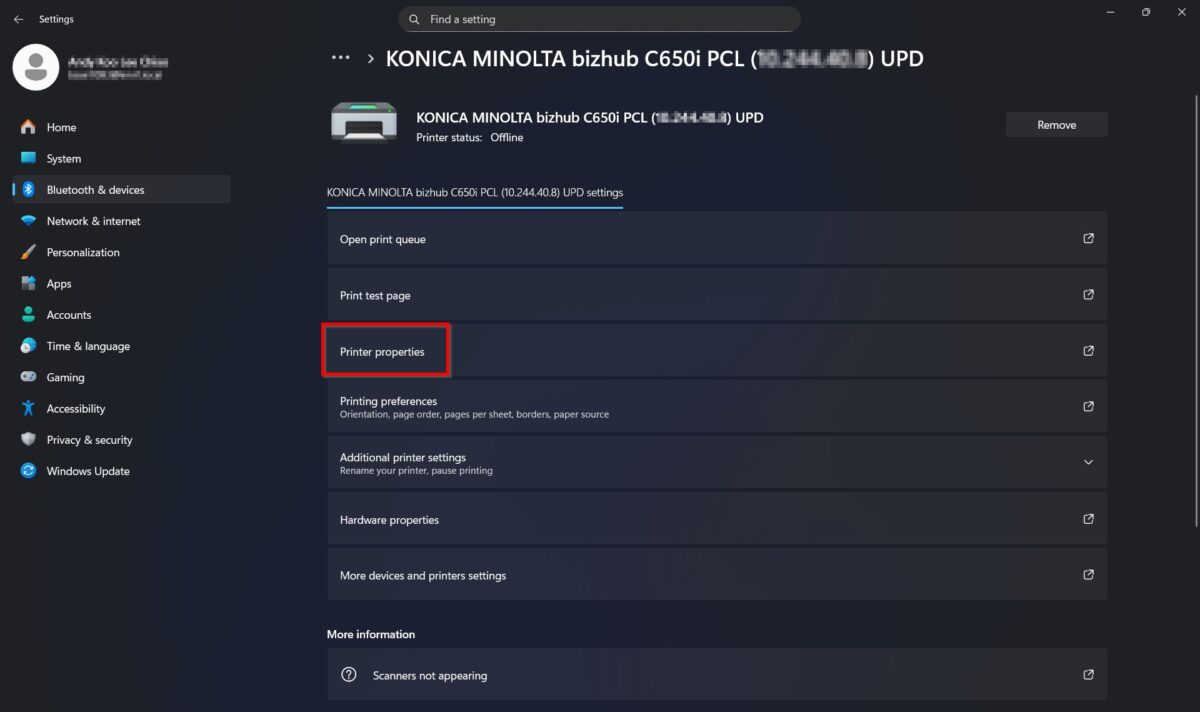
STEP 4 – Select the [Printer] and click on the [Printer Properties].
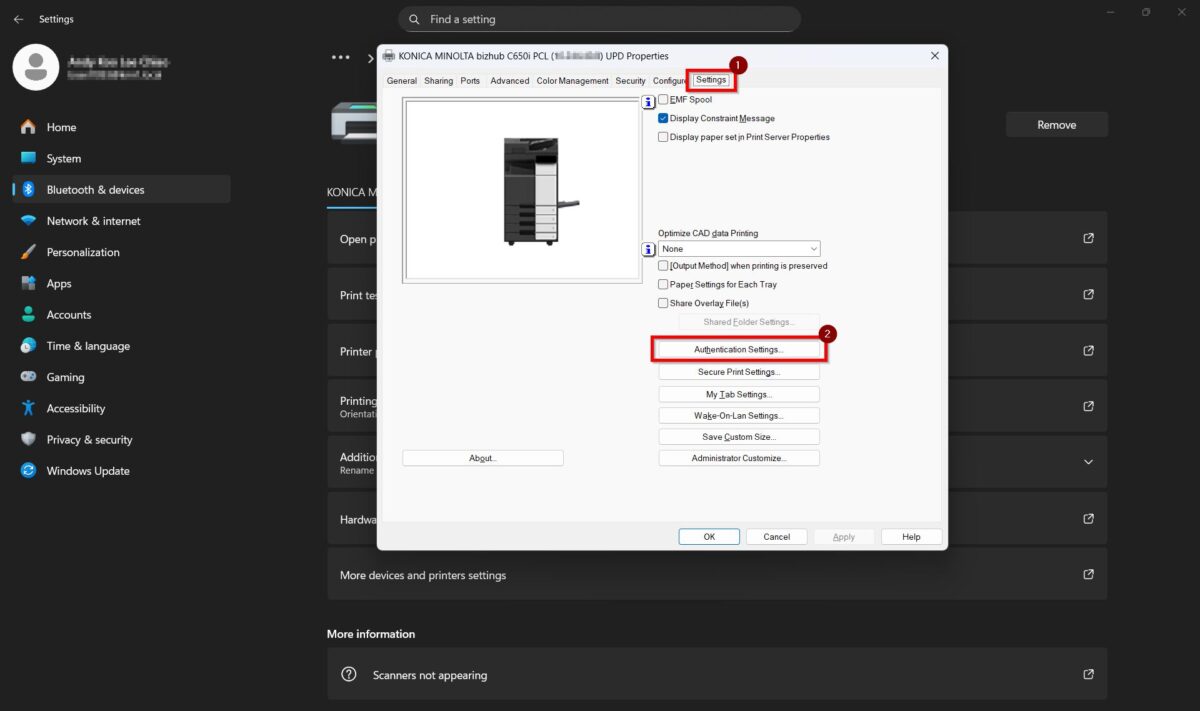
STEP 5 – Select [Settings] then click on the [Authentication Settings].
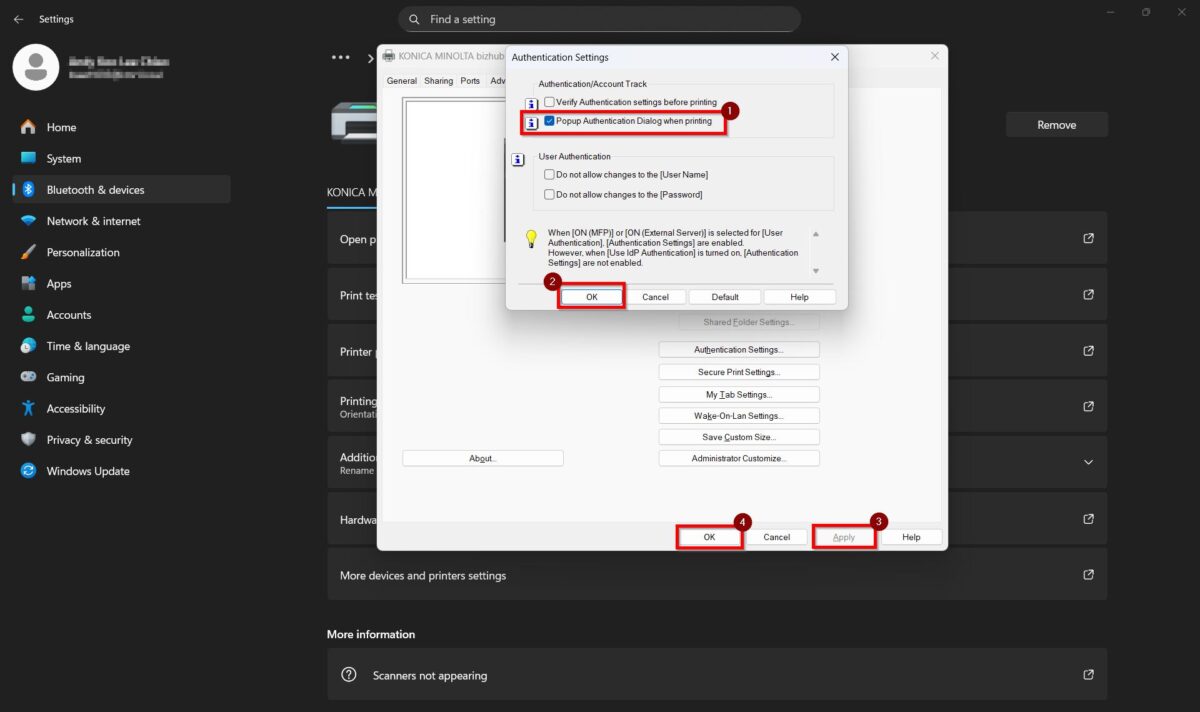
STEP 6 – Tick [Popup Authentication Dialog when Printing], then click [OK]. Click [Apply] and [OK] to save the settings.
After completing the steps above, the authentication popup dialog will be displayed when printing. Enter your [Username and Password], then click [OK] to proceed with printing.
