Guide on check the Fax Number on the Printer
This guide explains how to check the fax number configured on a i-Series printer. This procedure is applicable only to i-Series models and does not apply to older or non-i-Series machines.
For Newer Machine series / I-Series Machine (Accessible via Screen Panel & Web Connection)
Video Tutorial
The video tutorial below provides detailed instructions and a complete demonstration of the configuration steps.
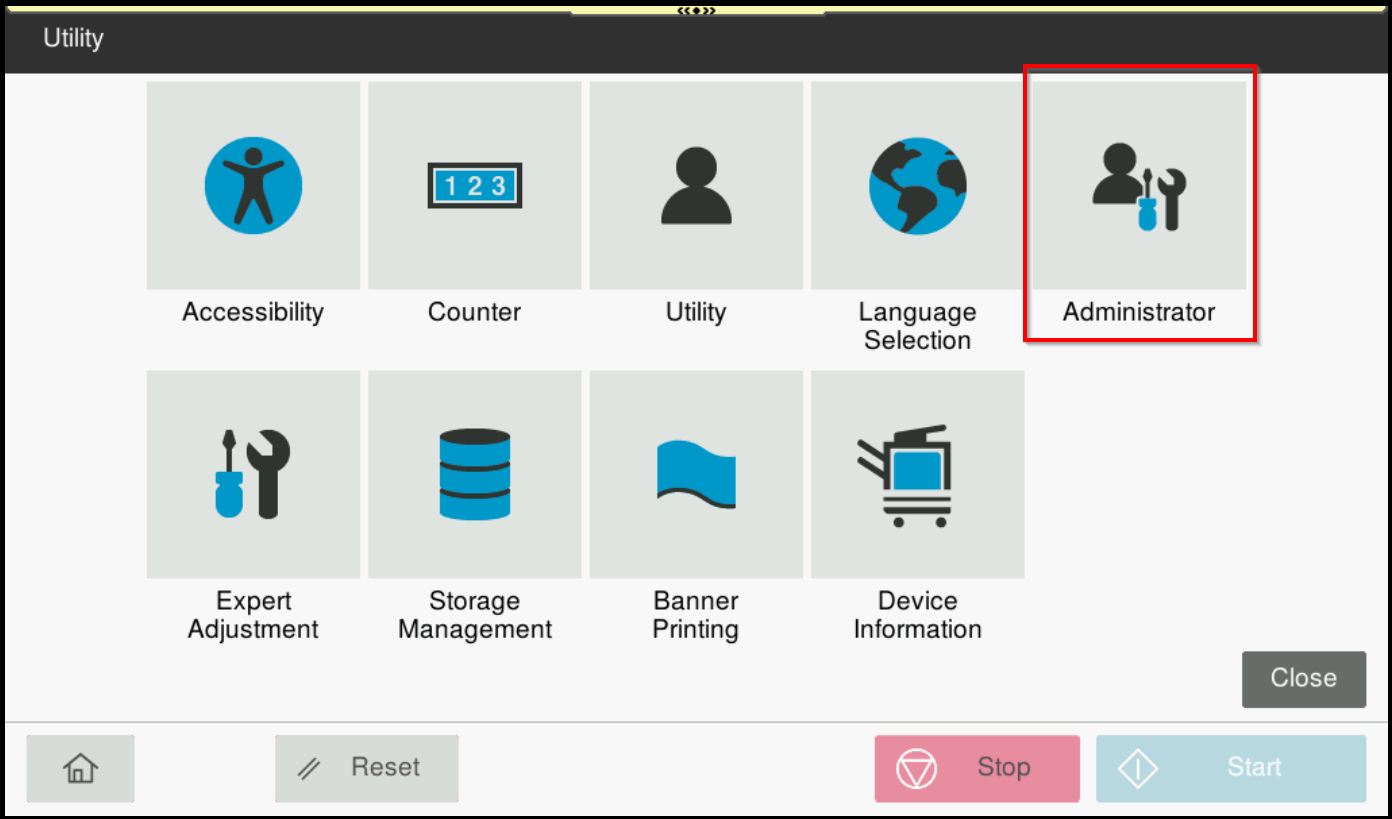
STEP 1 – Select [Home] – [Utility].
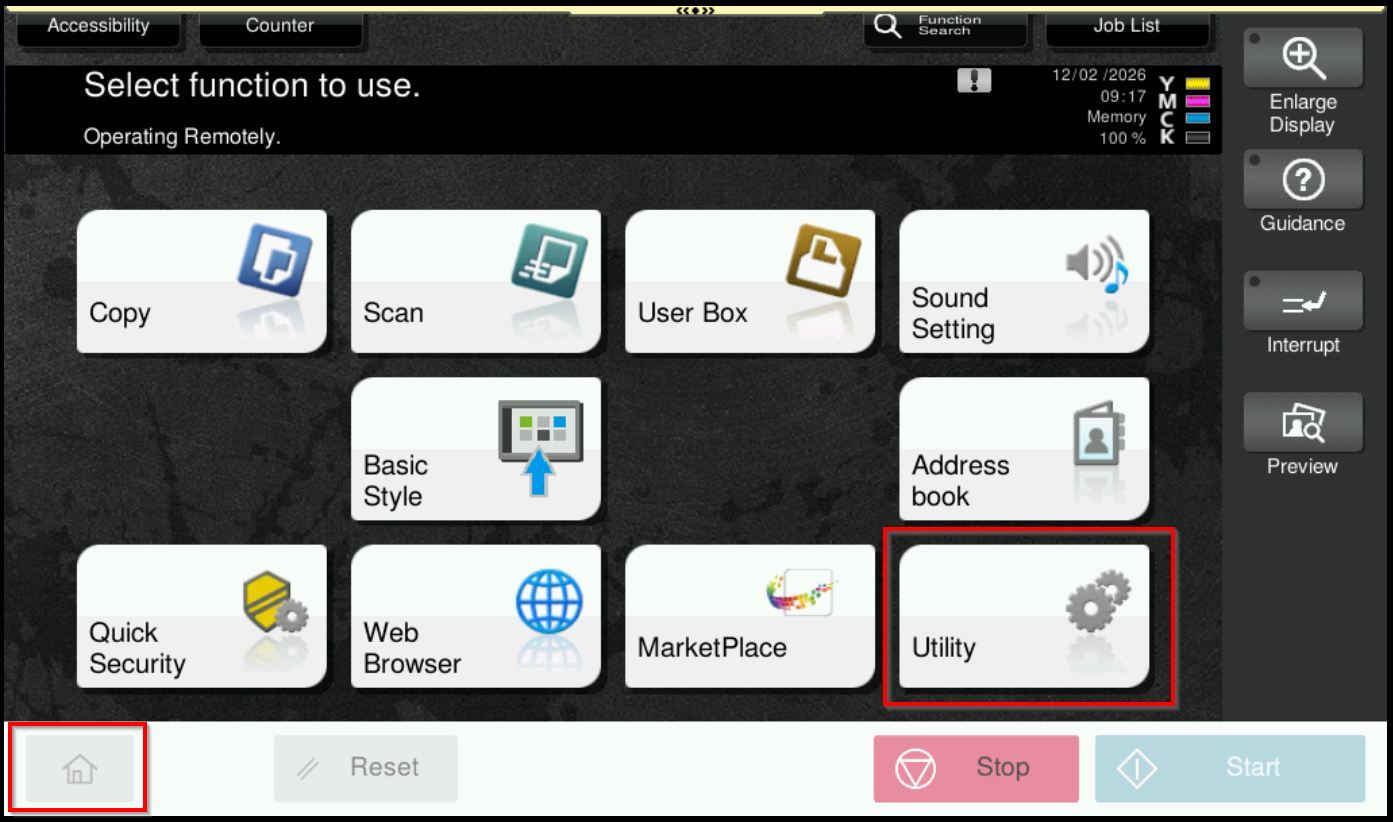
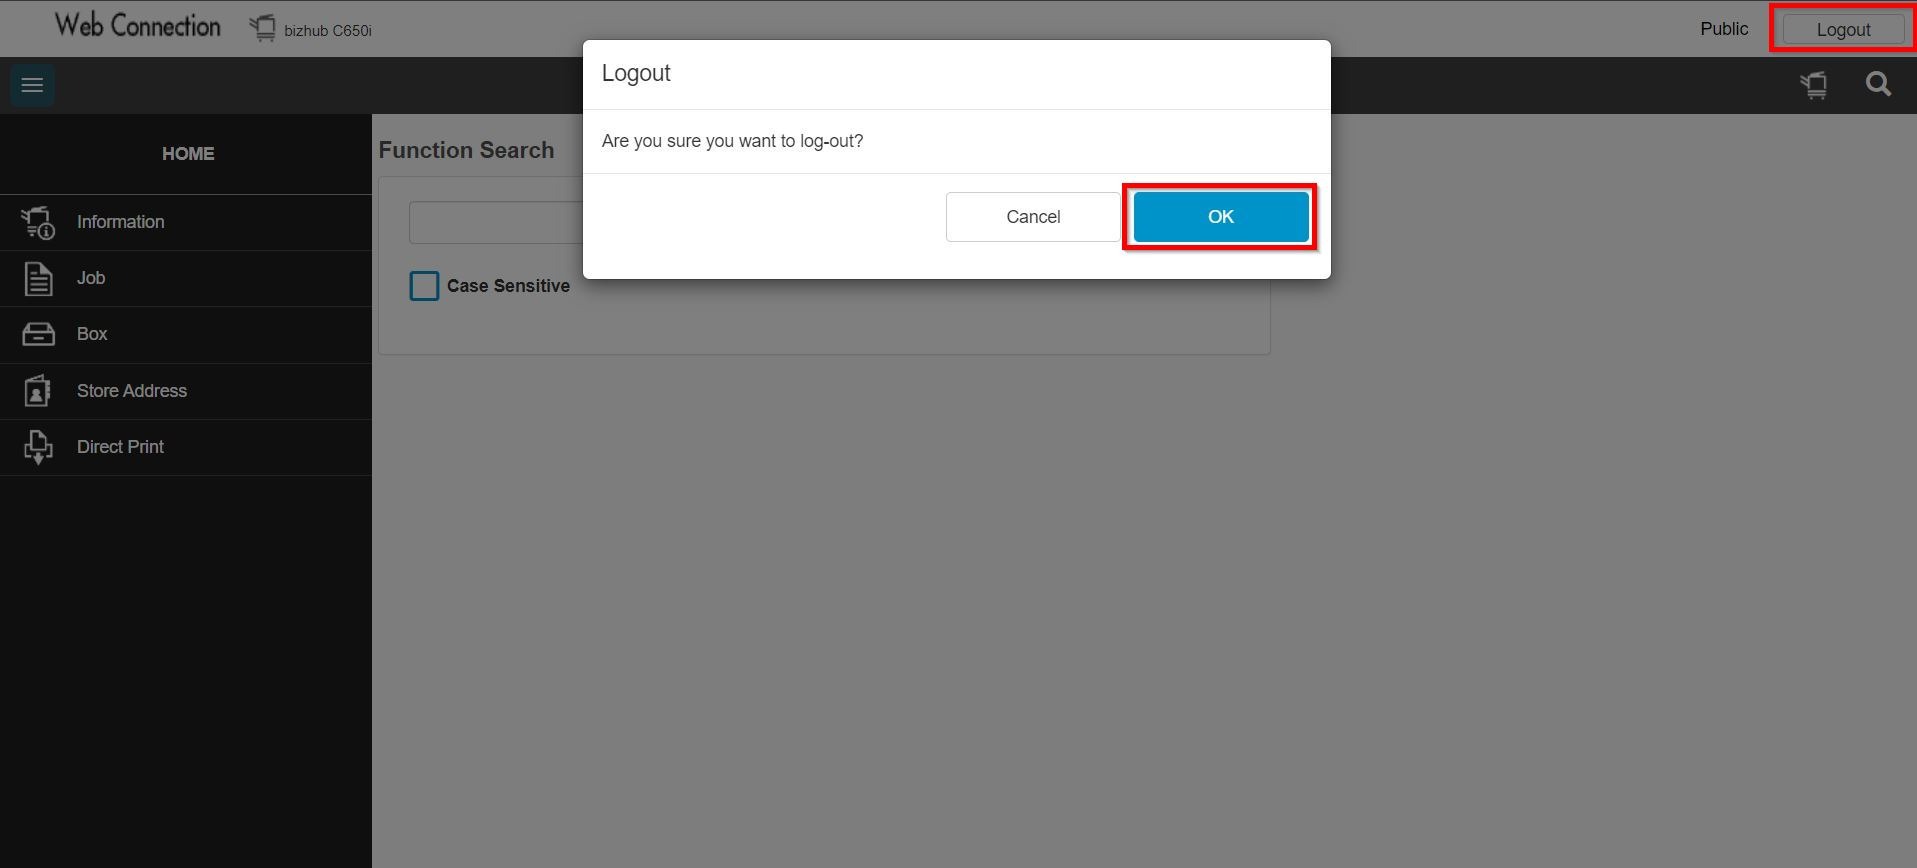
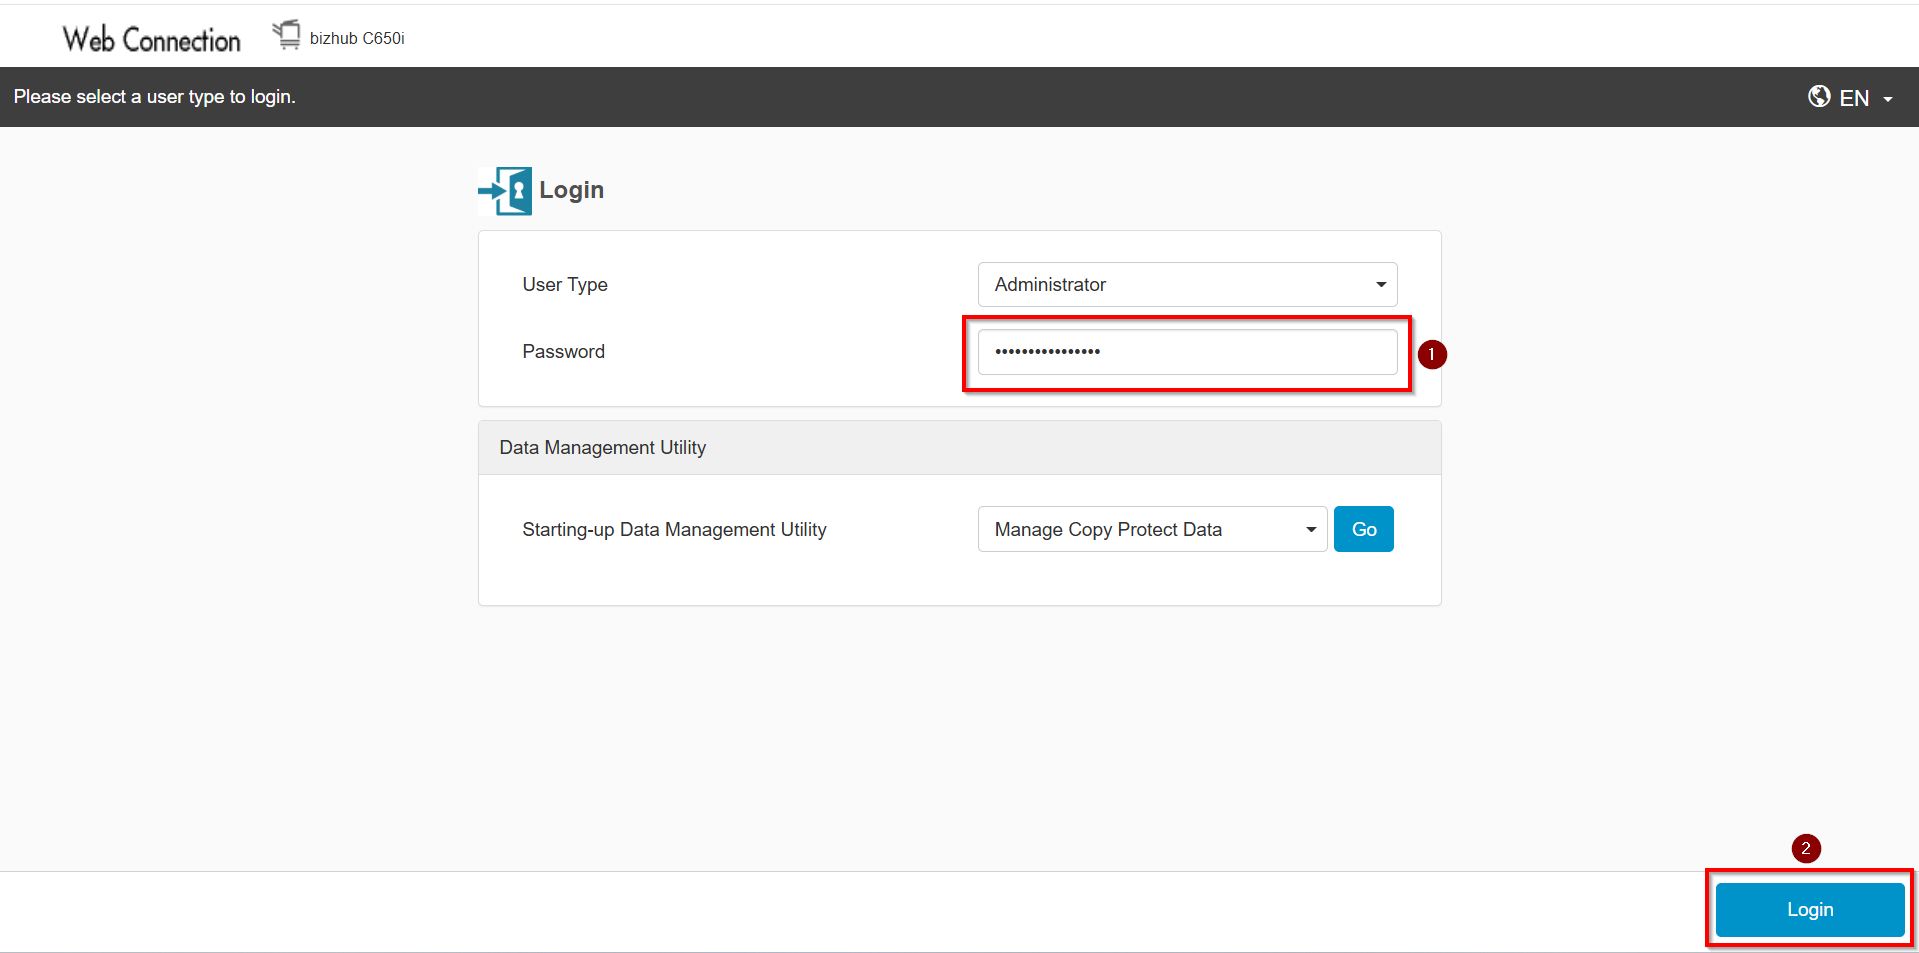
**You may access to web connection via machine IP Address. Click on this to check how to get the IP Address from machine, then key in Konica Minolta Machine IP Address at web browser and log in as admin the Web Connection.
STEP 2 – Select [Administrator].
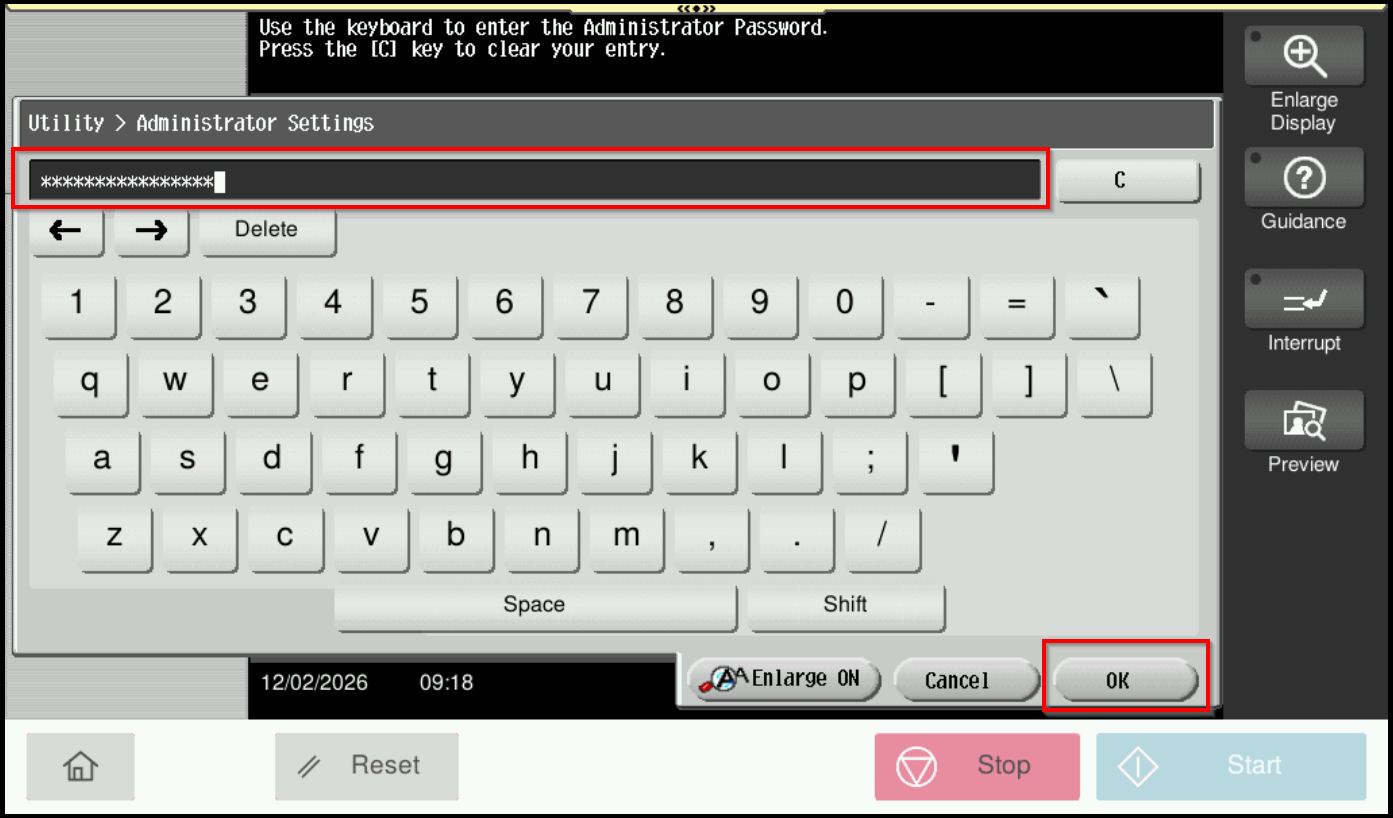
STEP 3 – Key in the default administrator password and click [OK] button.
Default administrator password: [7801261178012611] or [1234567812345678] or [12345678] or [12341234].
**On Web Connection login as admin mode by key in administrator password accordingly. The next step will be same option on below to change administrator password.
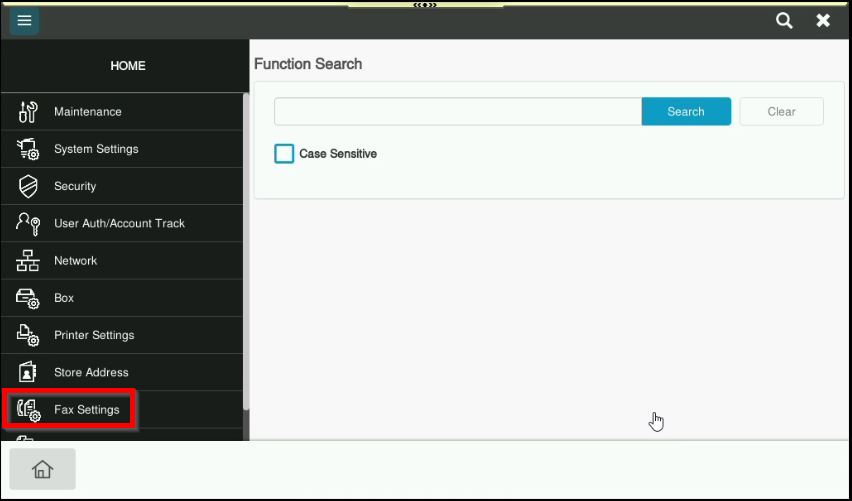
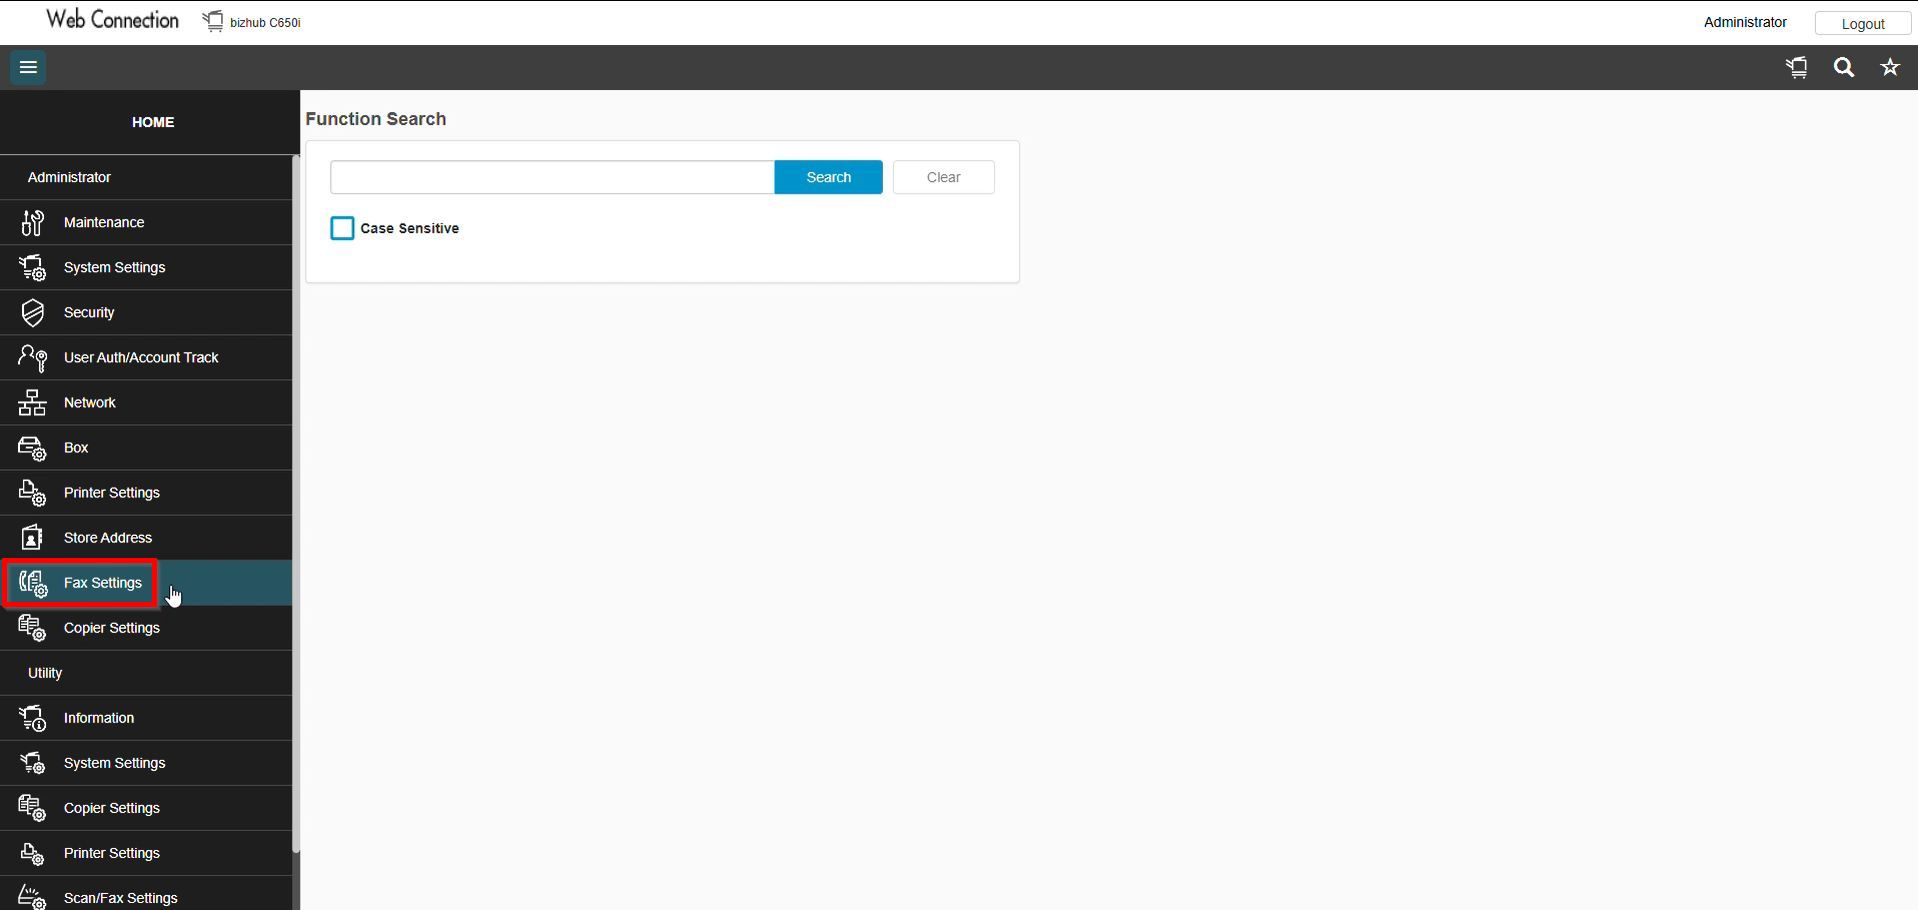
STEP 4 – Go to [Fax Settings].
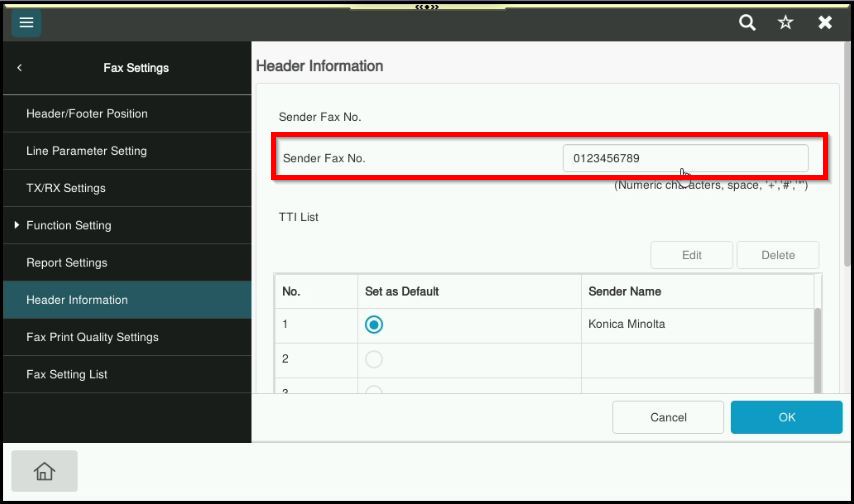
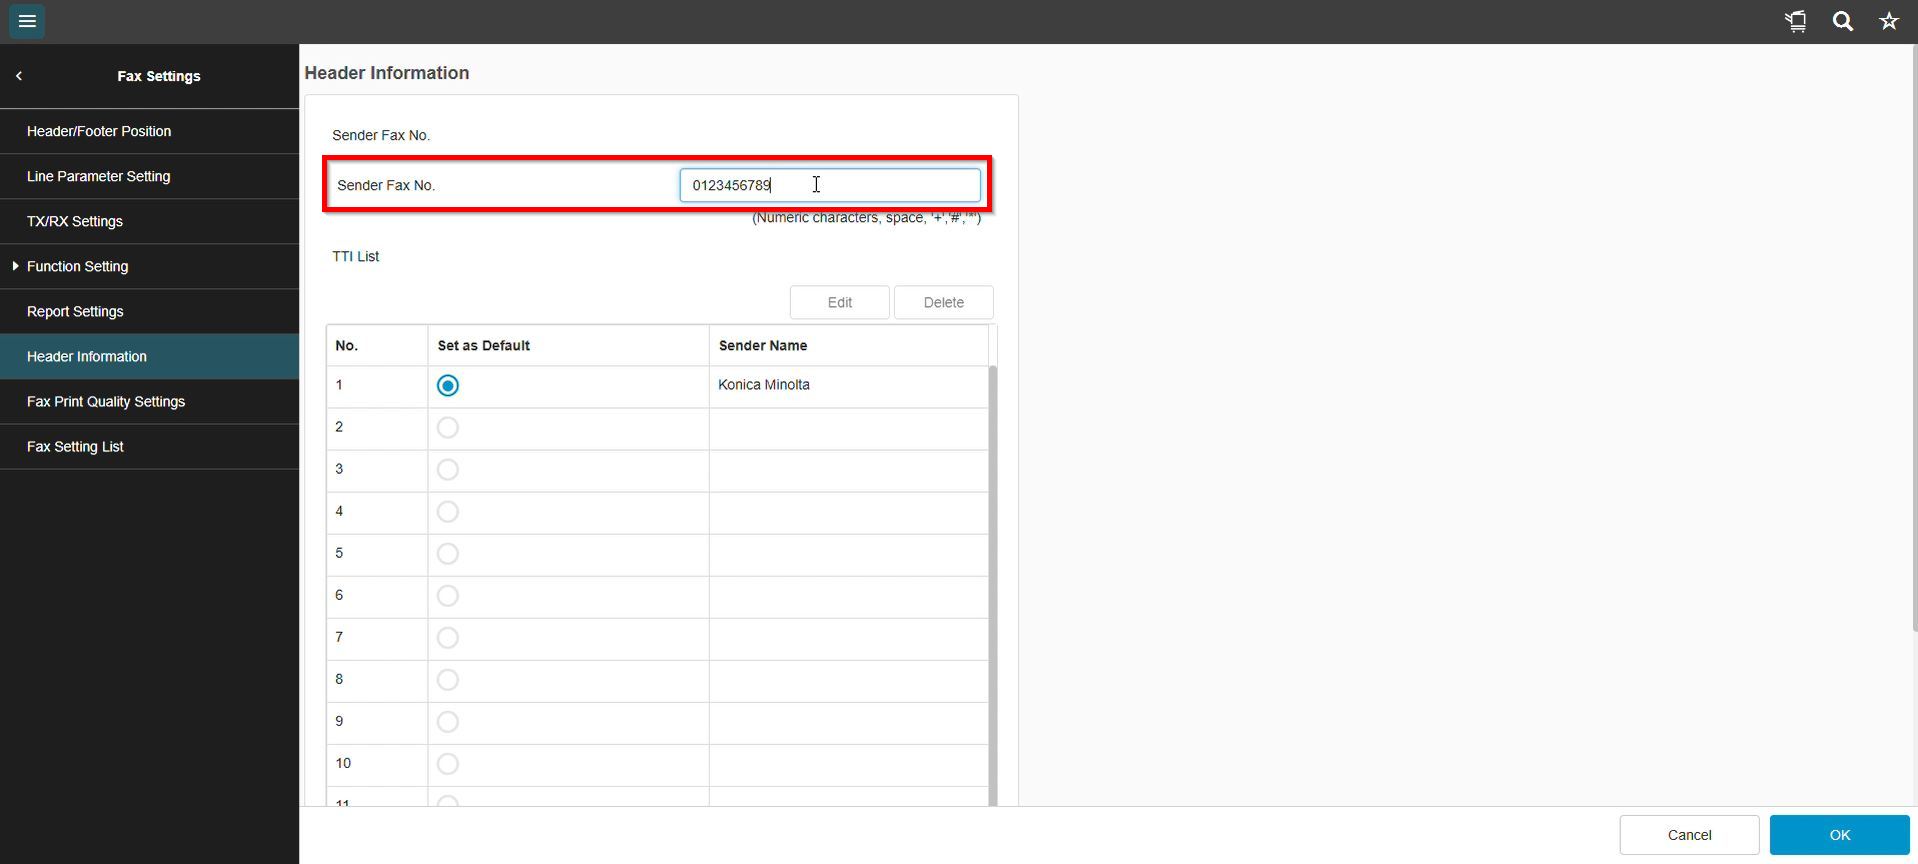
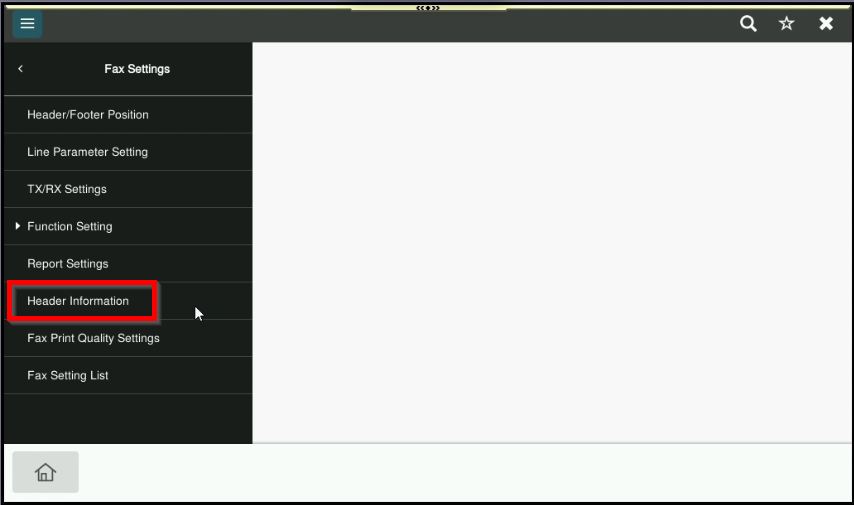
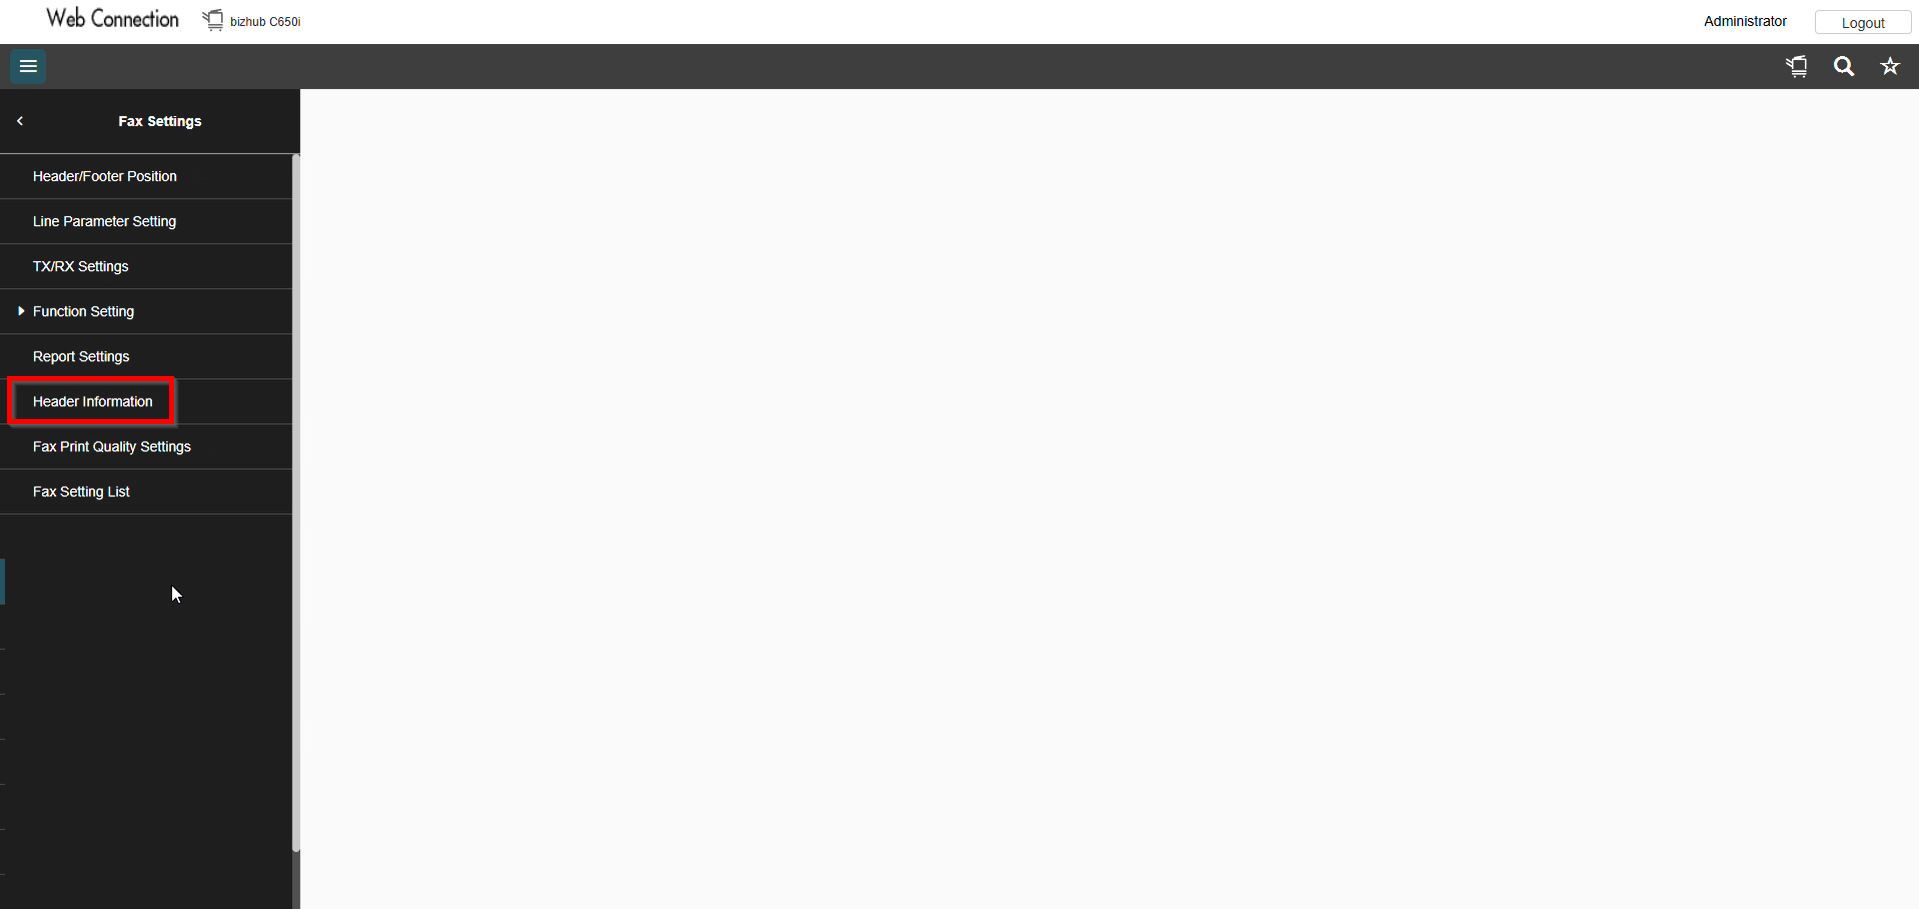
STEP 5 – Select [Header Information].
Step 6 – Check the registered [Sender Fax Number].