Guide on how to change Registered Key option on Machine
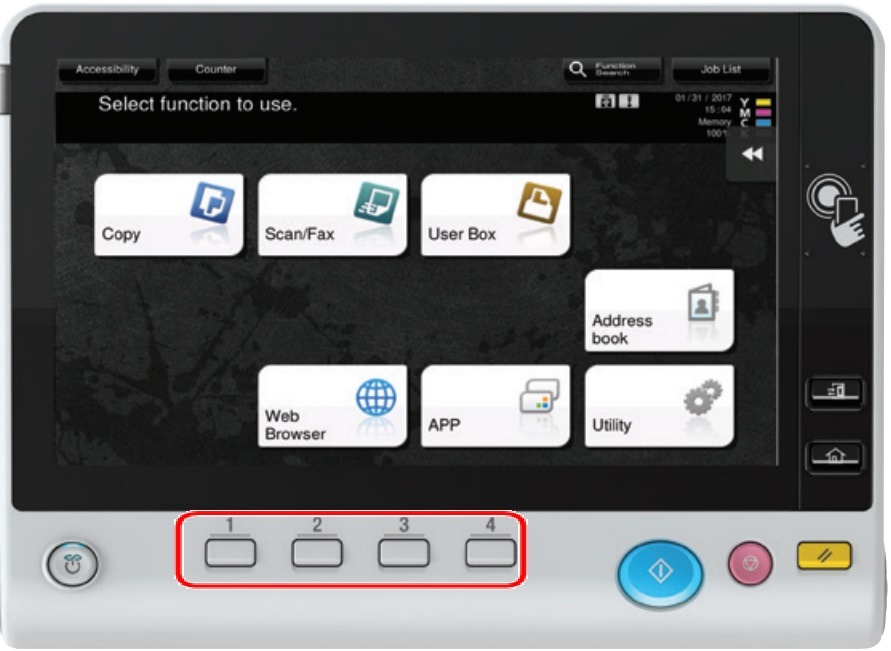
For the Older Machine series / Non I-Series Machine
Default button as below for Register Key.
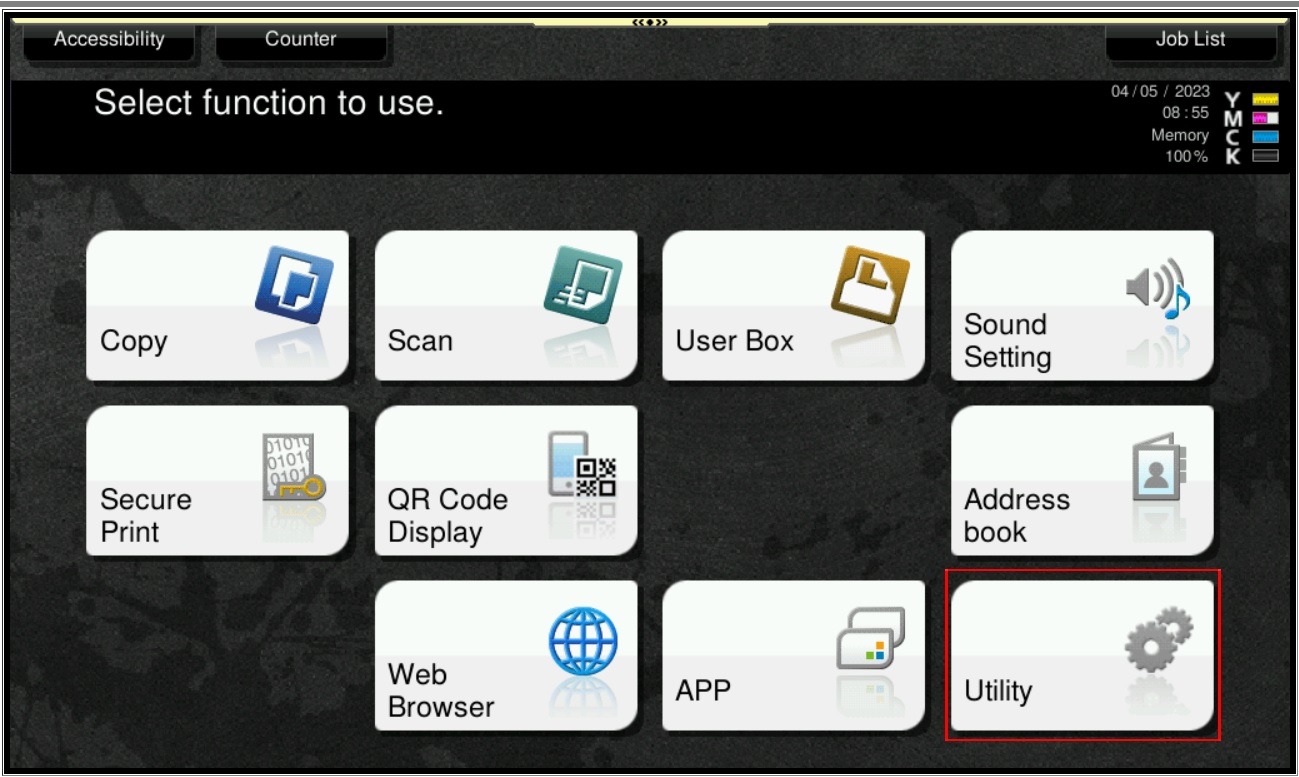
STEP 1 – On the Konica Minolta machine, we need to login to admin mode, Select [Utility].
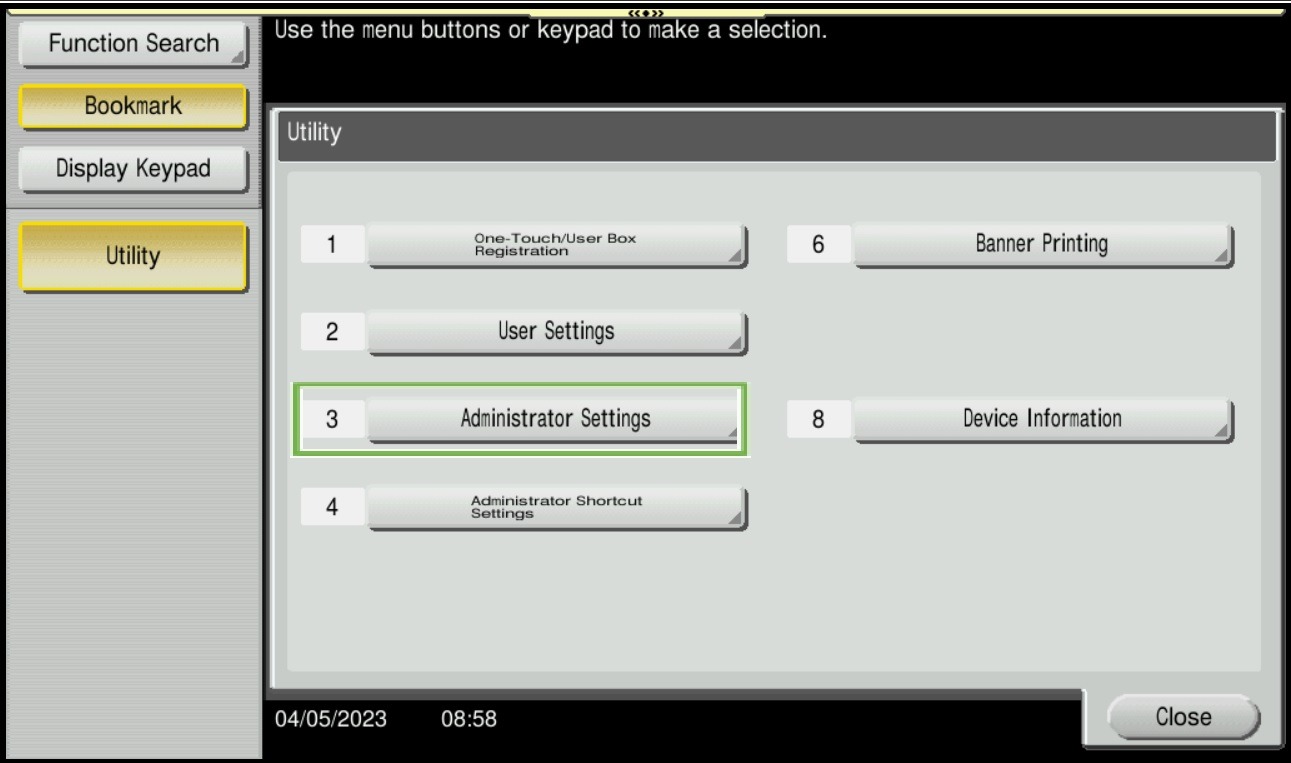
STEP 2 – Select [Administrator Settings].
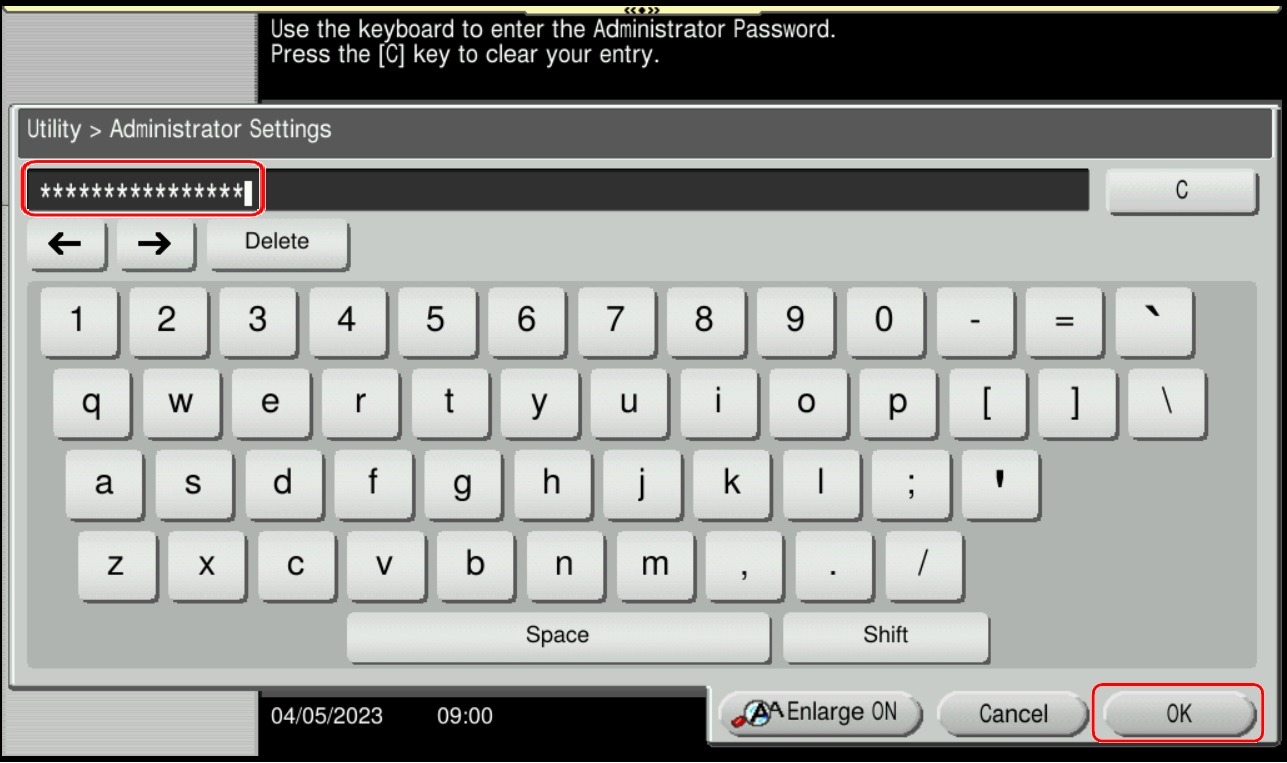
STEP 3 – Key in admin password for the machine, then select [OK] to continue.
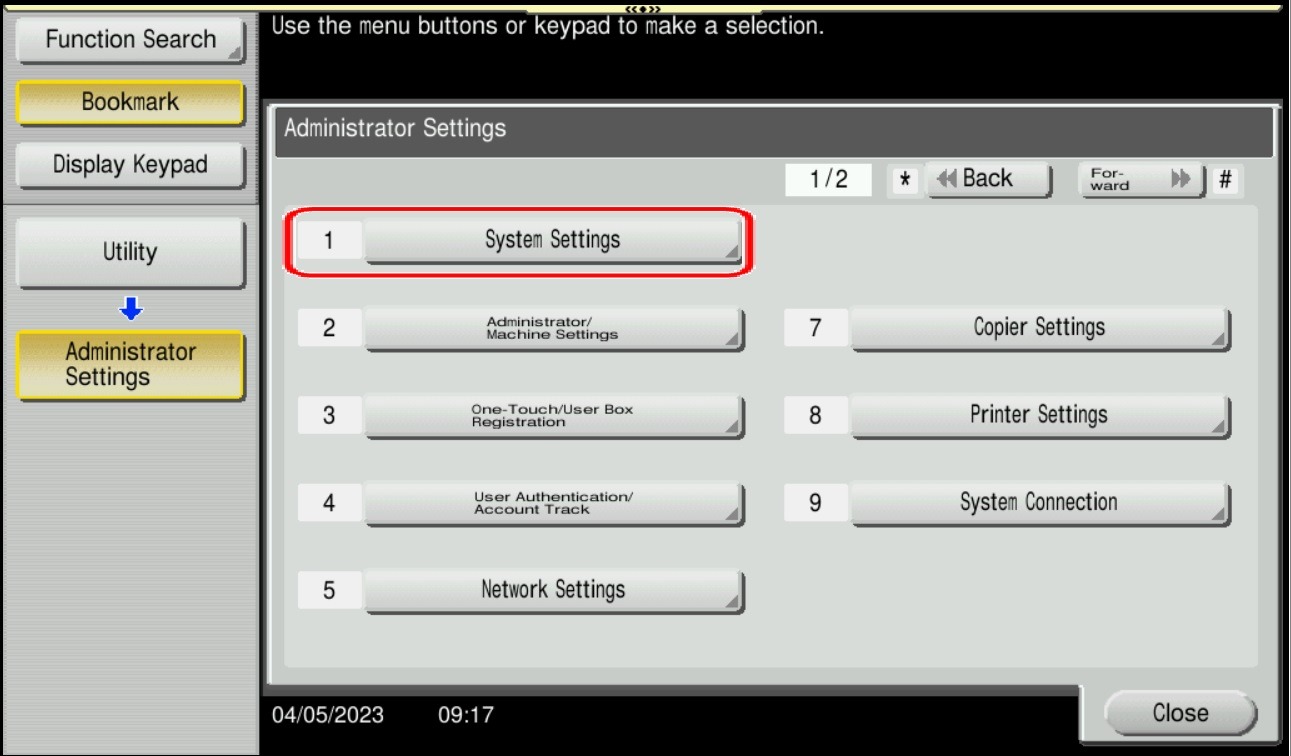
STEP 4 – Select [System Settings].
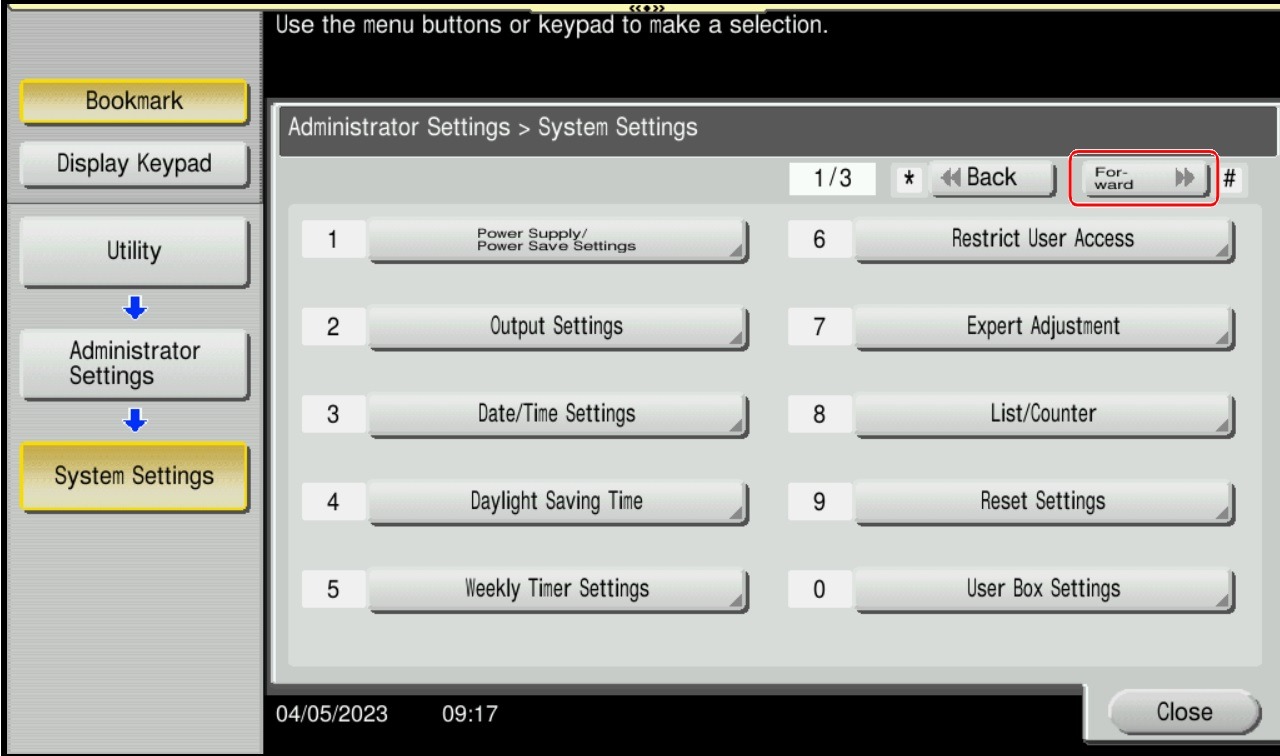
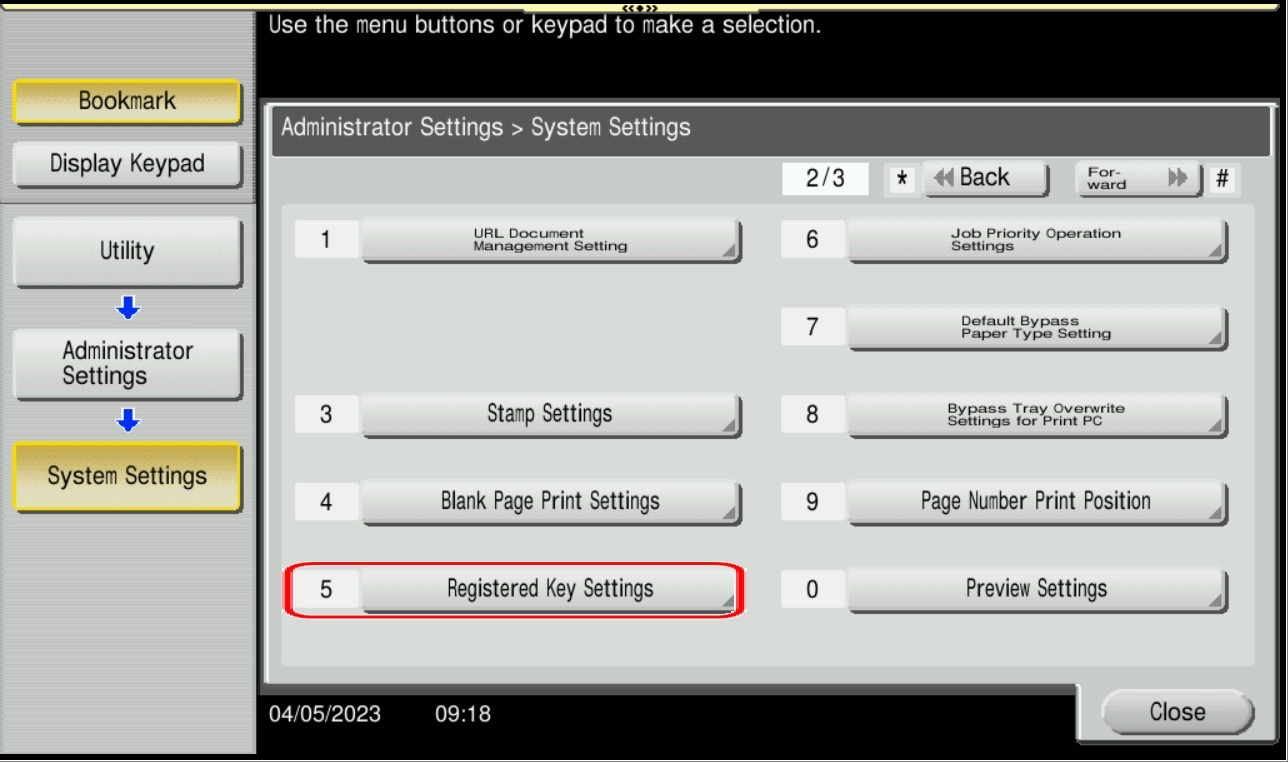
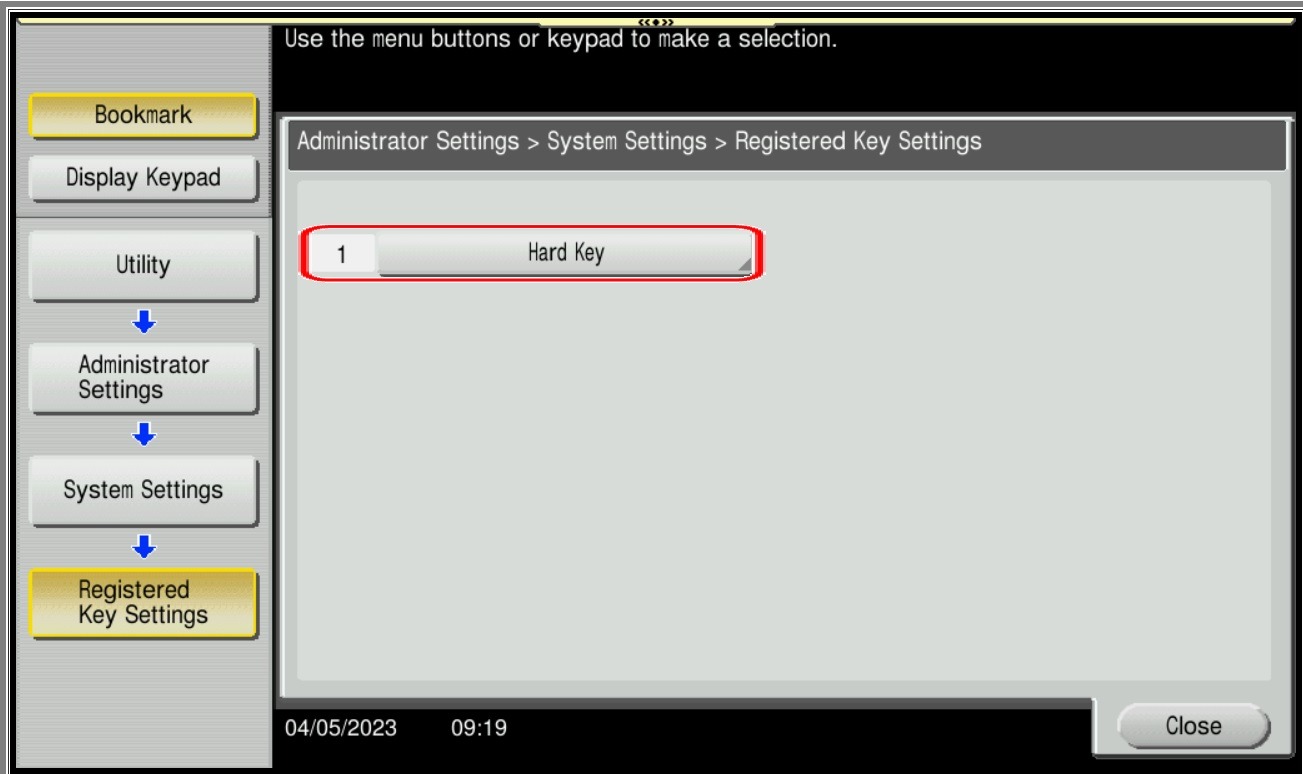
STEP 5 – Click on Forward button and select [Registered Key Settings], then select [Hard Key].
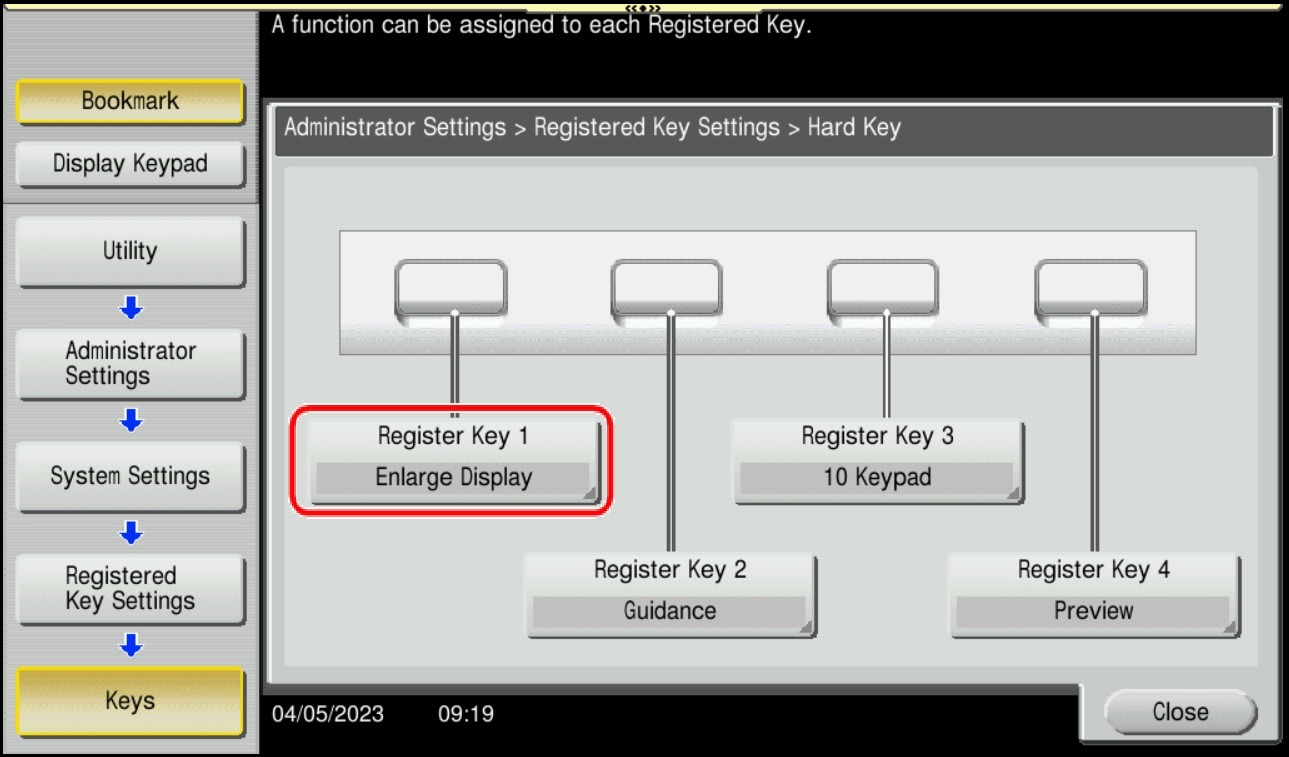
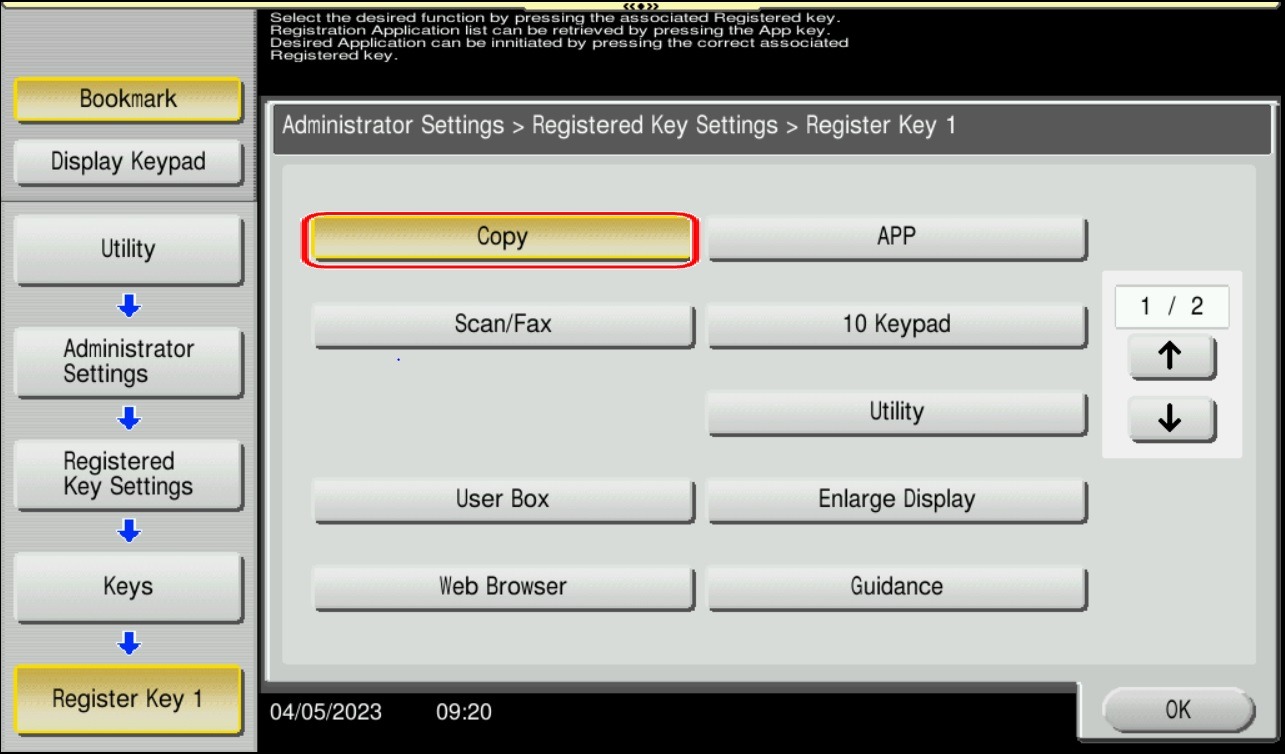
STEP 6 – Select the Register Key1 until Key4 option separately to choose which function to be used, then select [OK] to saved the setting.
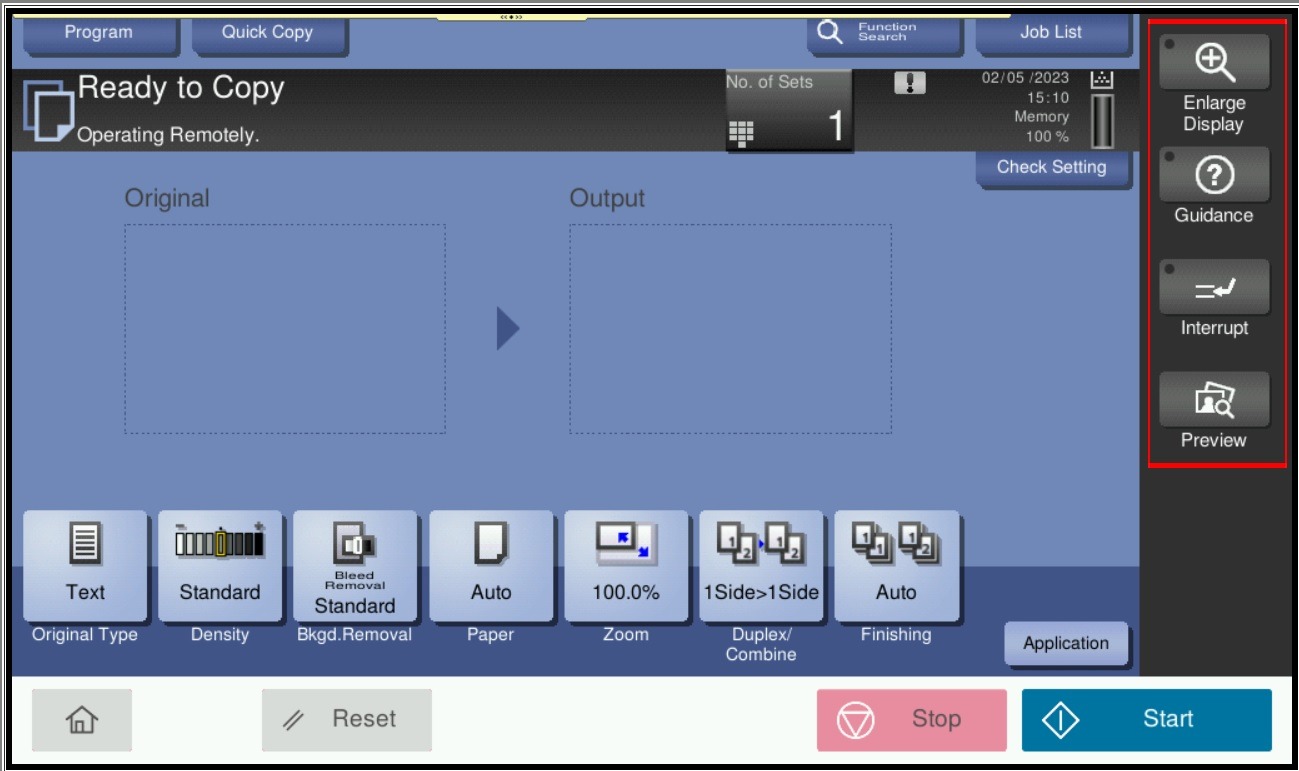
STEP 7 – Output for registered Key will be as below.

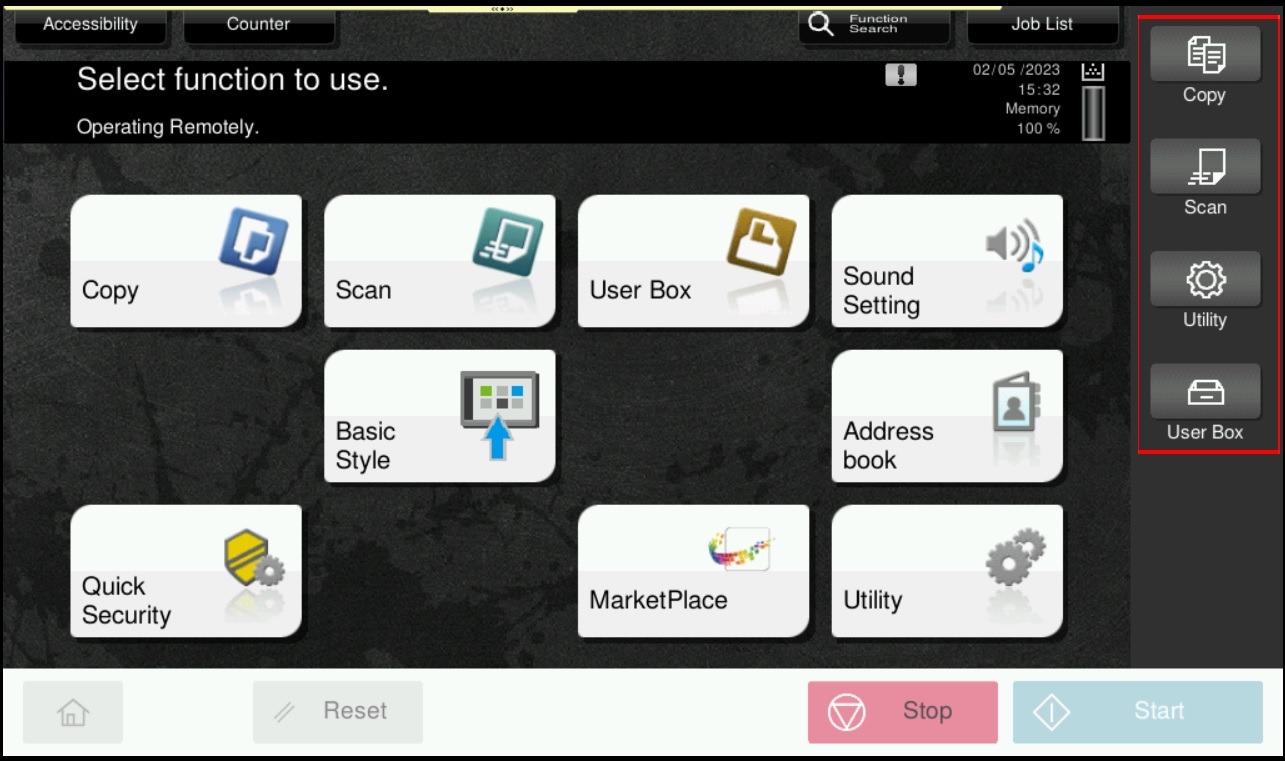
For the Newer Machine series / I-Series Machine
Default button and settings as below for Register Key before any changes.
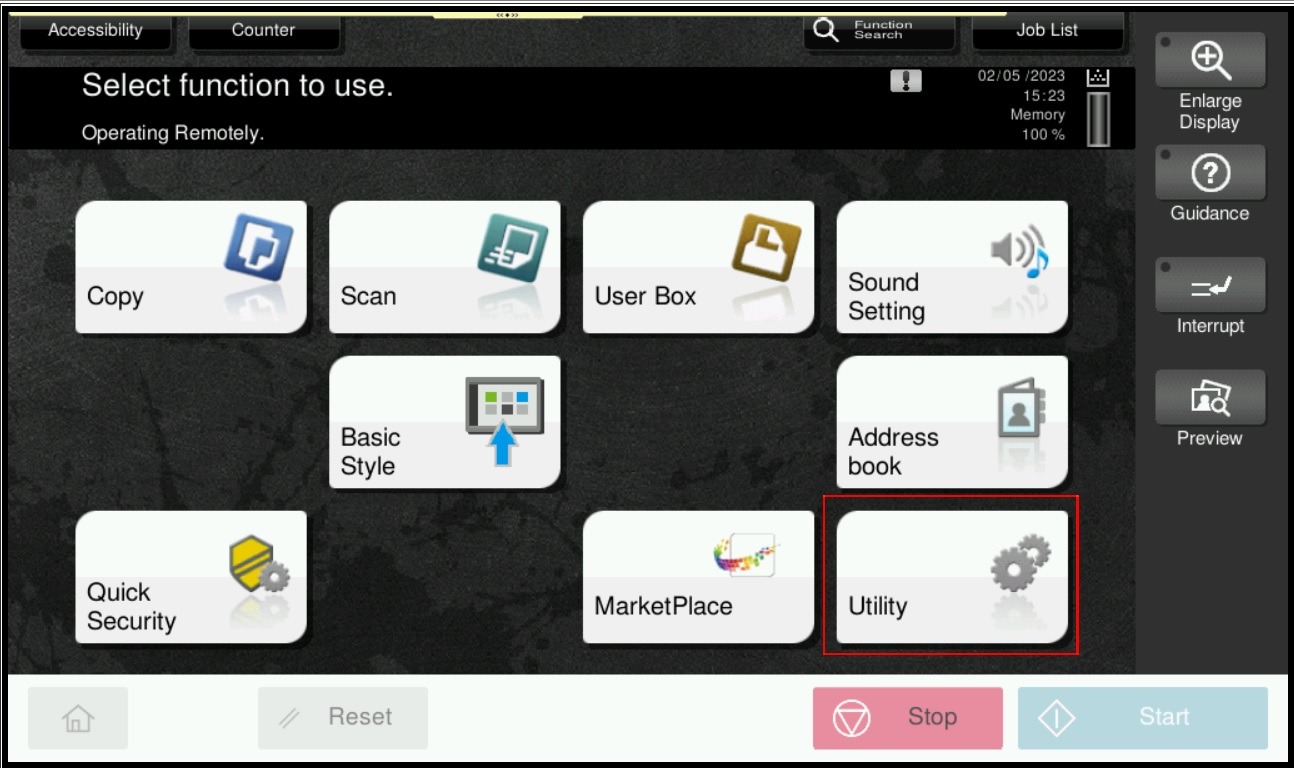
STEP 1 – On the Konica Minolta machine, we need to login to admin mode, Select [Utility].
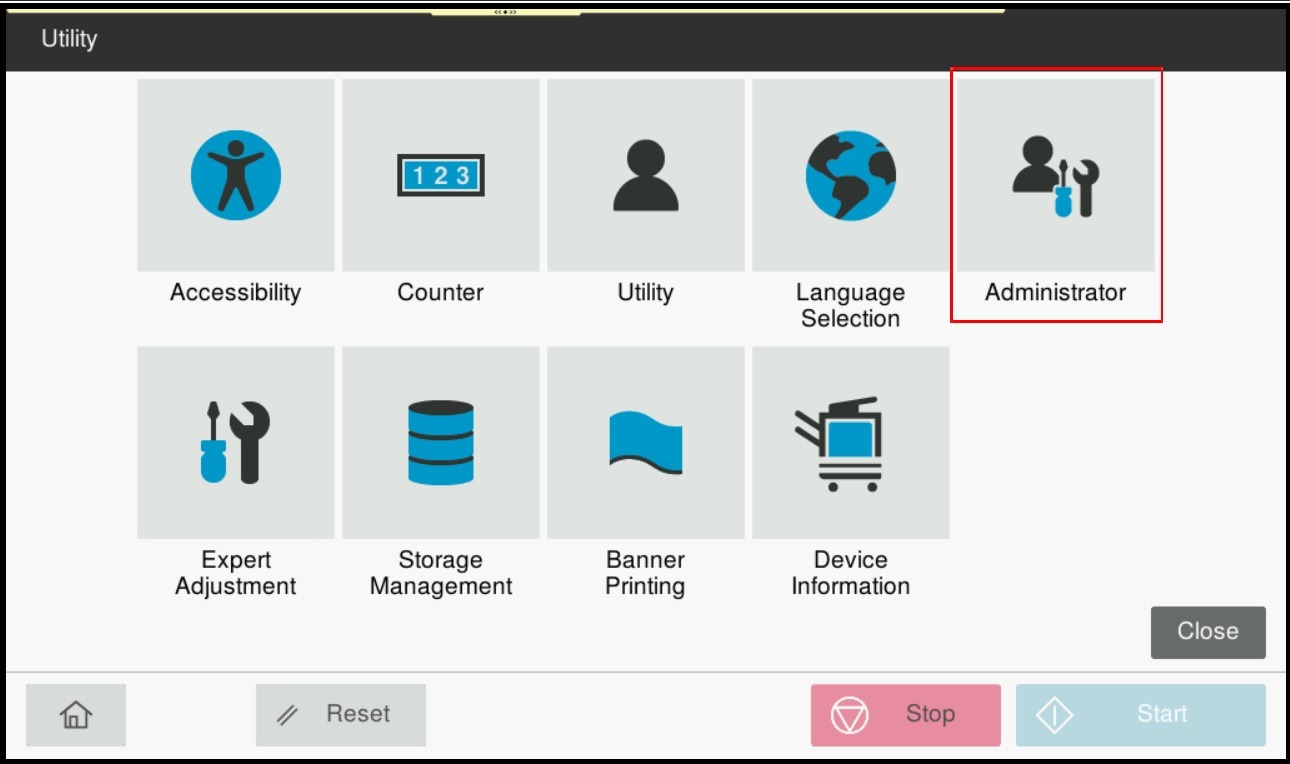
STEP 2 – Select [Administrator].
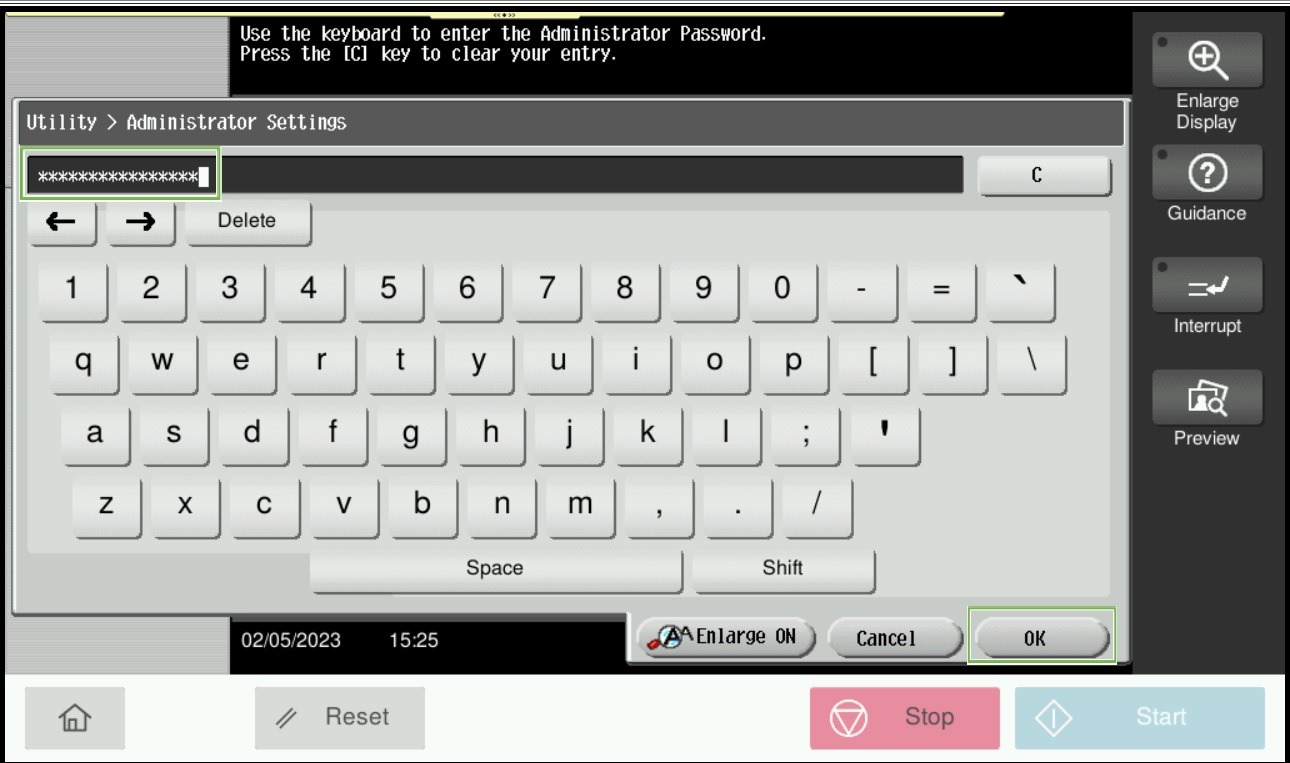
STEP 3 – Key in admin password for the machine, then select [OK] to continue.
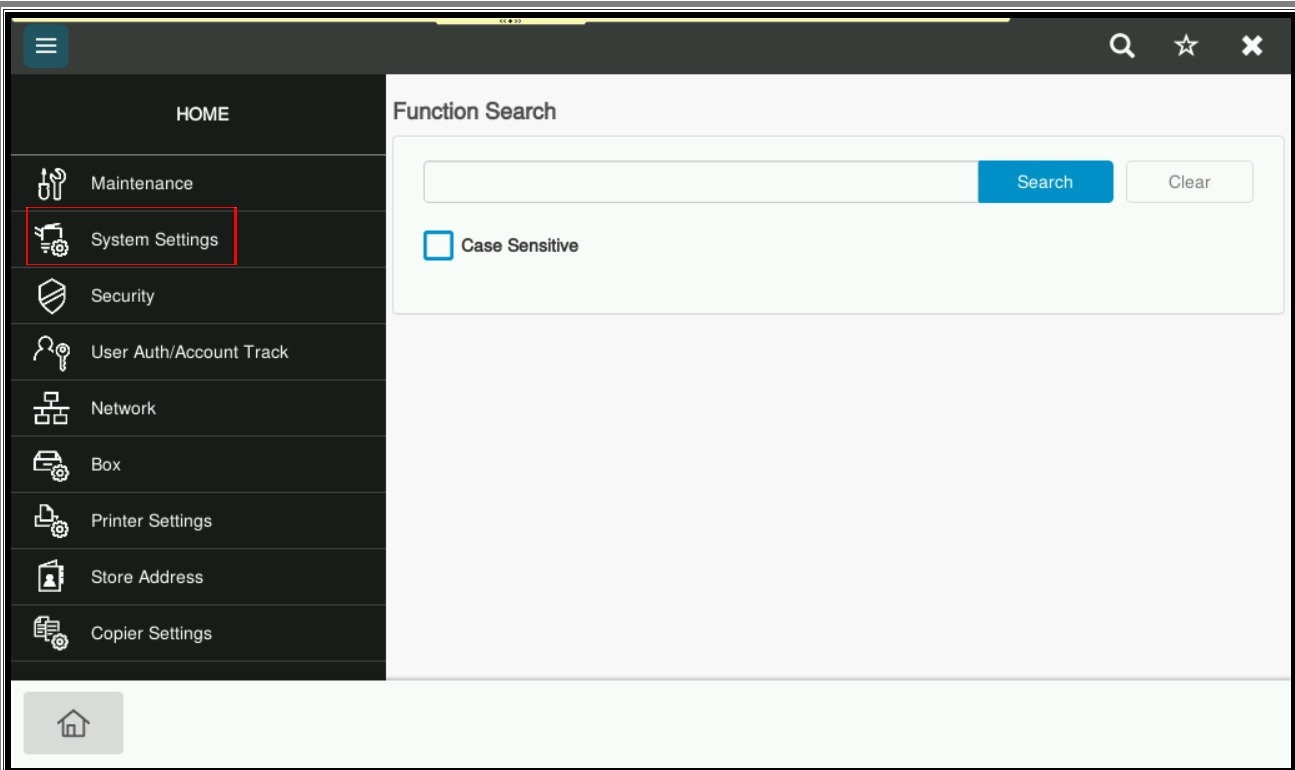
STEP 4 – Select [System Settings].
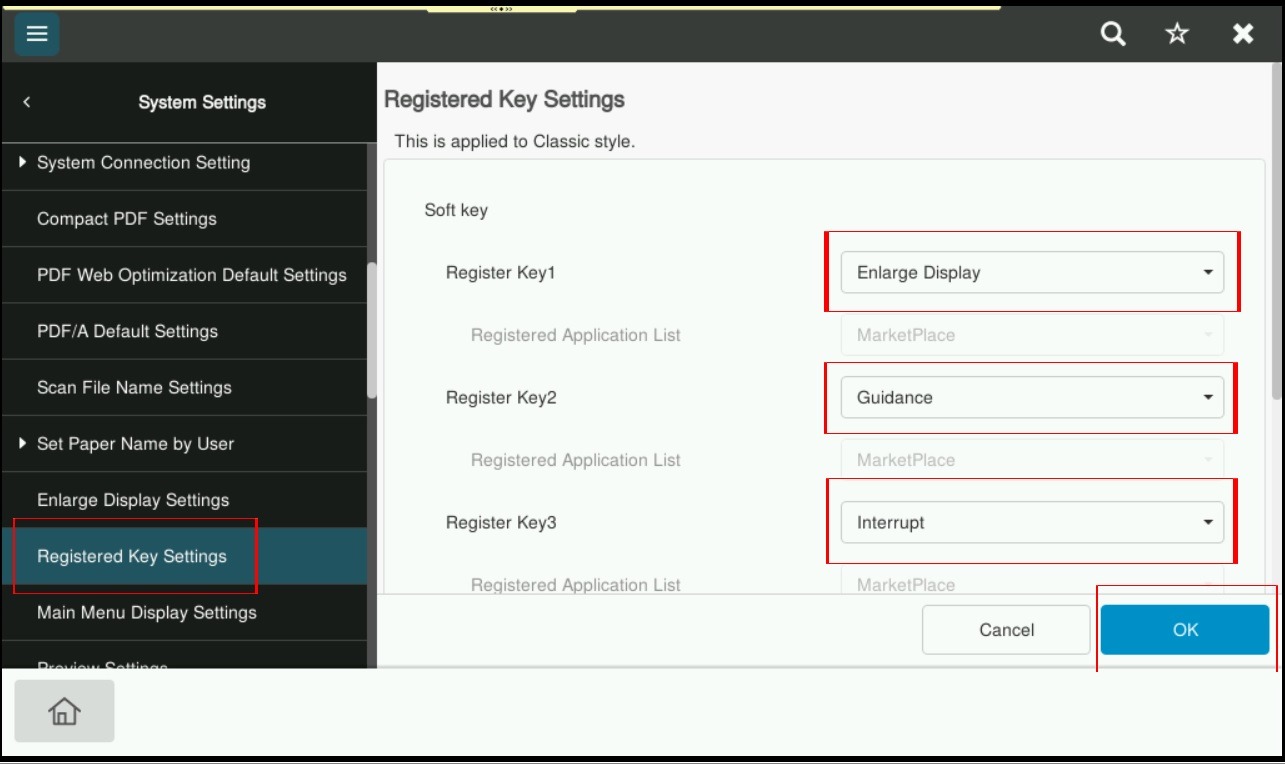
STEP 5 – Select [Registered Key Settings], and select the Register Key1 until Key4 option separately to choose which function to be used, then select [OK] to saved the setting.
STEP 6 – Output for registered Key will be as below.