
Guide on how to clean the printer head glass using printer head cleaner
Why Cleaning Is Important? If the Print Head Glass is dirty, the print quality will become worse. To fix this, clean the Print Head Glass by following the steps below.
The video below shows an example of how to clean the Print Head Glass.
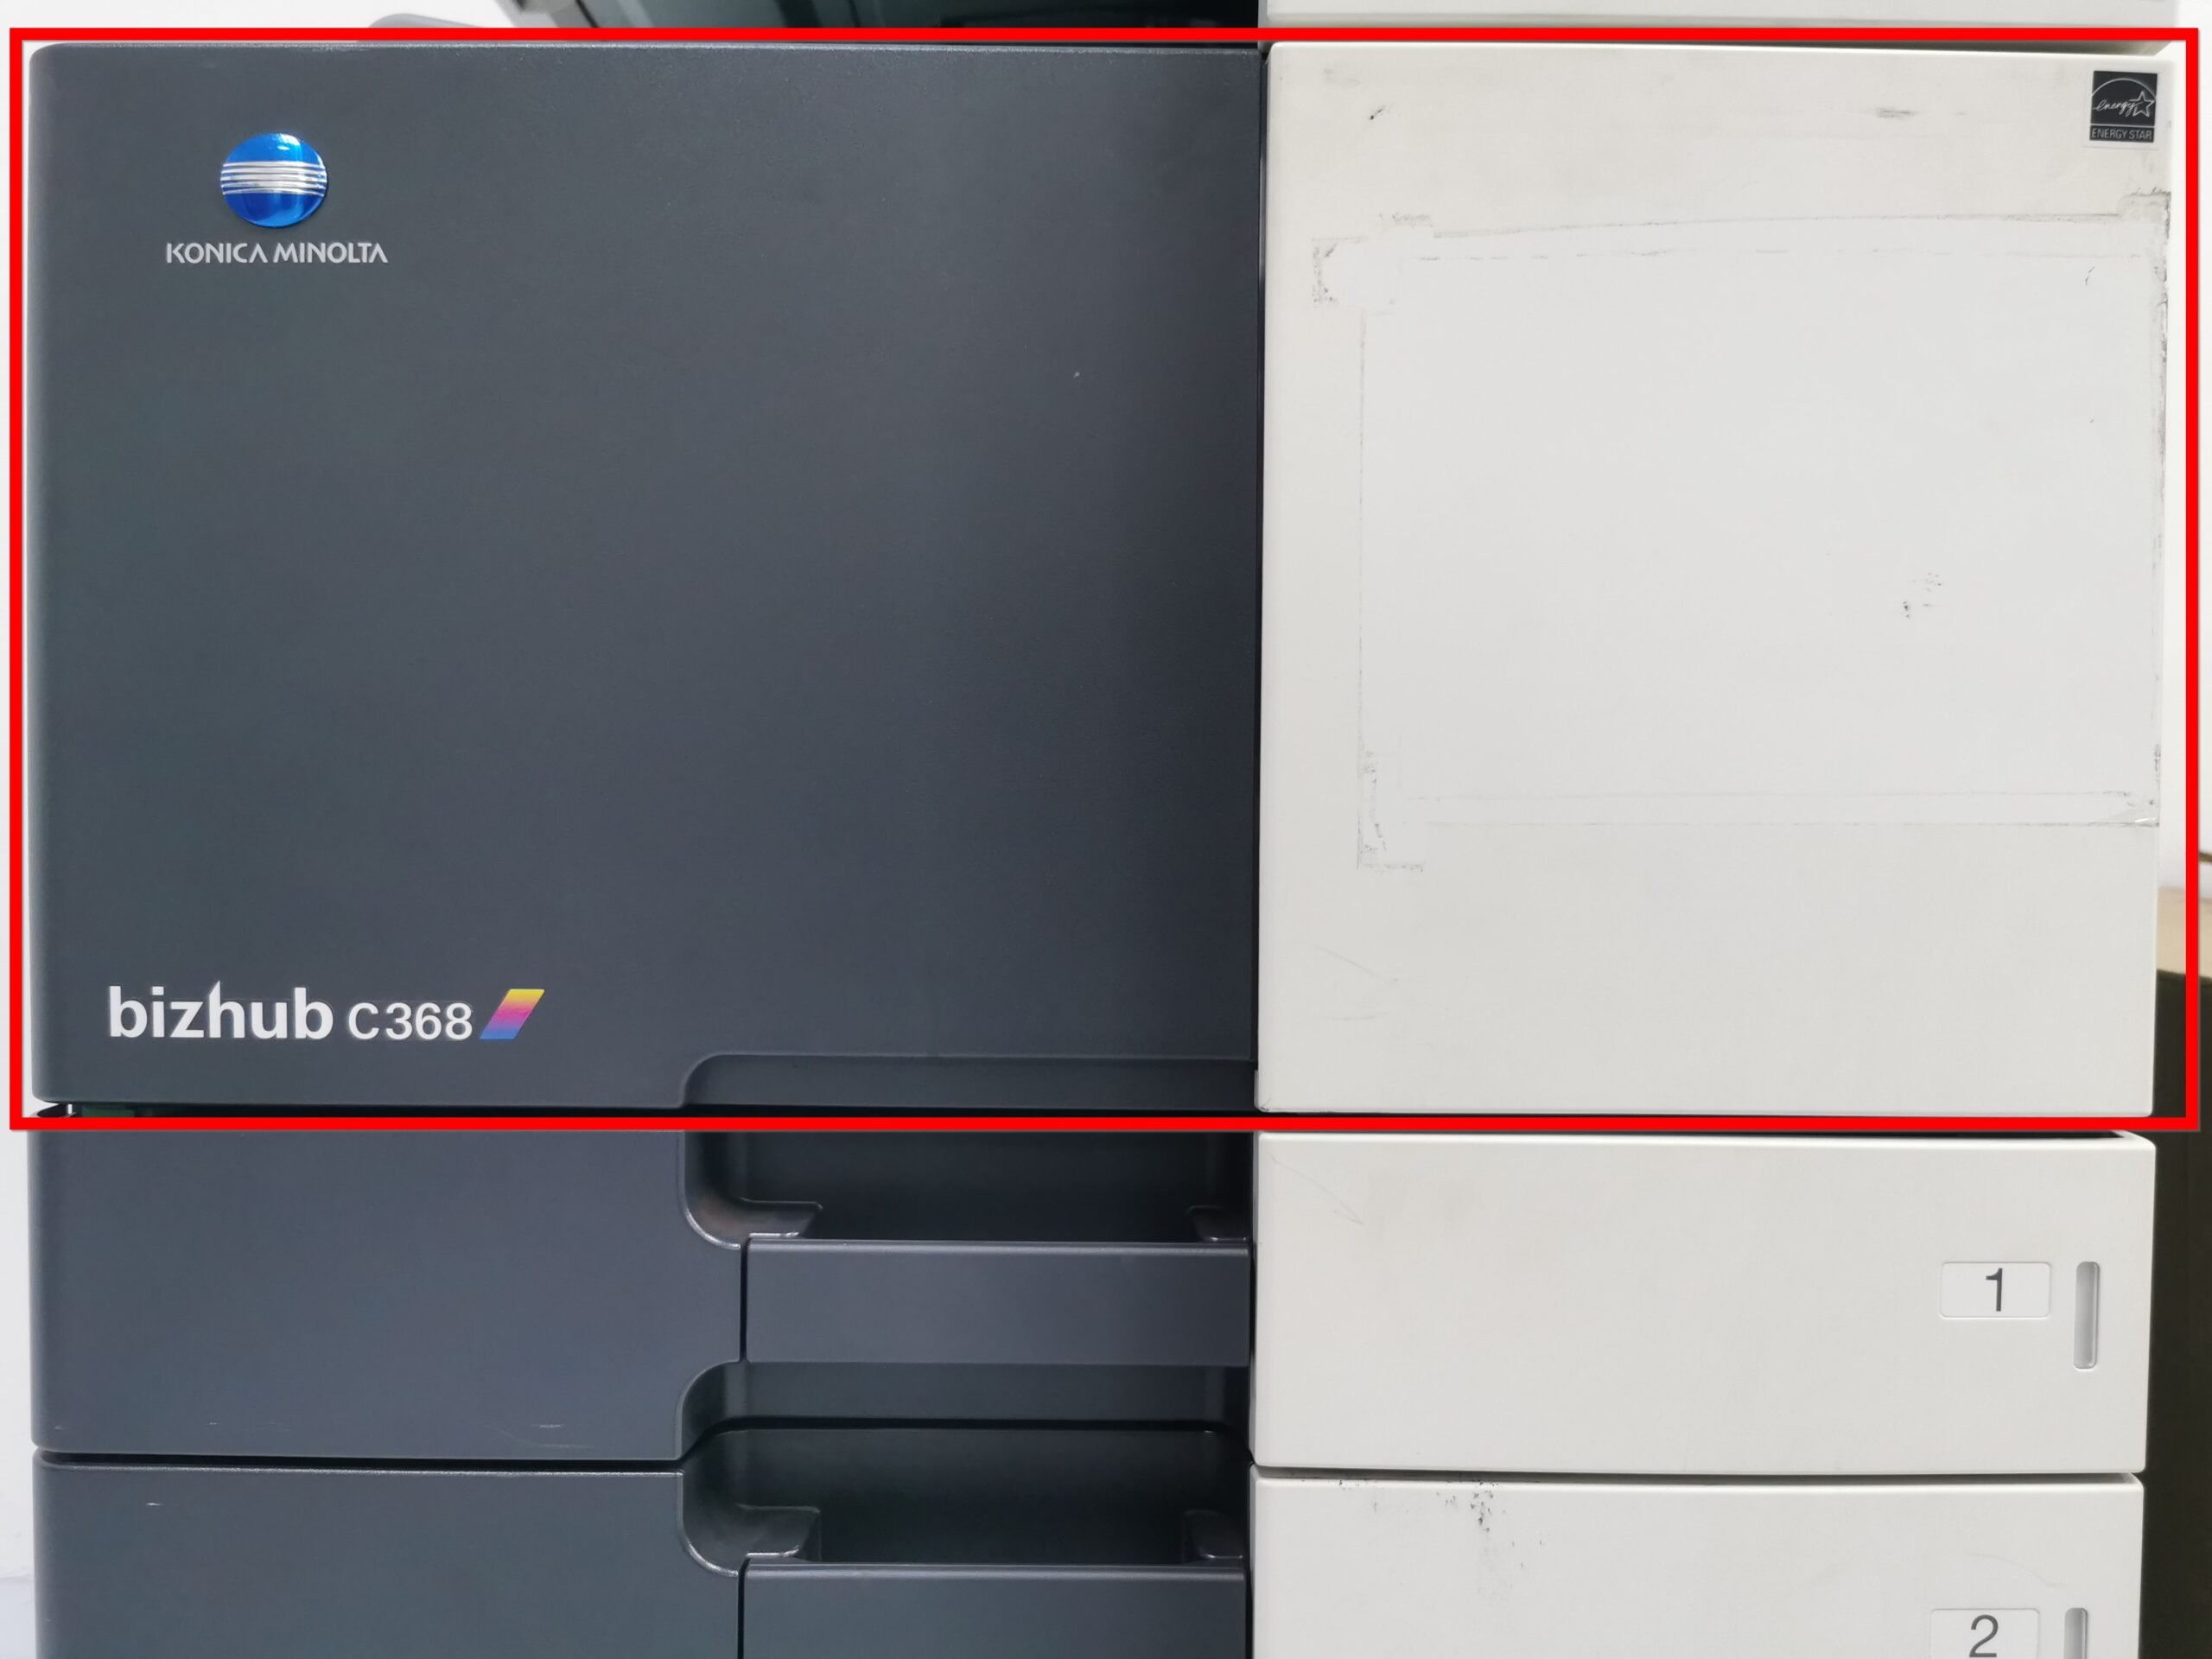
For The Older Machine Series / Non I-Series Machine
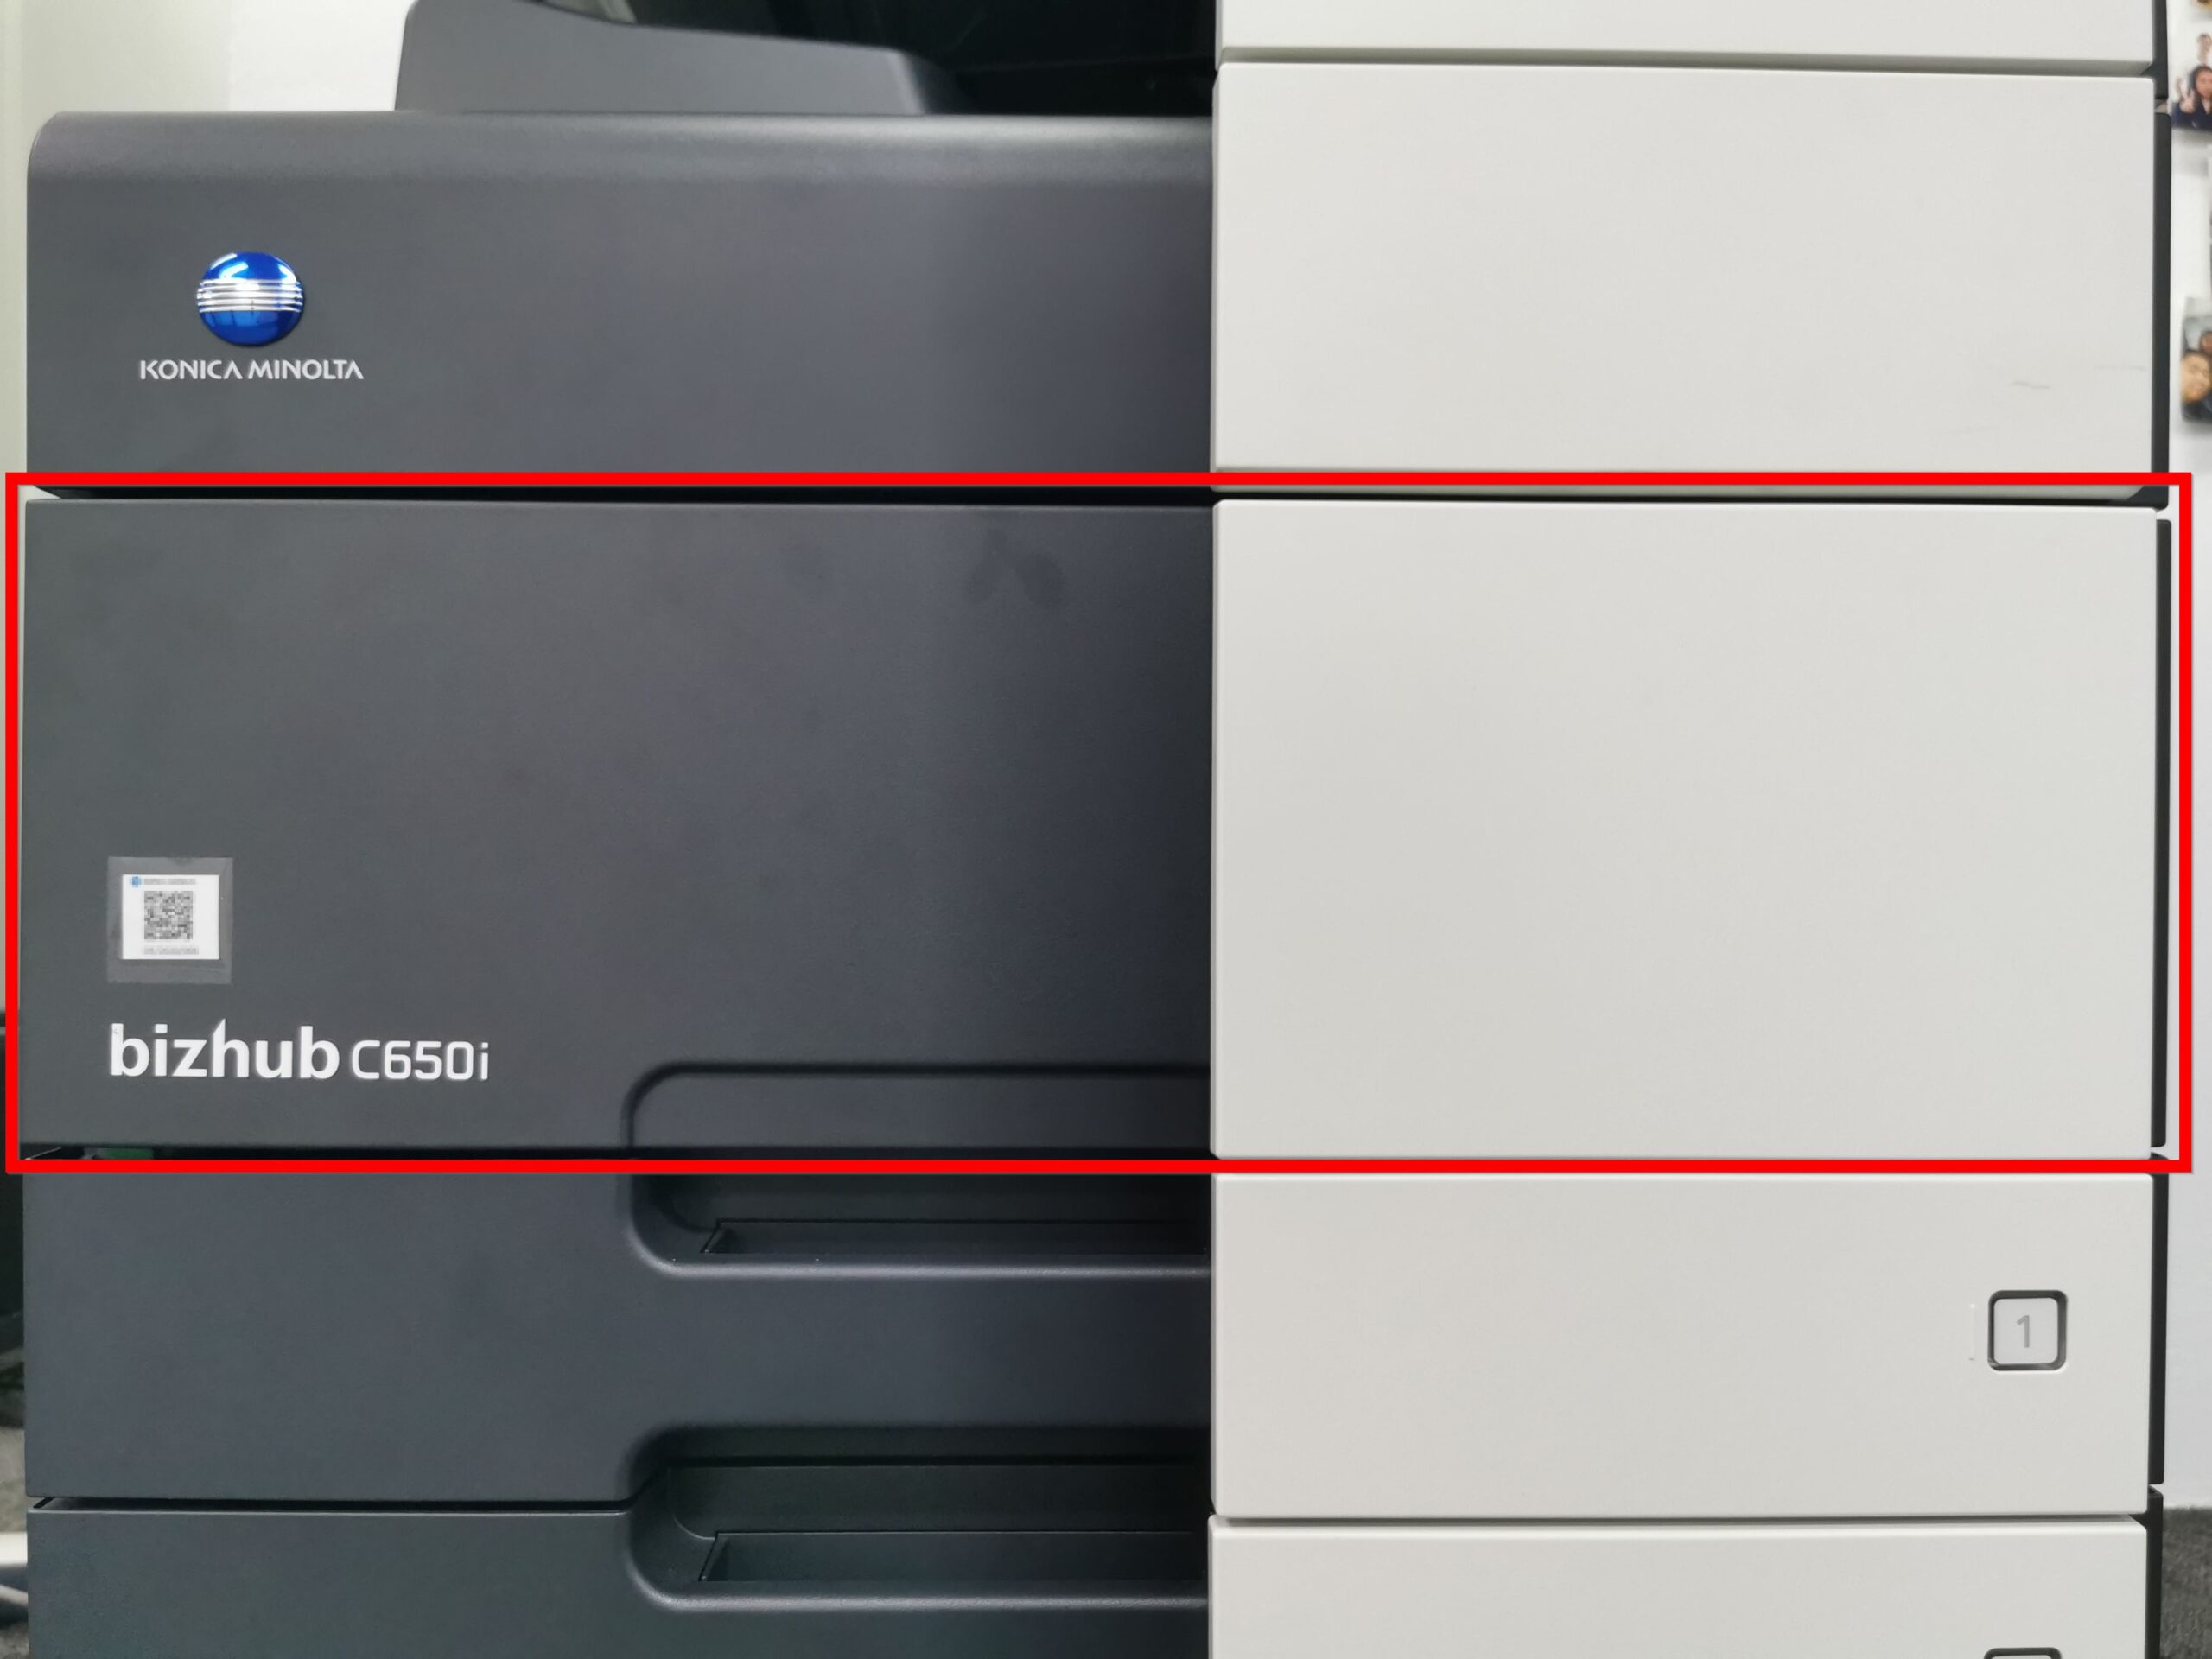
STEP 1 – Open the [Front Door] of the machine to access the internal components.
STEP 2 – Release the [Waste Toner Box Lock Lever] and carefully remove the [Waste Toner Box] from the machine.
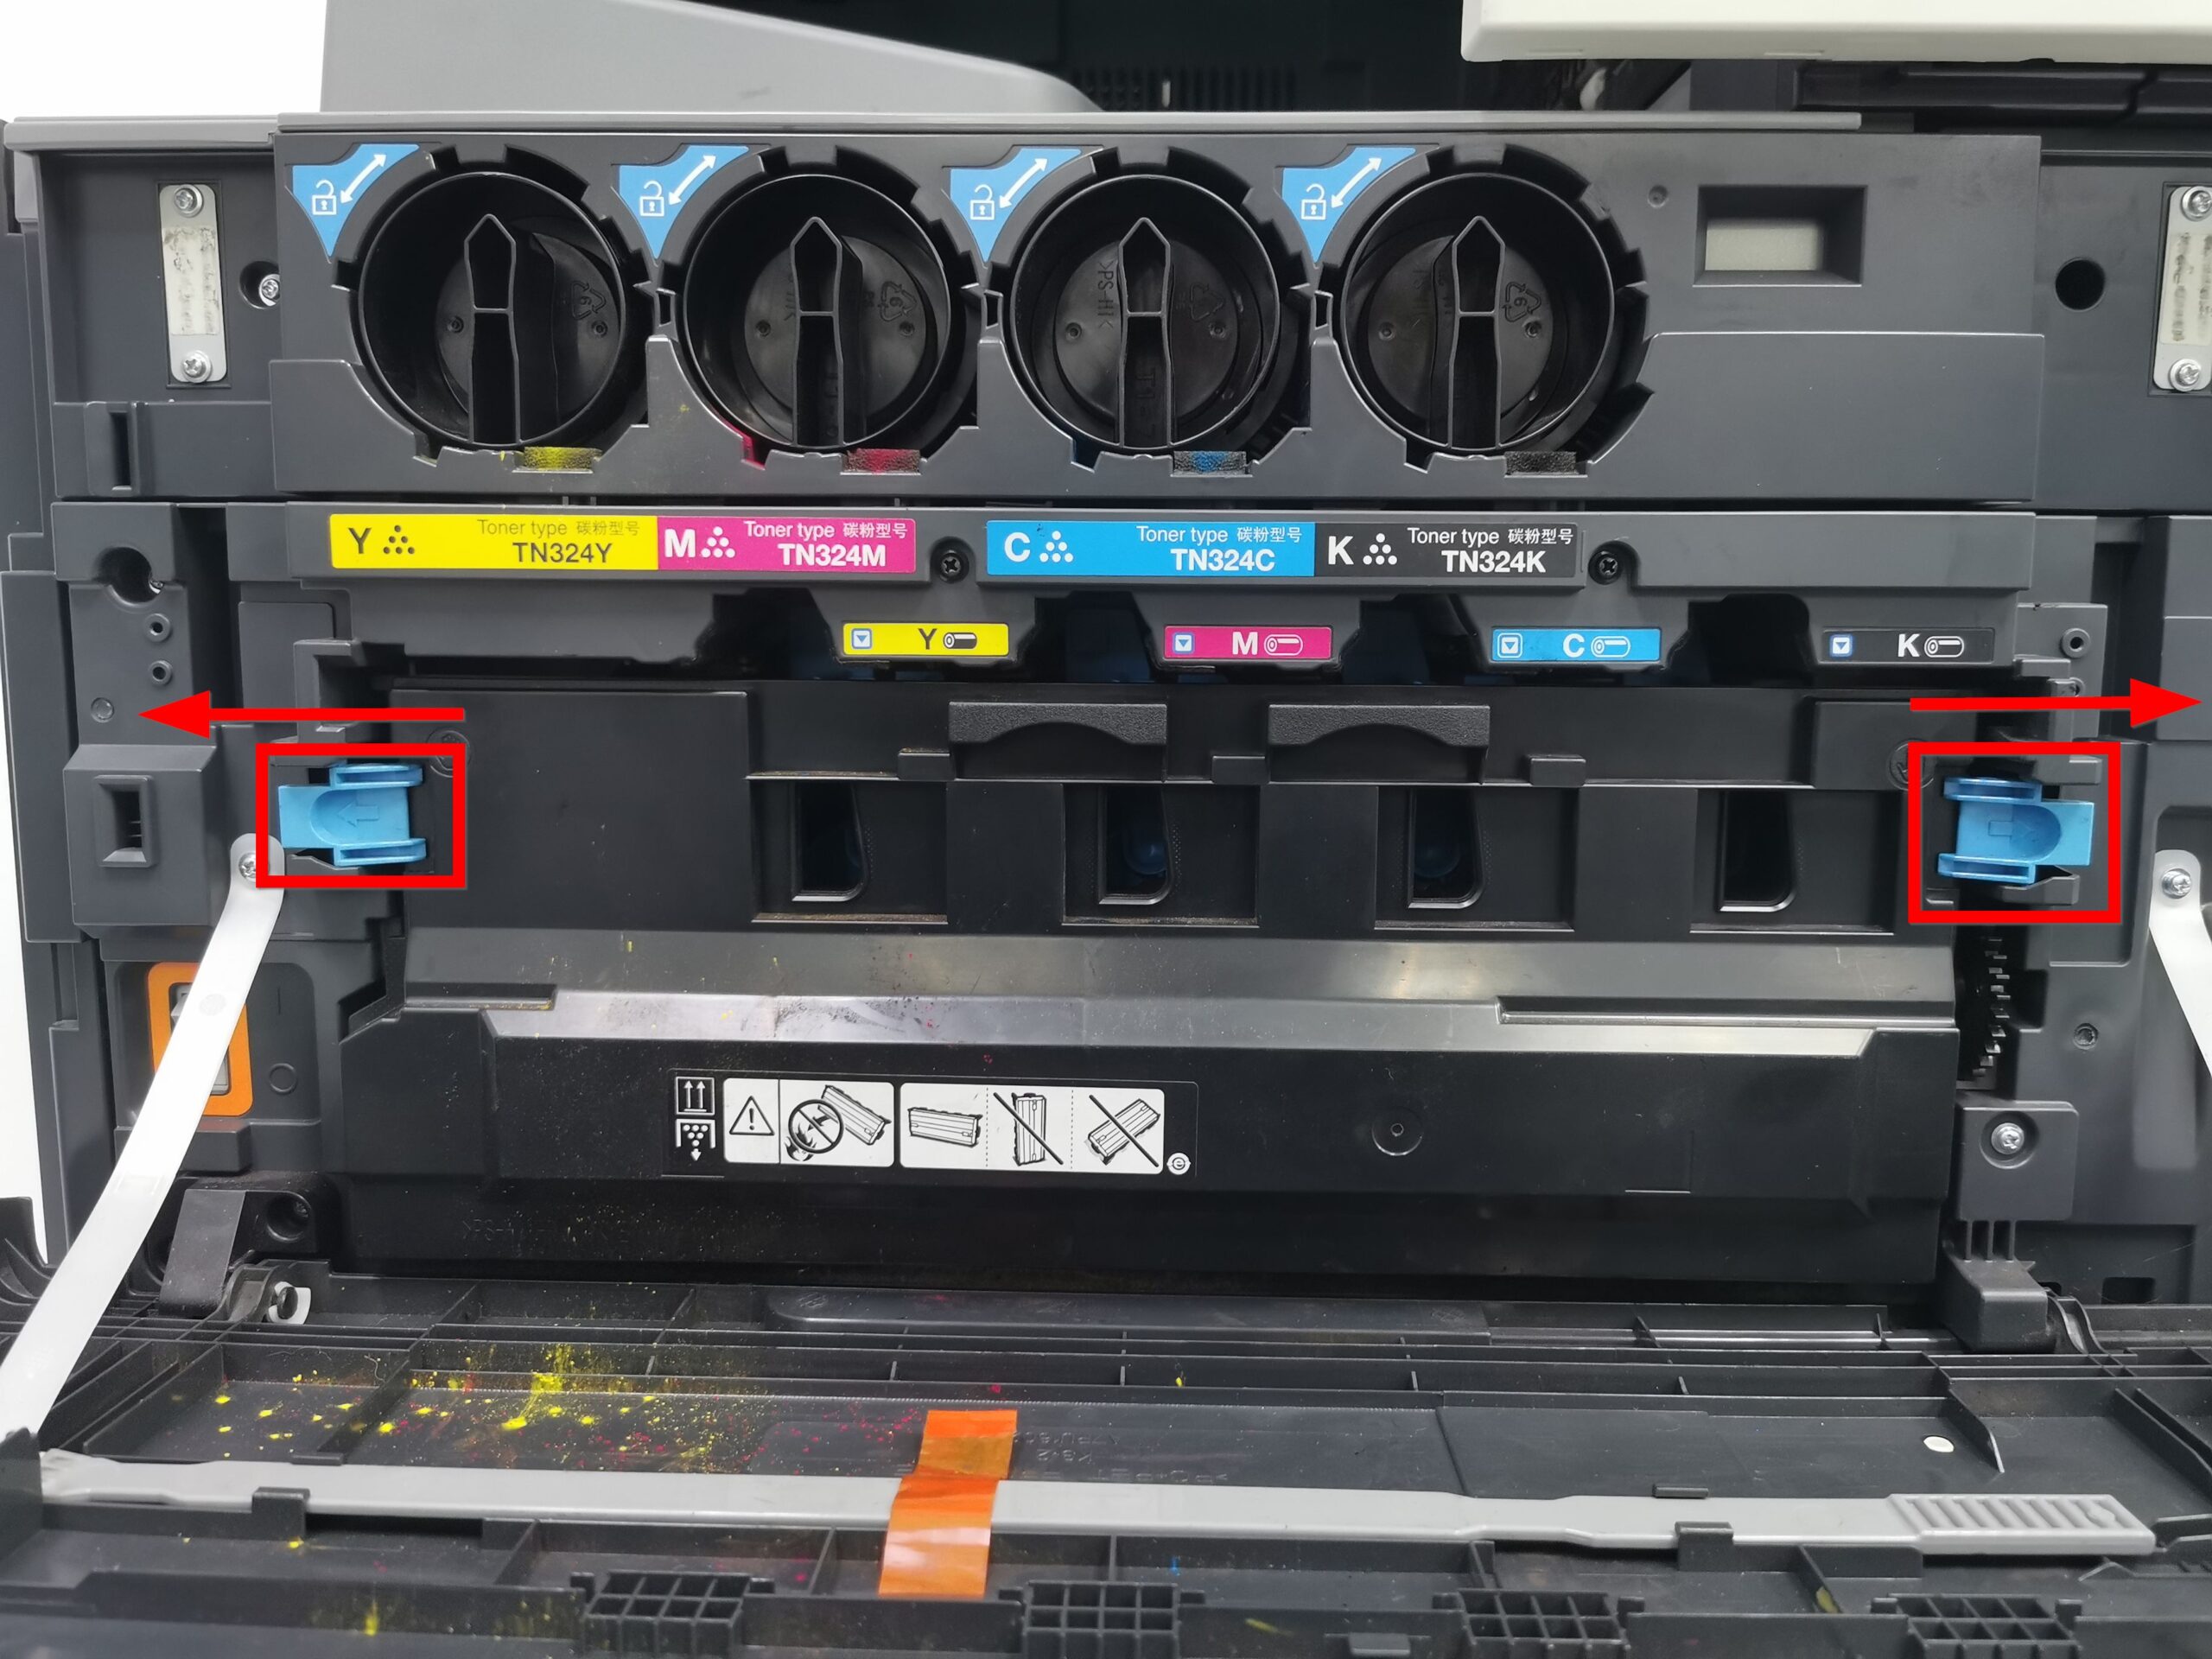
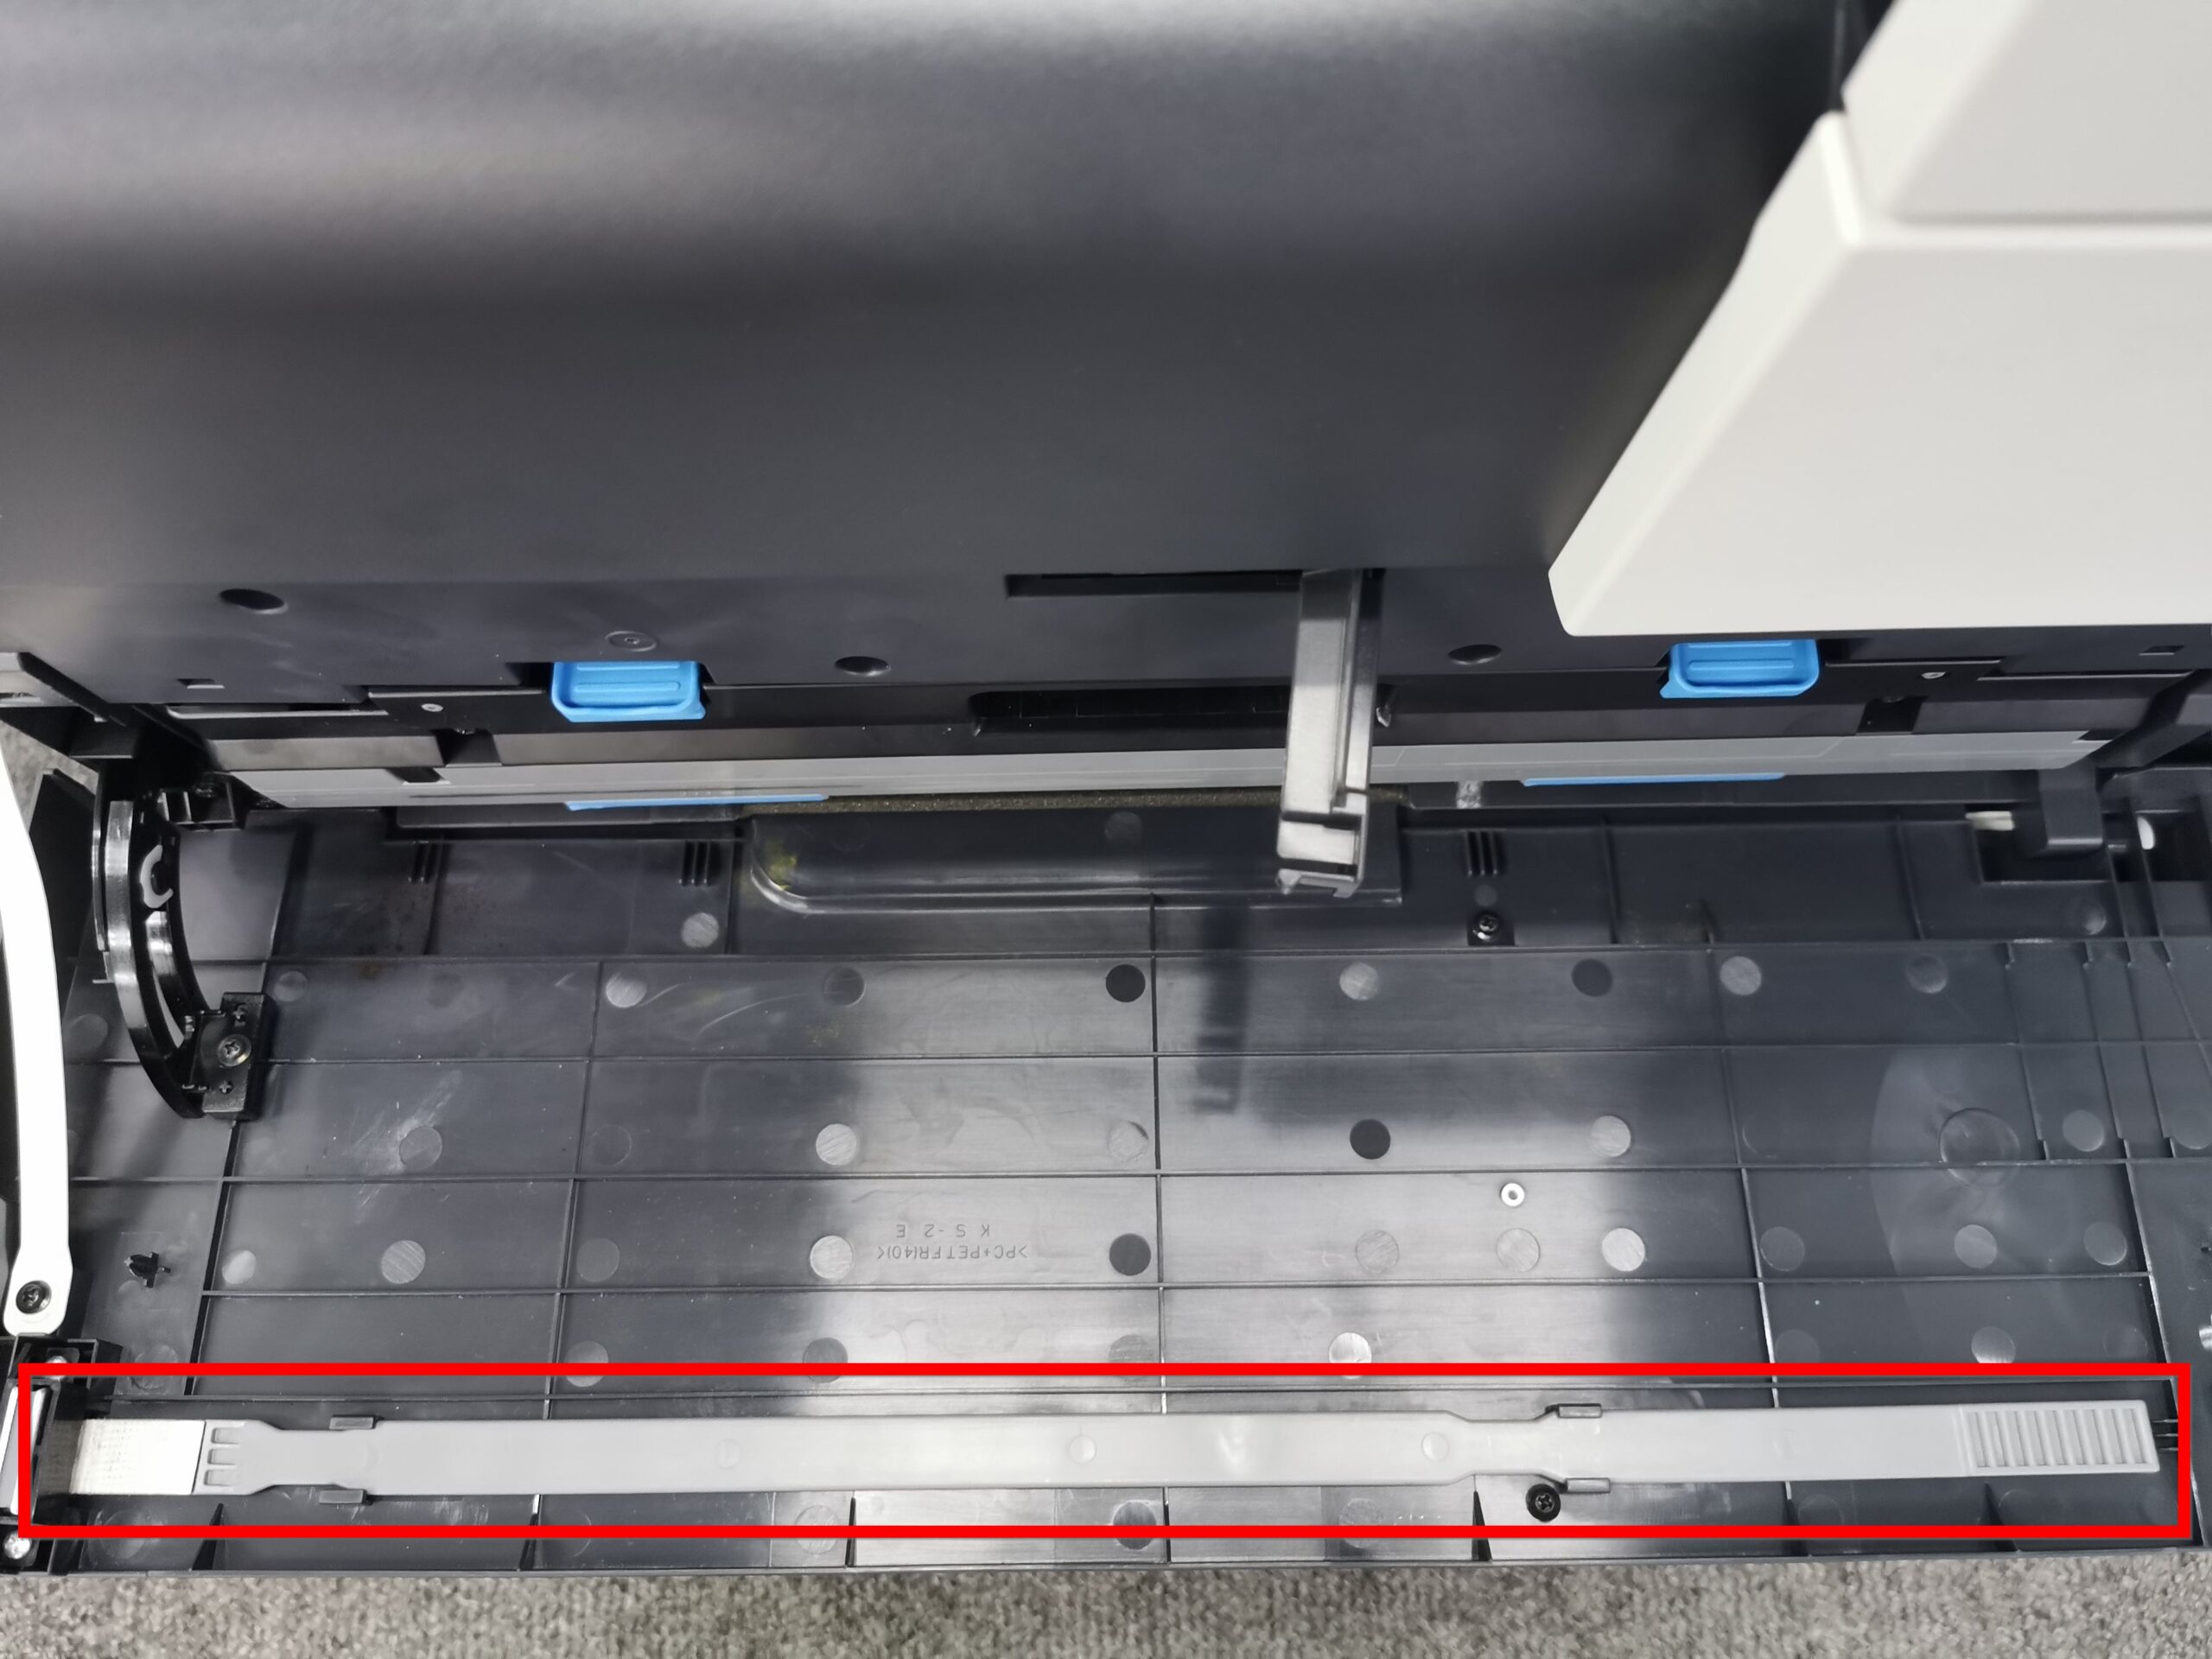
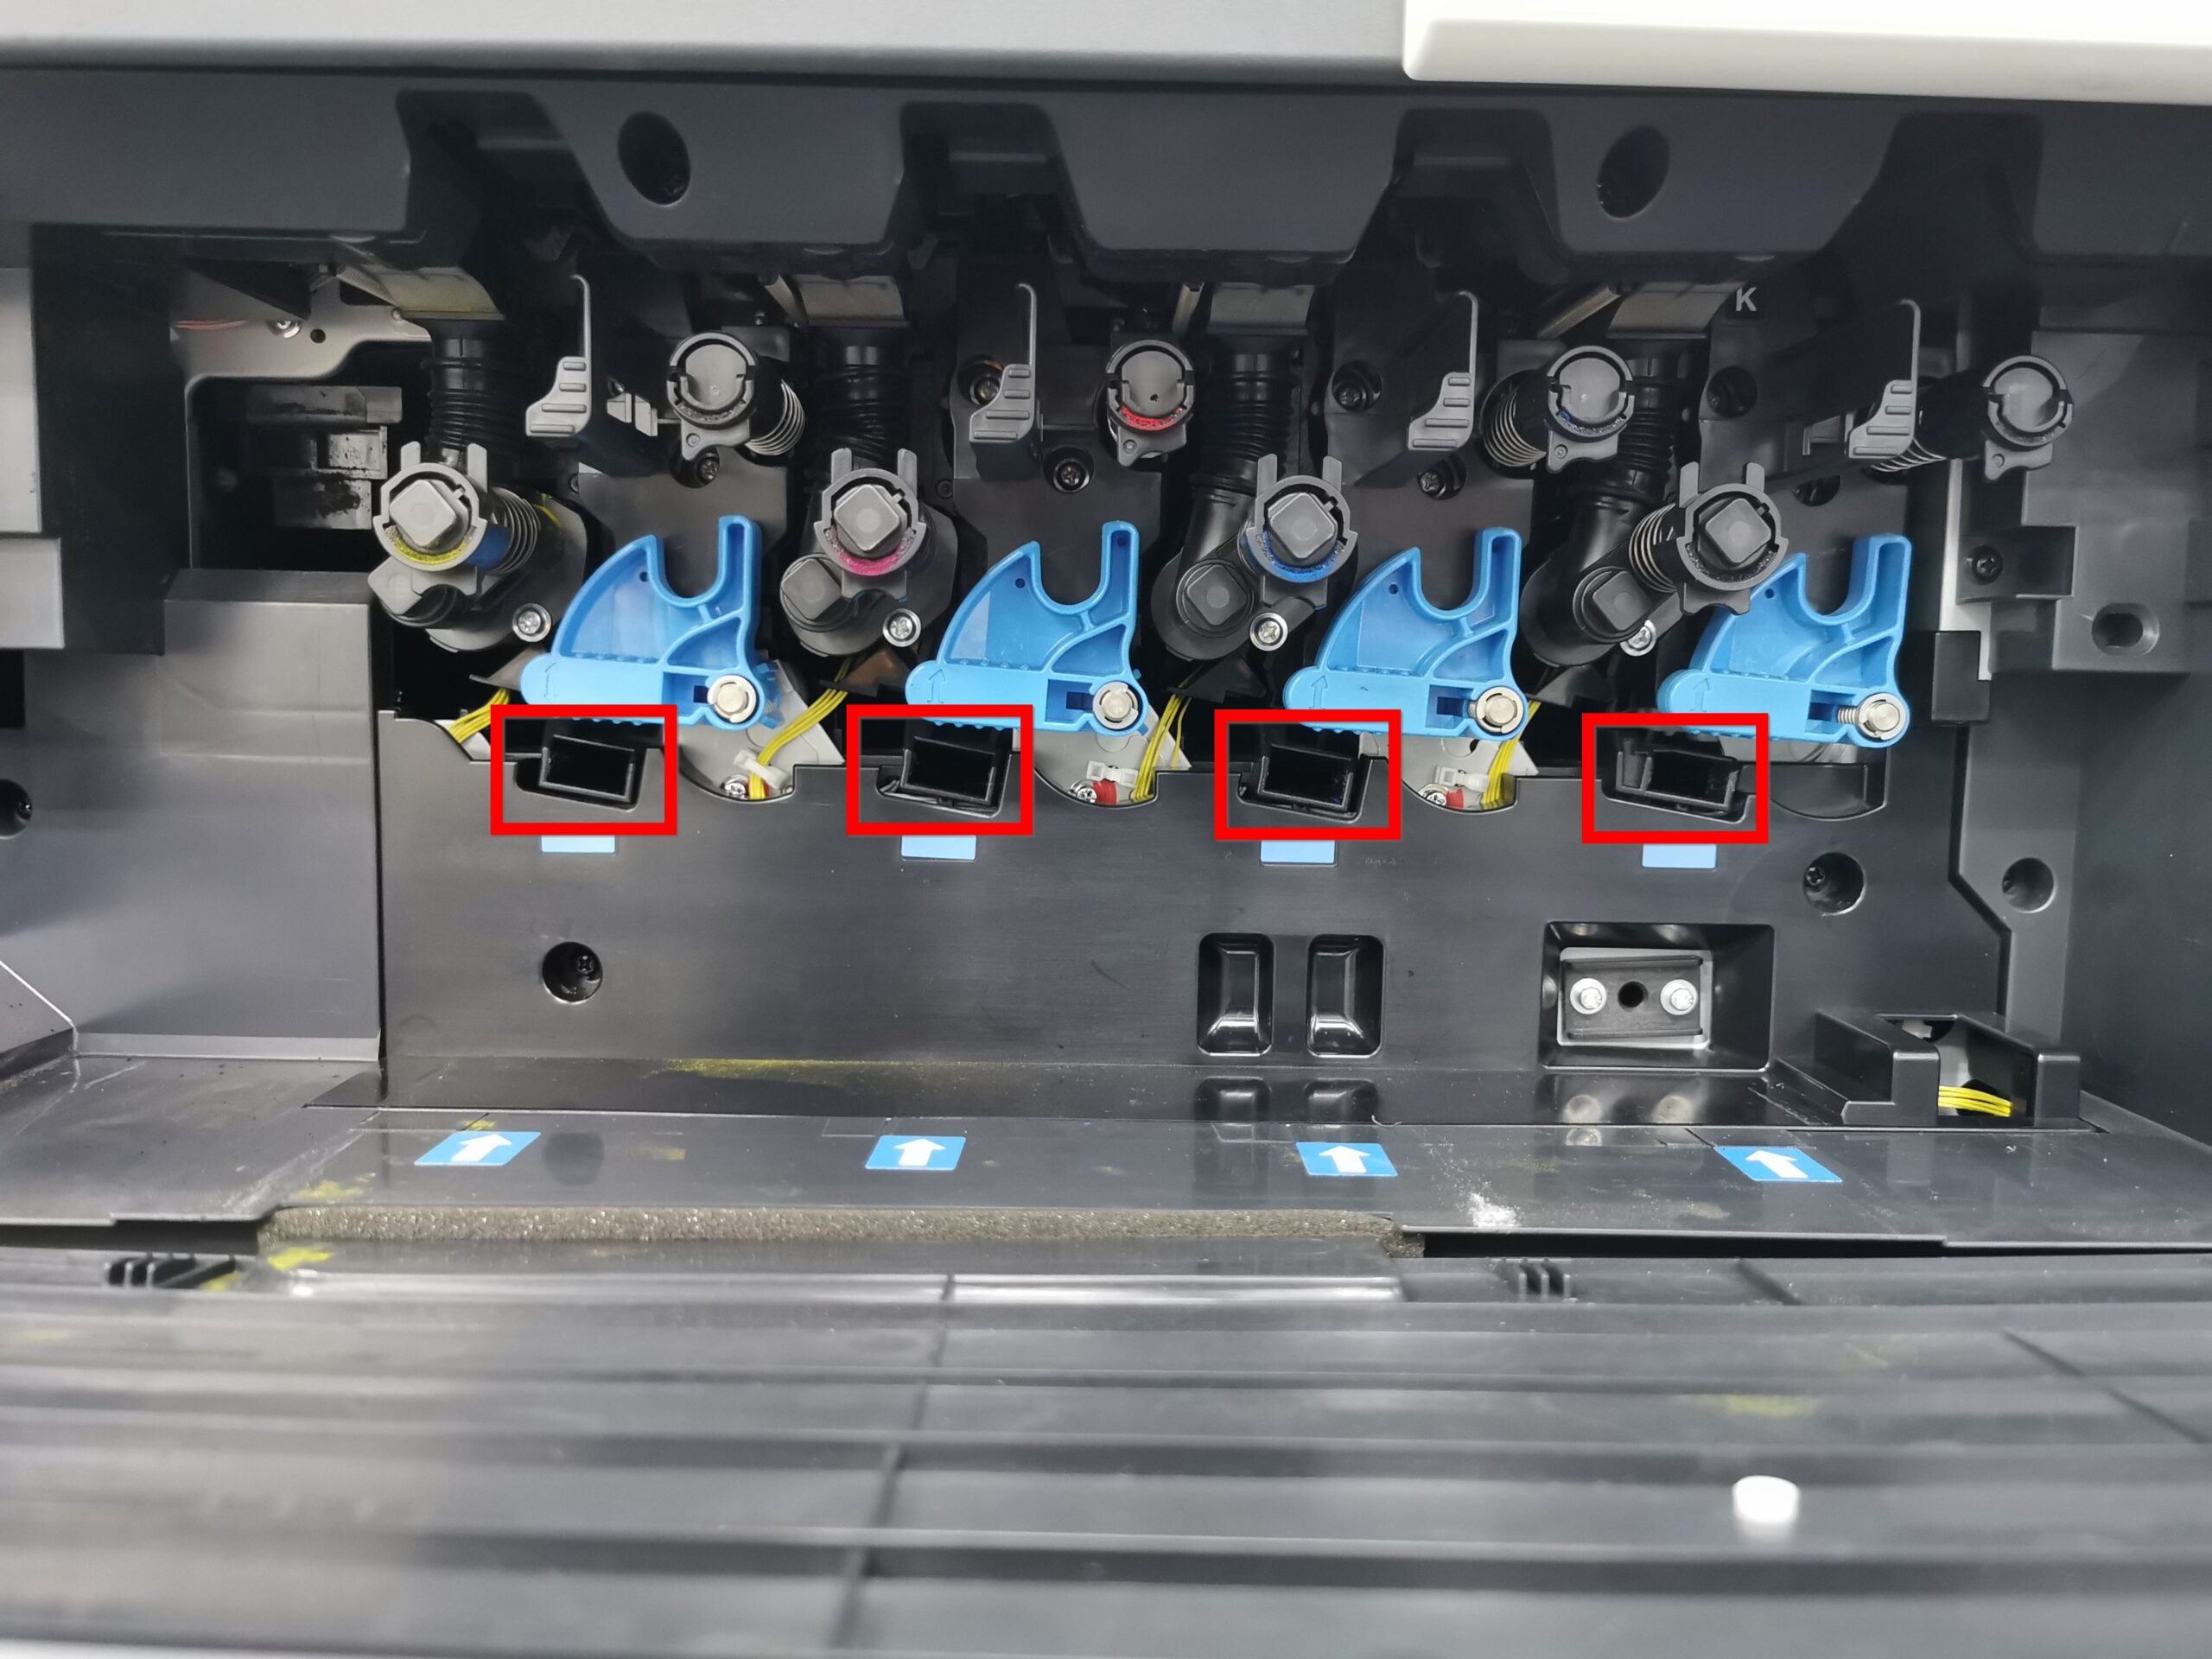
STEP 3 – Locate the [Printhead Cleaner] stored inside the front door and remove it.
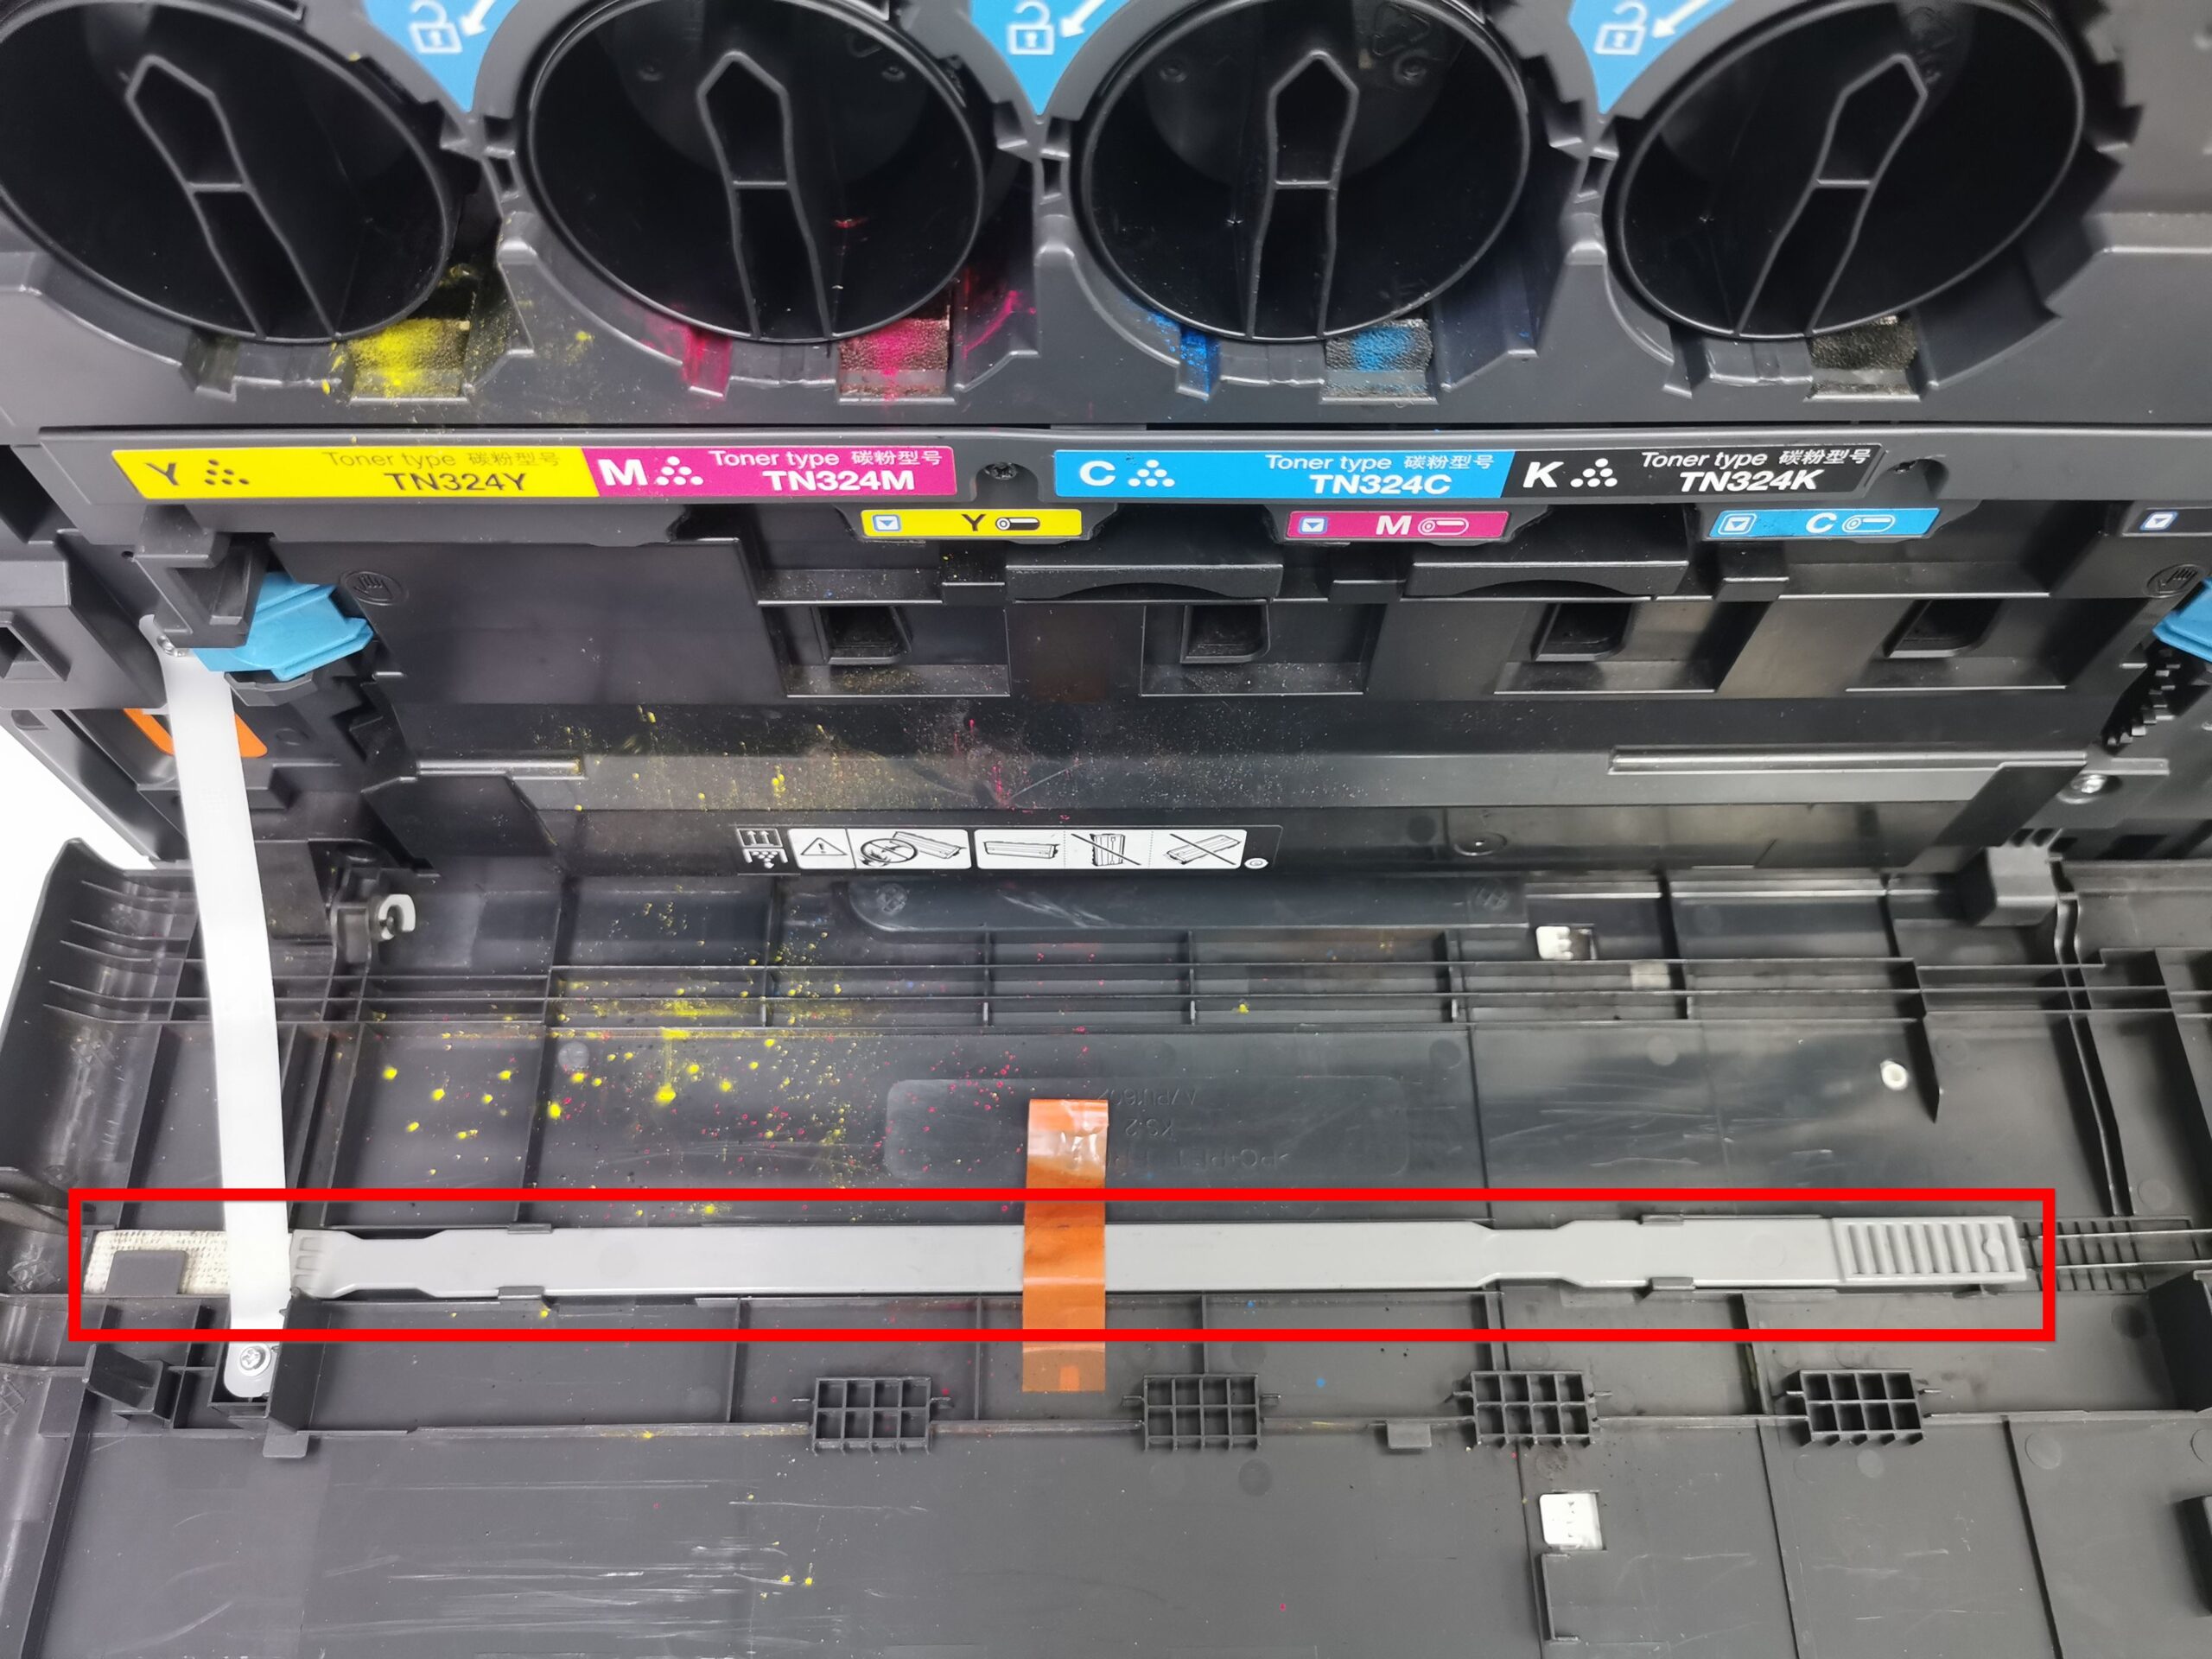
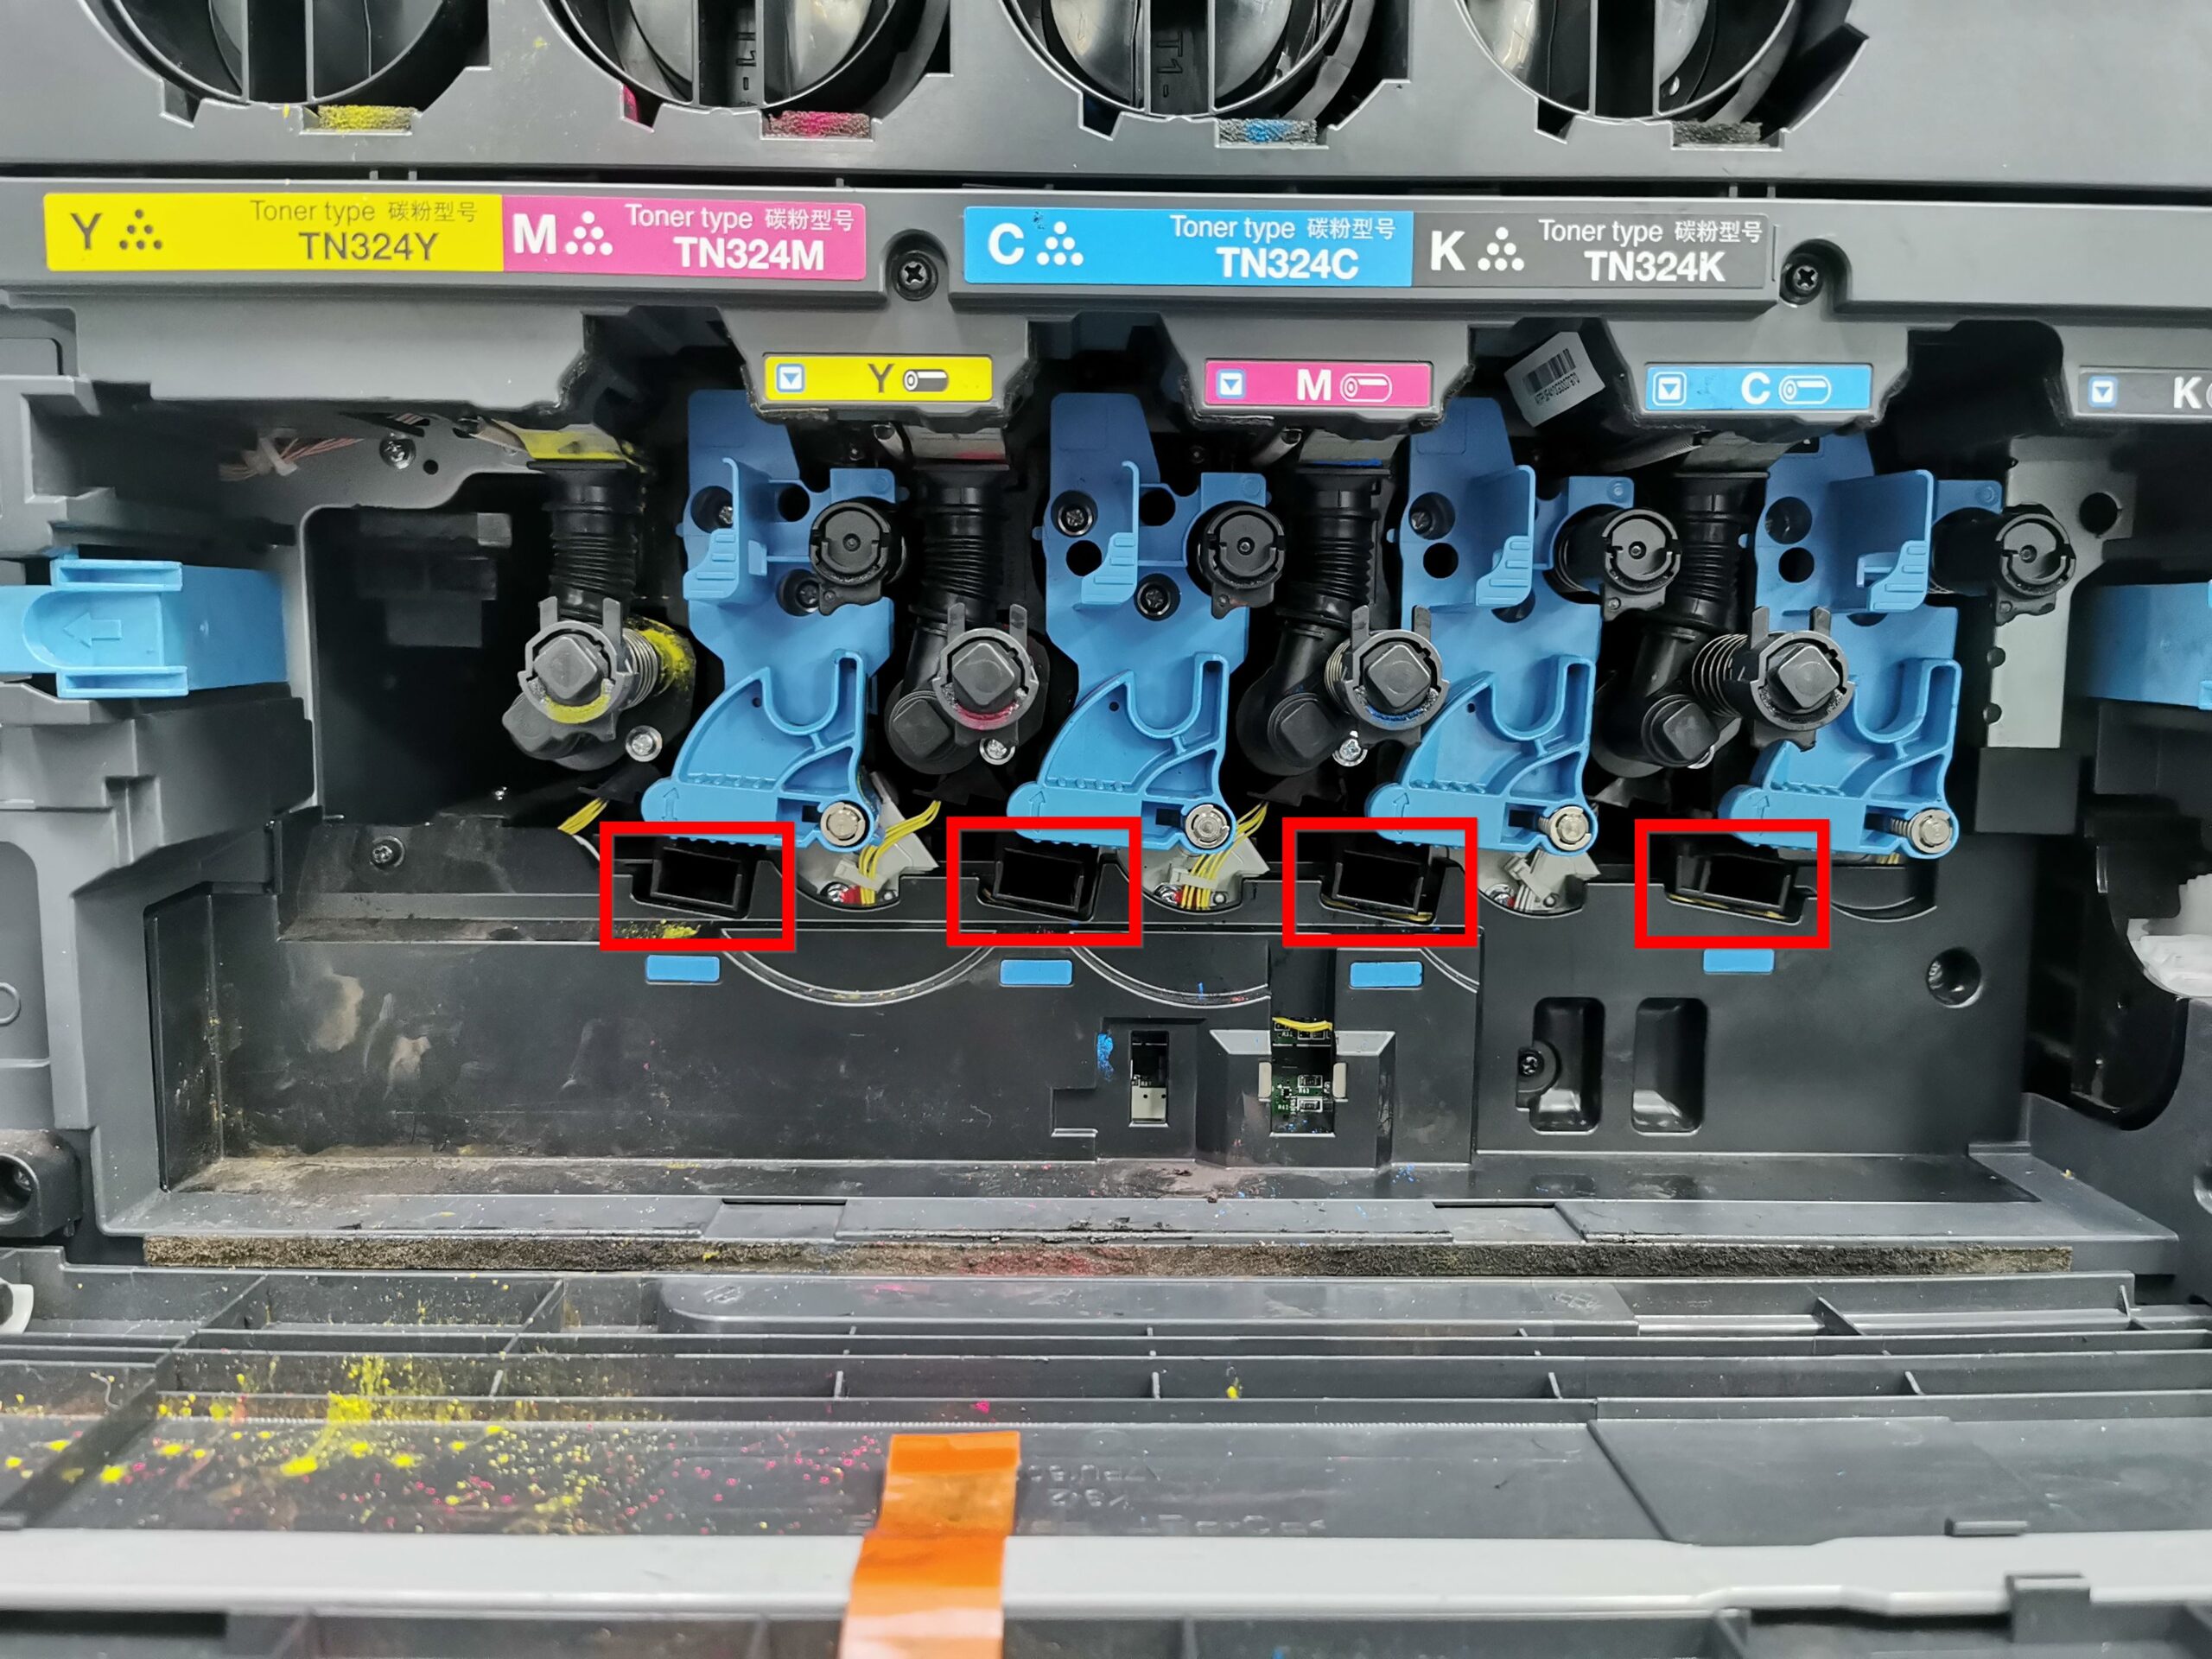
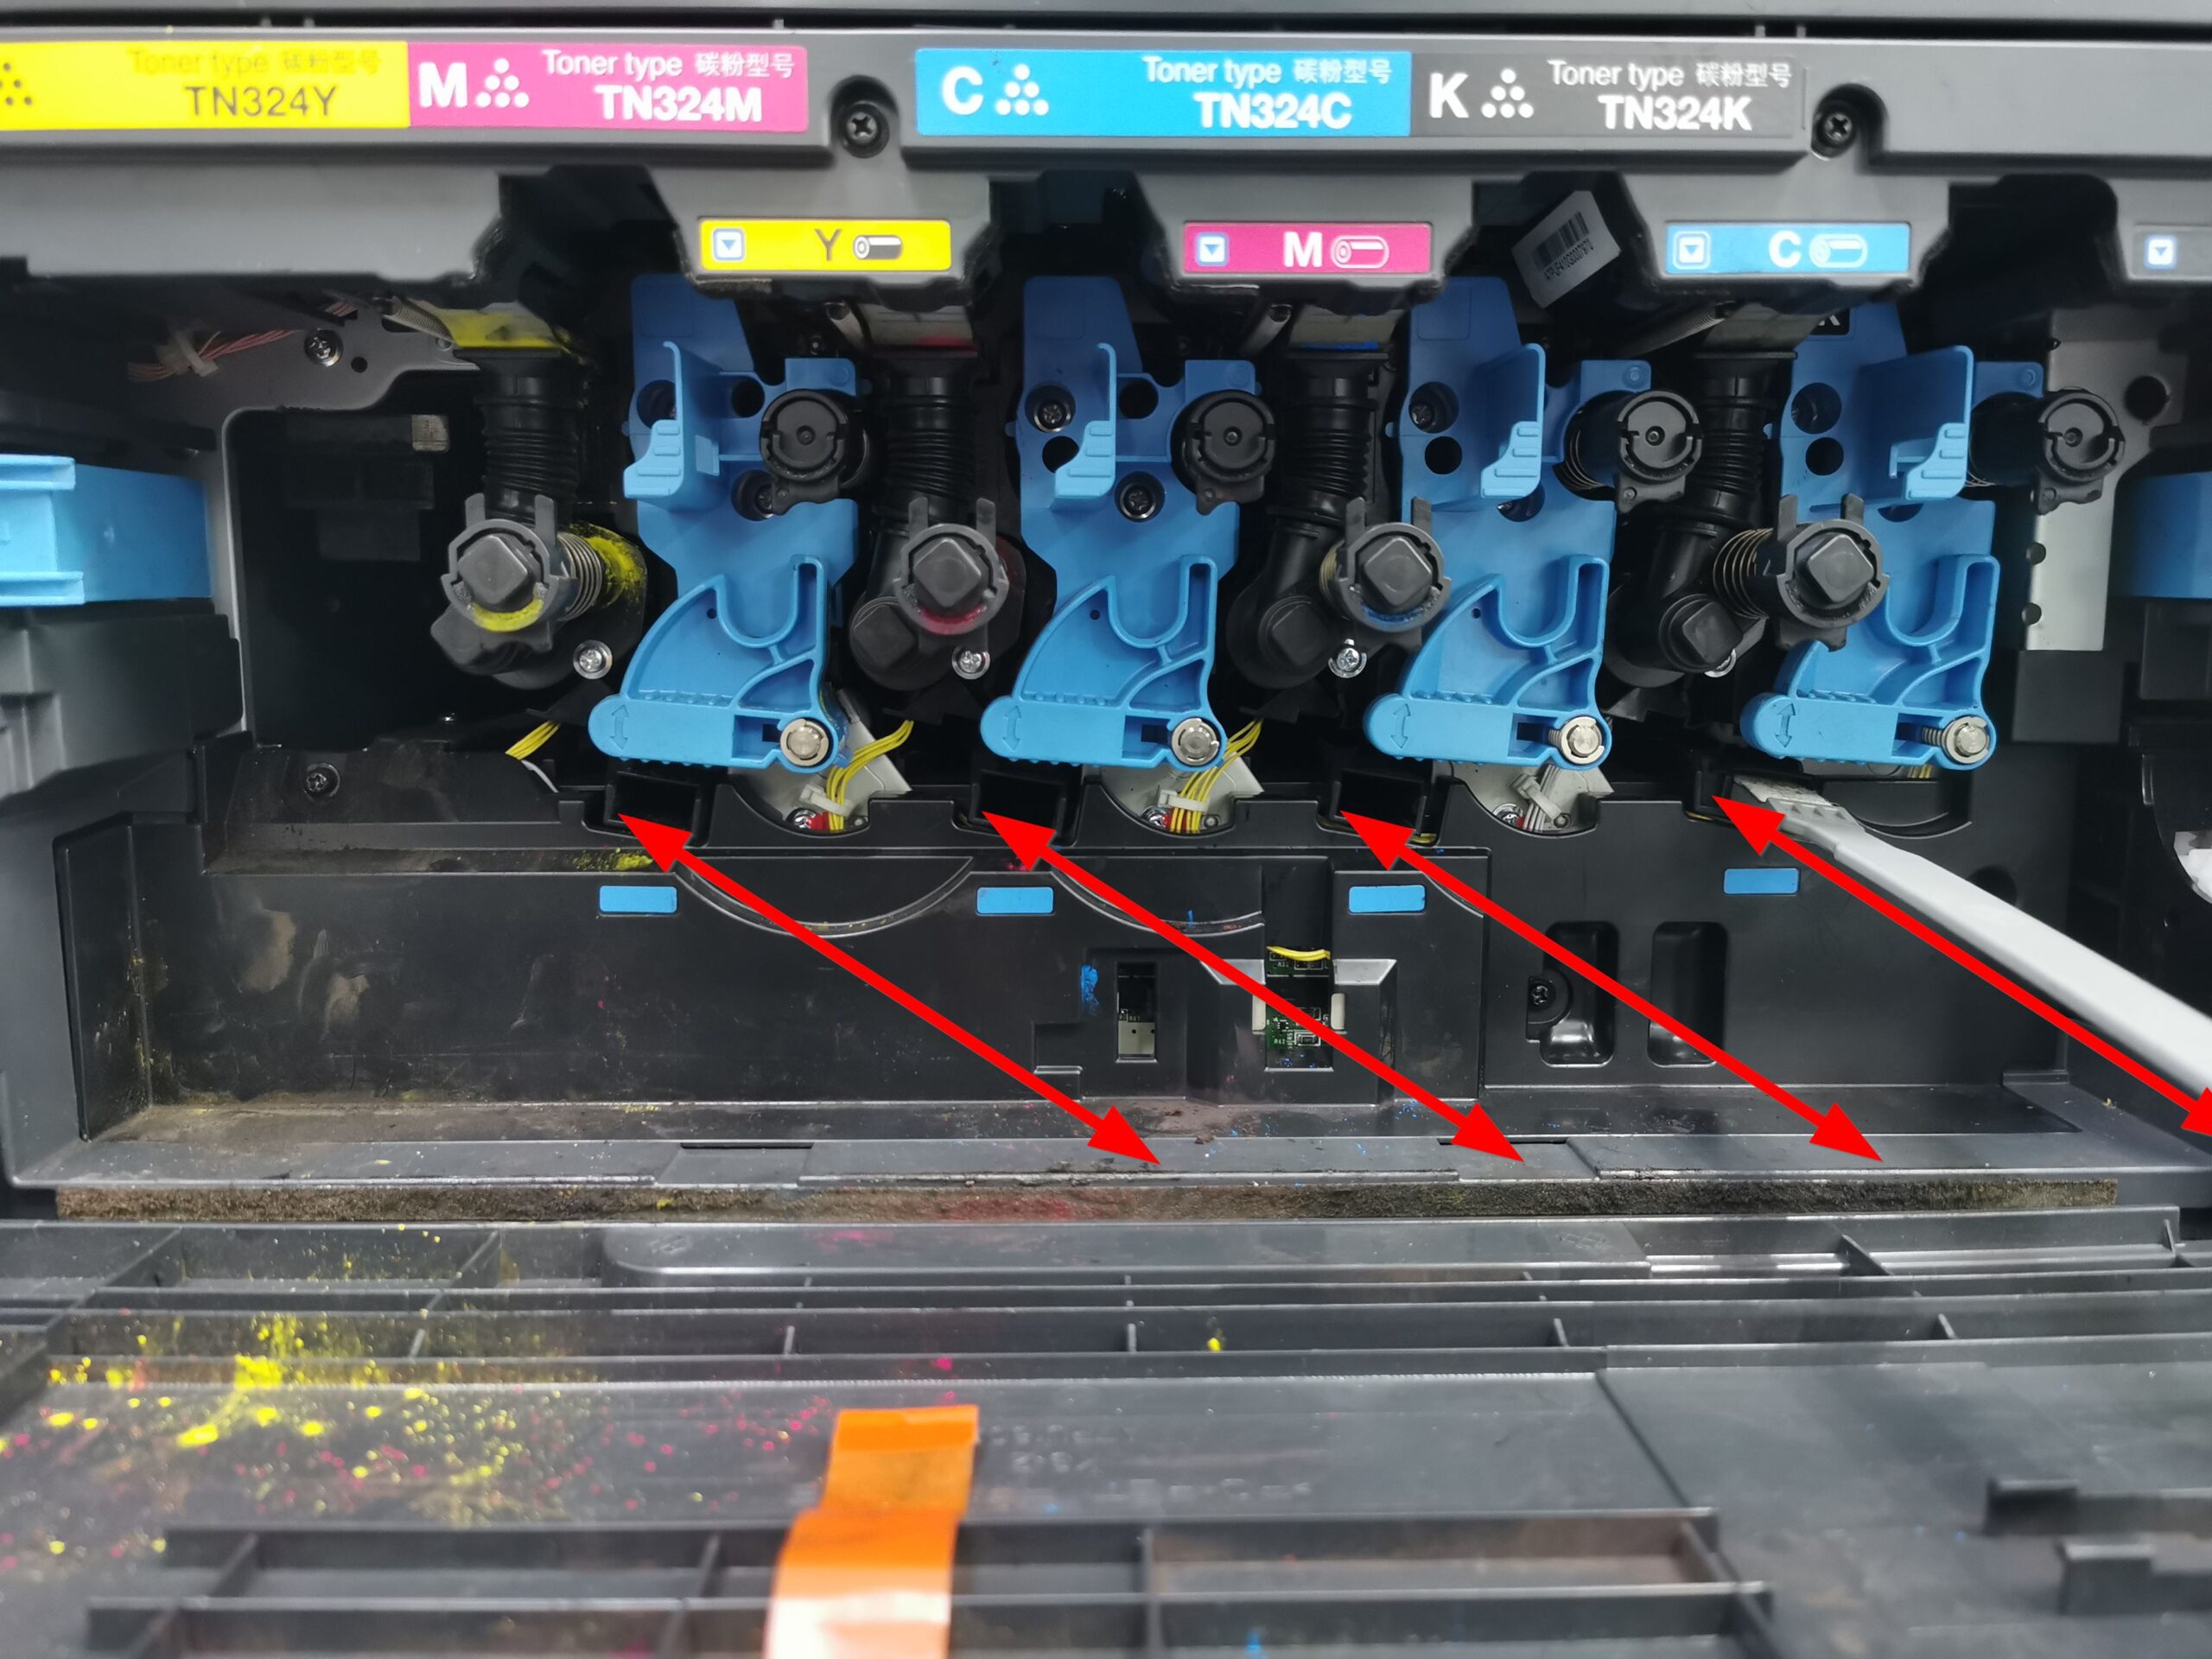
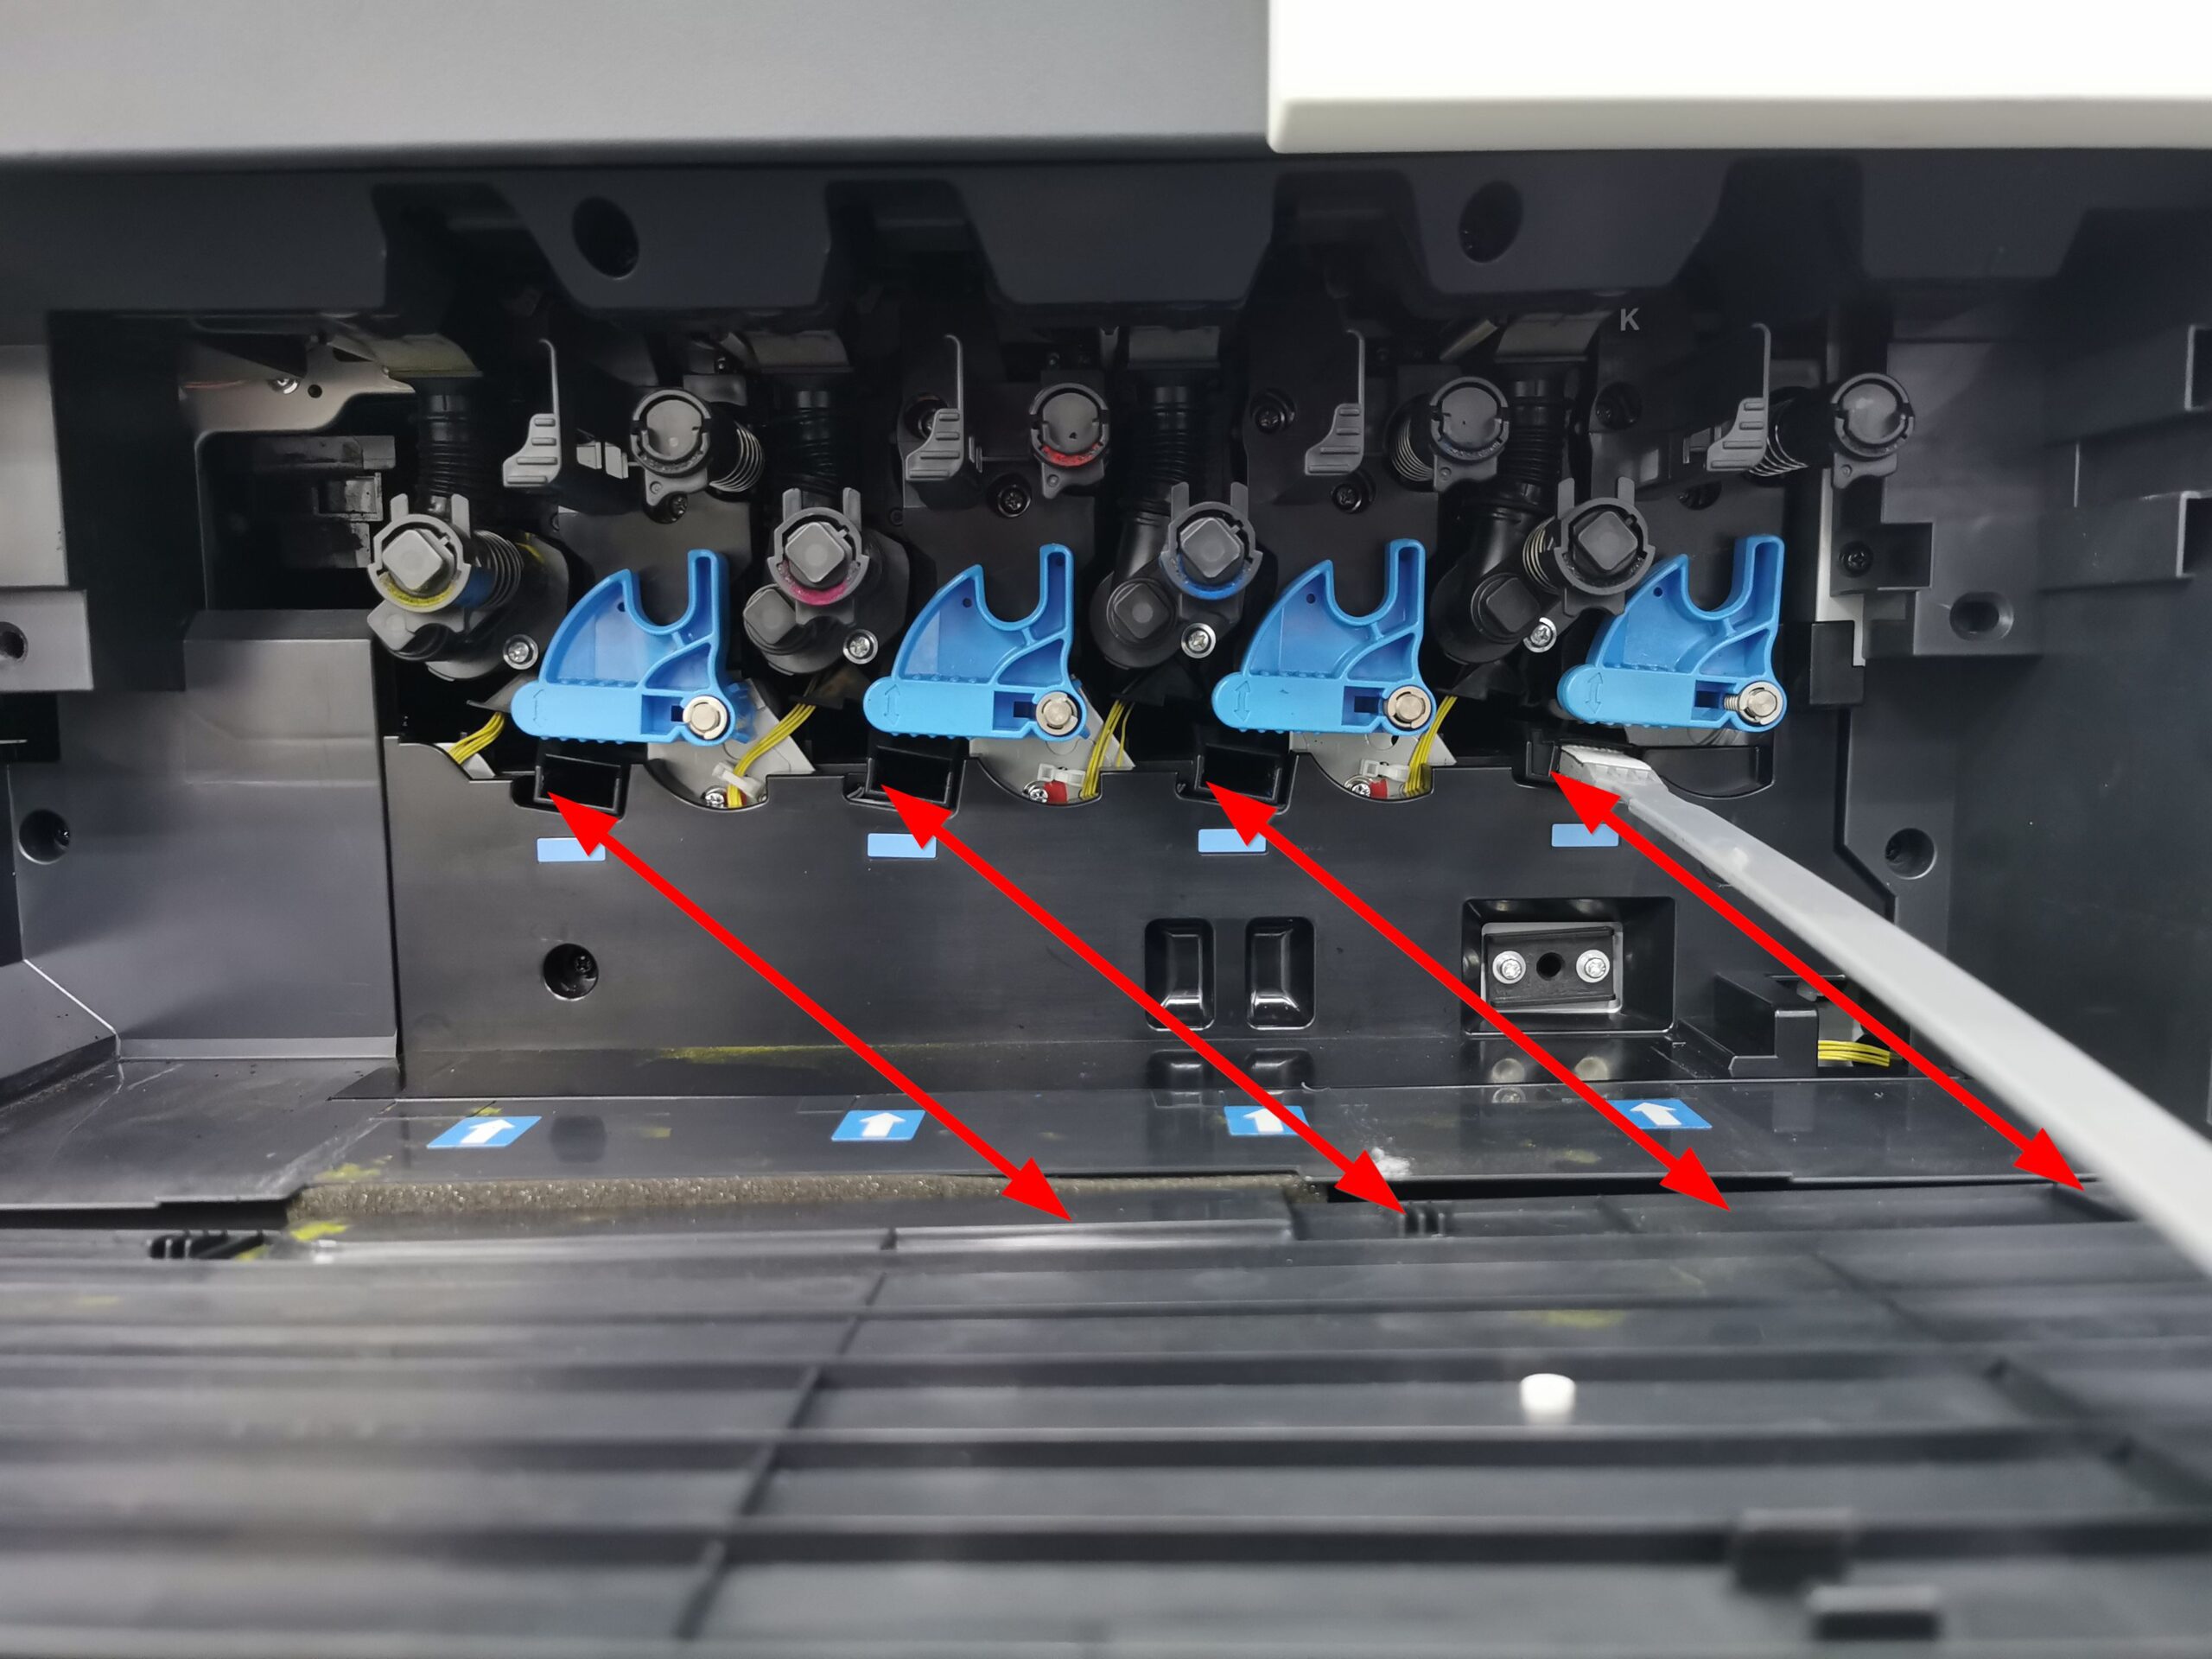
STEP 4 – Insert the [Printhead Cleaner] slowly all the way to the back end of the Print Head Glass and pull it out gently. Repeat this process about three times for each Print Head Glass section.
STEP 5 – After cleaning, place the [Printhead Cleaner] back into its holder on the front door. Insert the [Waste Toner Box] back into the machine and ensure it is securely locked. Close the machine front door to complete the process.
For the Newer Machine series / I-Series Machine
STEP 1 – Open the [Front Door] of the machine to access the internal components.
STEP 2 – Release the [Waste Toner Box Lock Lever] and carefully remove the [Waste Toner Box] from the machine.
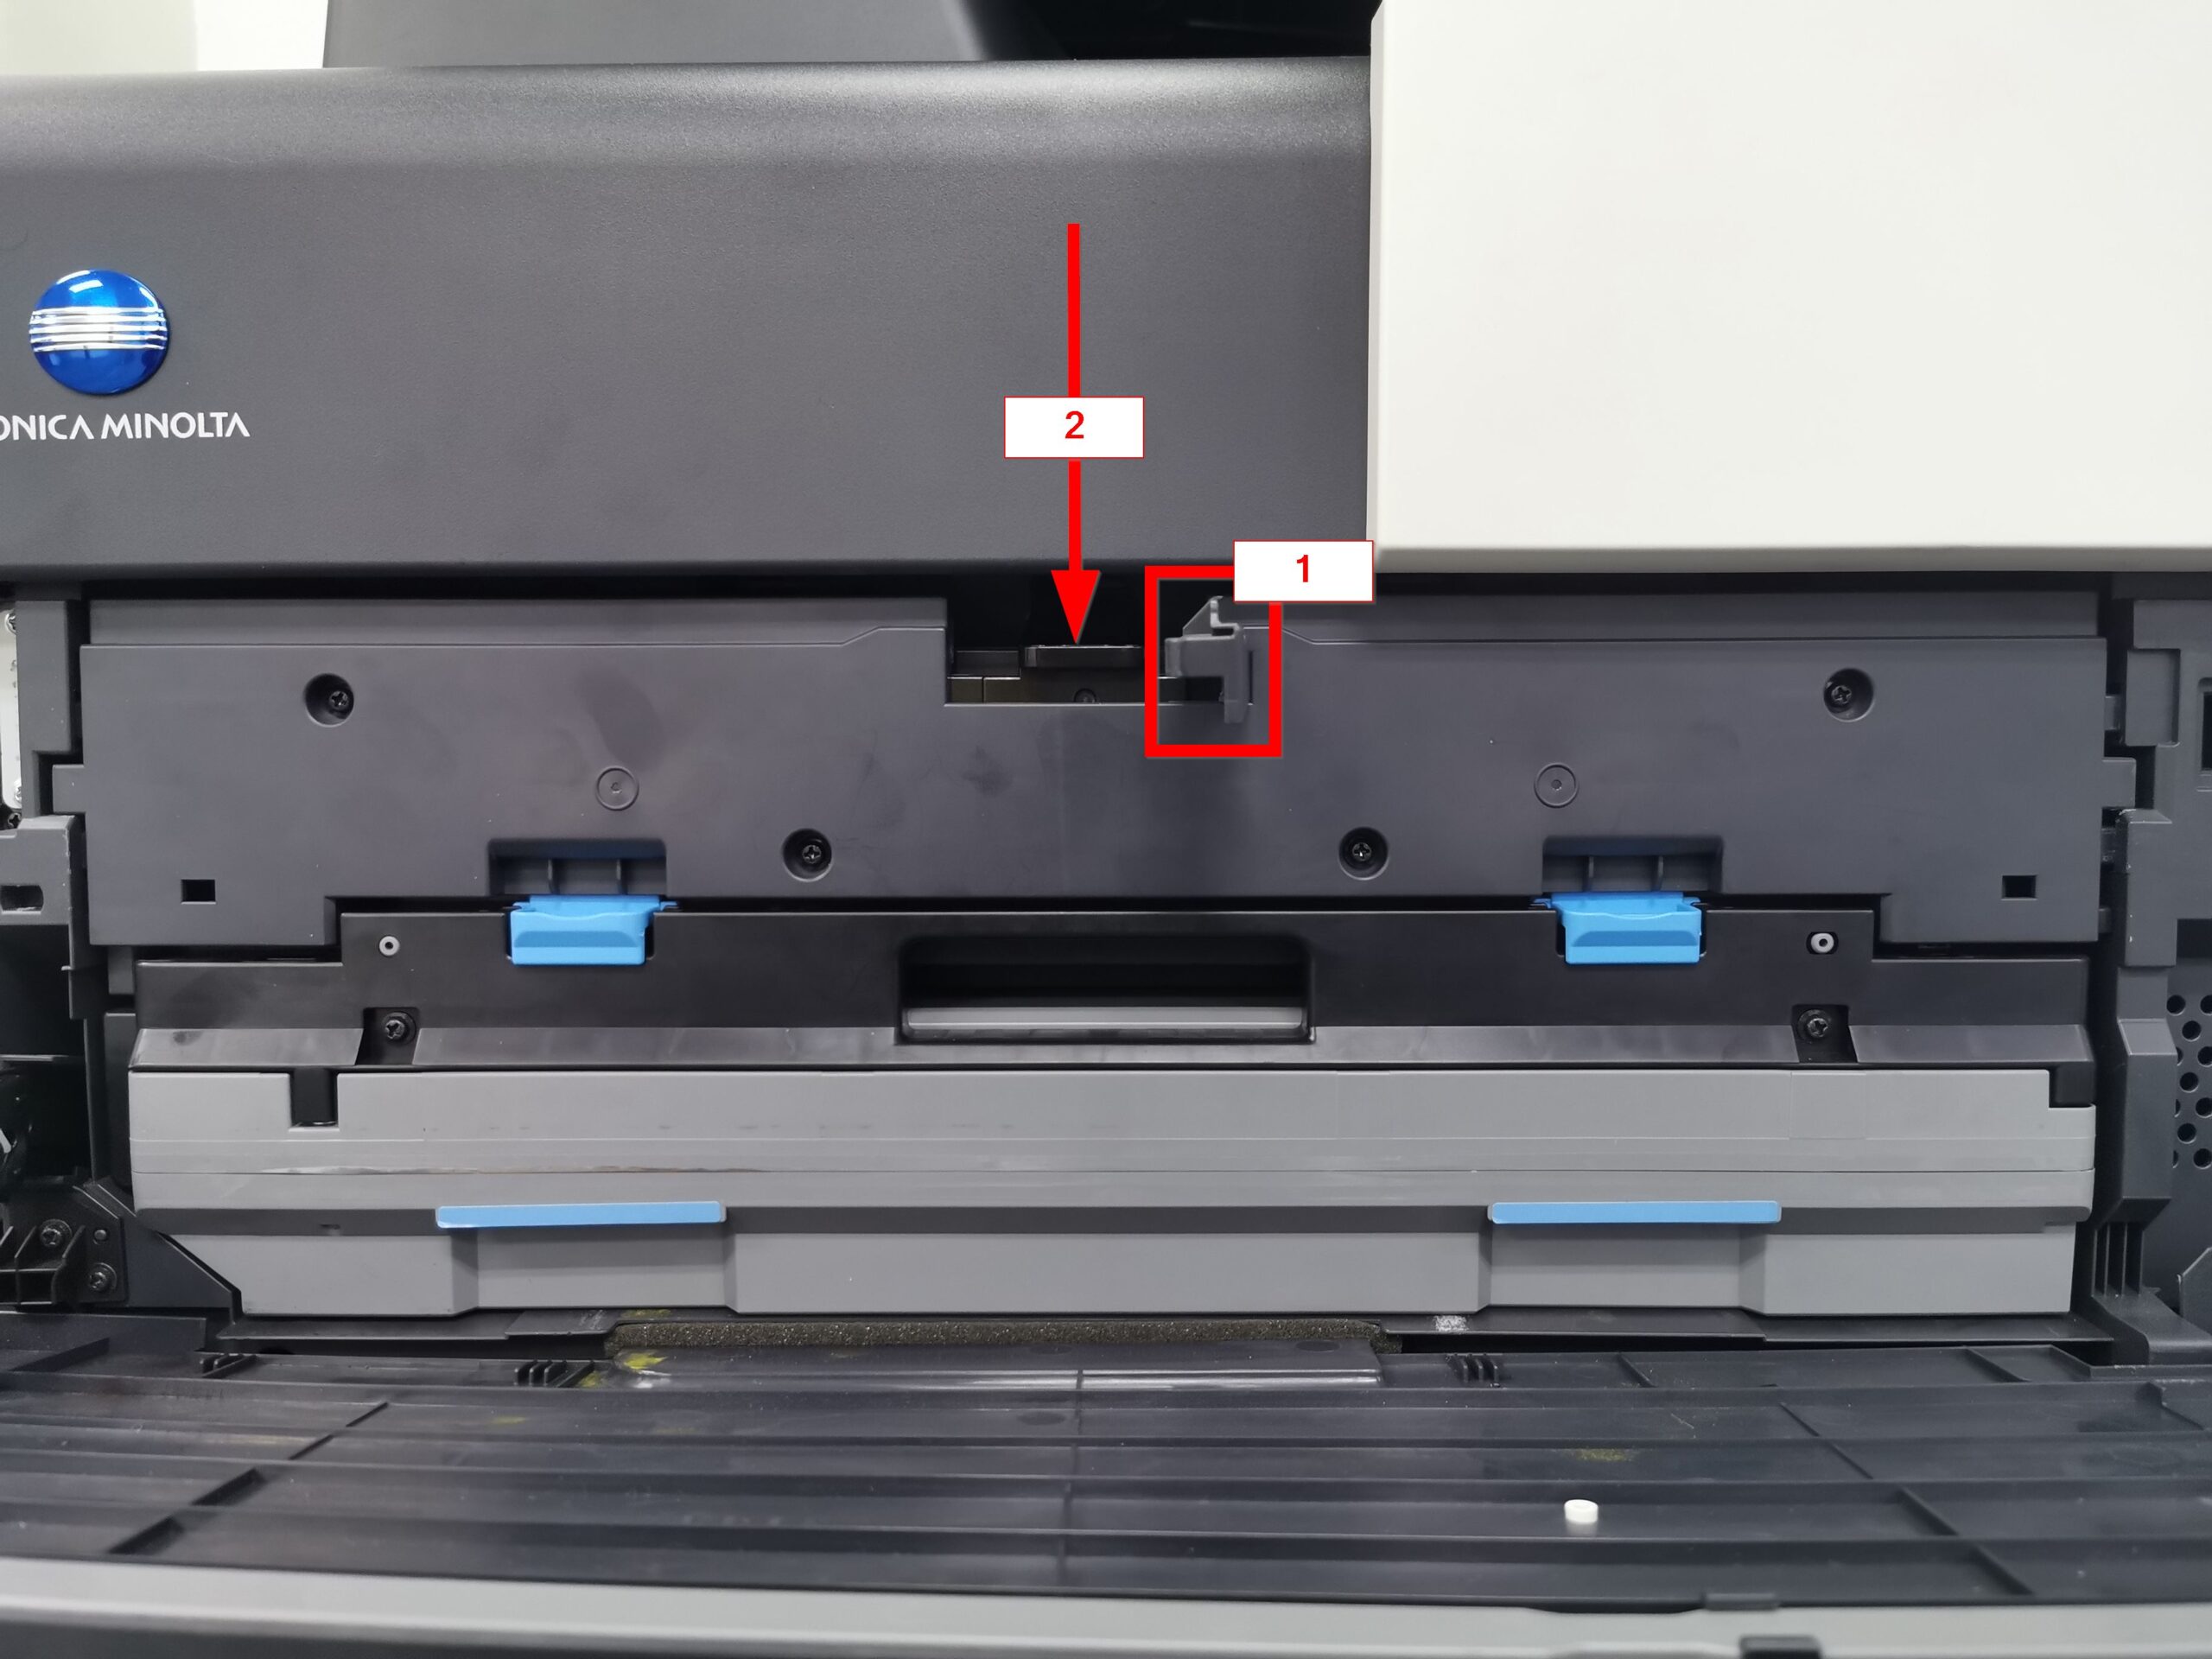
STEP 3 – Locate the [Printhead Cleaner] stored inside the front door and remove it.
STEP 4 – Insert the [Printhead Cleaner] slowly all the way to the back end of the Print Head Glass and pull it out gently. Repeat this process about three times for each Print Head Glass section.
STEP 5 – After cleaning, place the [Printhead Cleaner] back into its holder on the front door. Insert the [Waste Toner Box] back into the machine and ensure it is securely locked. Close the machine front door to complete the process.