
Guide On How To Install Printer Driver Via USB Cable On Windows PC.
REQUIREMENTS:
- Machine IP Address – Click Here for the guide on how to get the machine IP Address
- Download Printer Driver (Windows 7, Windows 8 & Windows 10) – Click Here for the guide on how to download the Printer Driver from the Download Centre website
- Download Printer Driver (Windows 11 & onward) – Click Here for the guide on how to download the Universal Printer Driver from the Download Centre website
Before the installation begins, make sure to extract the ZIP file for the INF file to be visible when installing the printer driver.

For Window 10 Installation
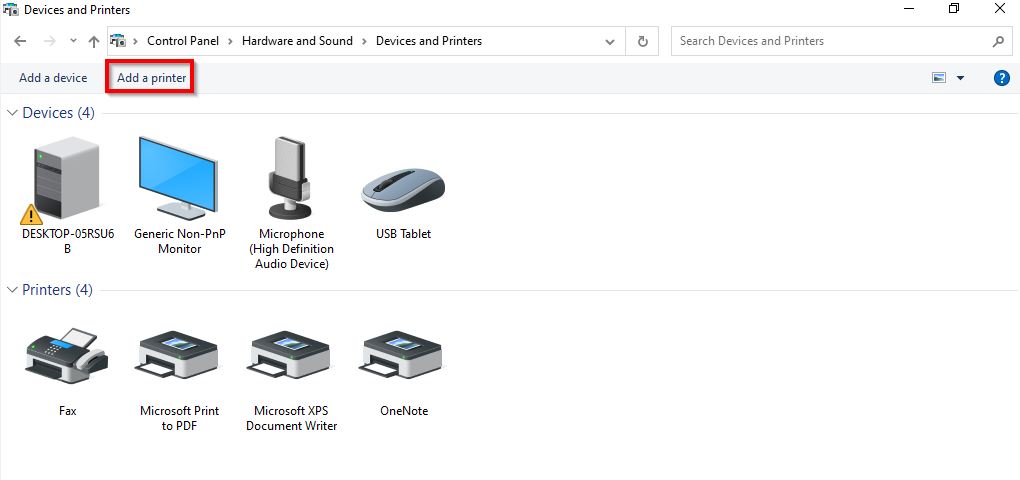
STEP 1 – Go to computer [Control Panel] and select [Devices and Printers].

STEP 2 – Select [Add a printer].
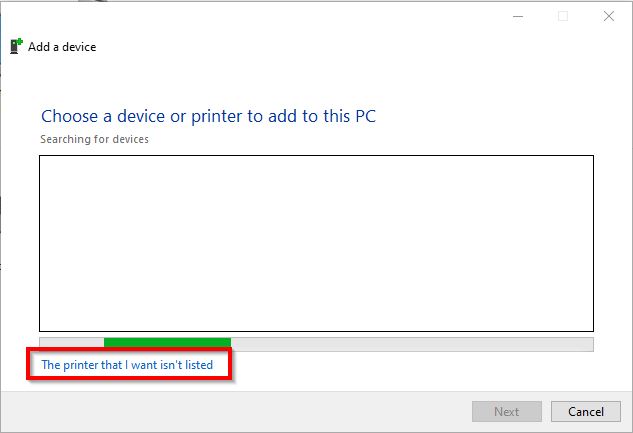
STEP 3 – Select [The printer that I want isn’t listed].
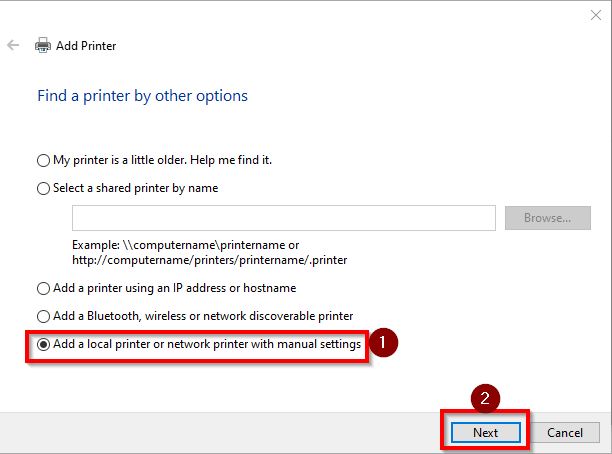
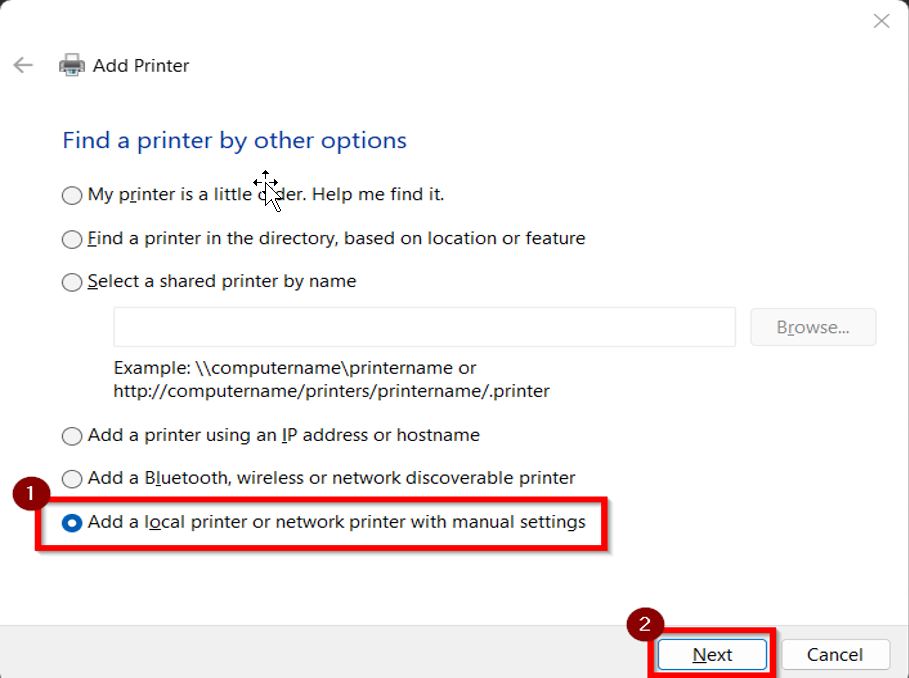
STEP 4 – Choose [Add a local printer or network printer with manual settings] then click [Next].
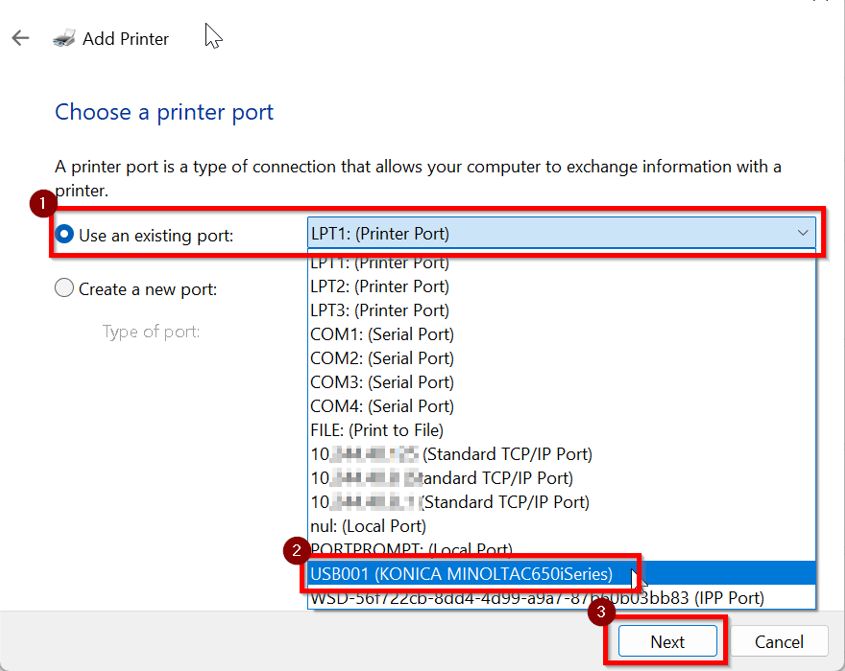
STEP 5 – Under Use an existing port, select [USB001] then proceed to [Next].
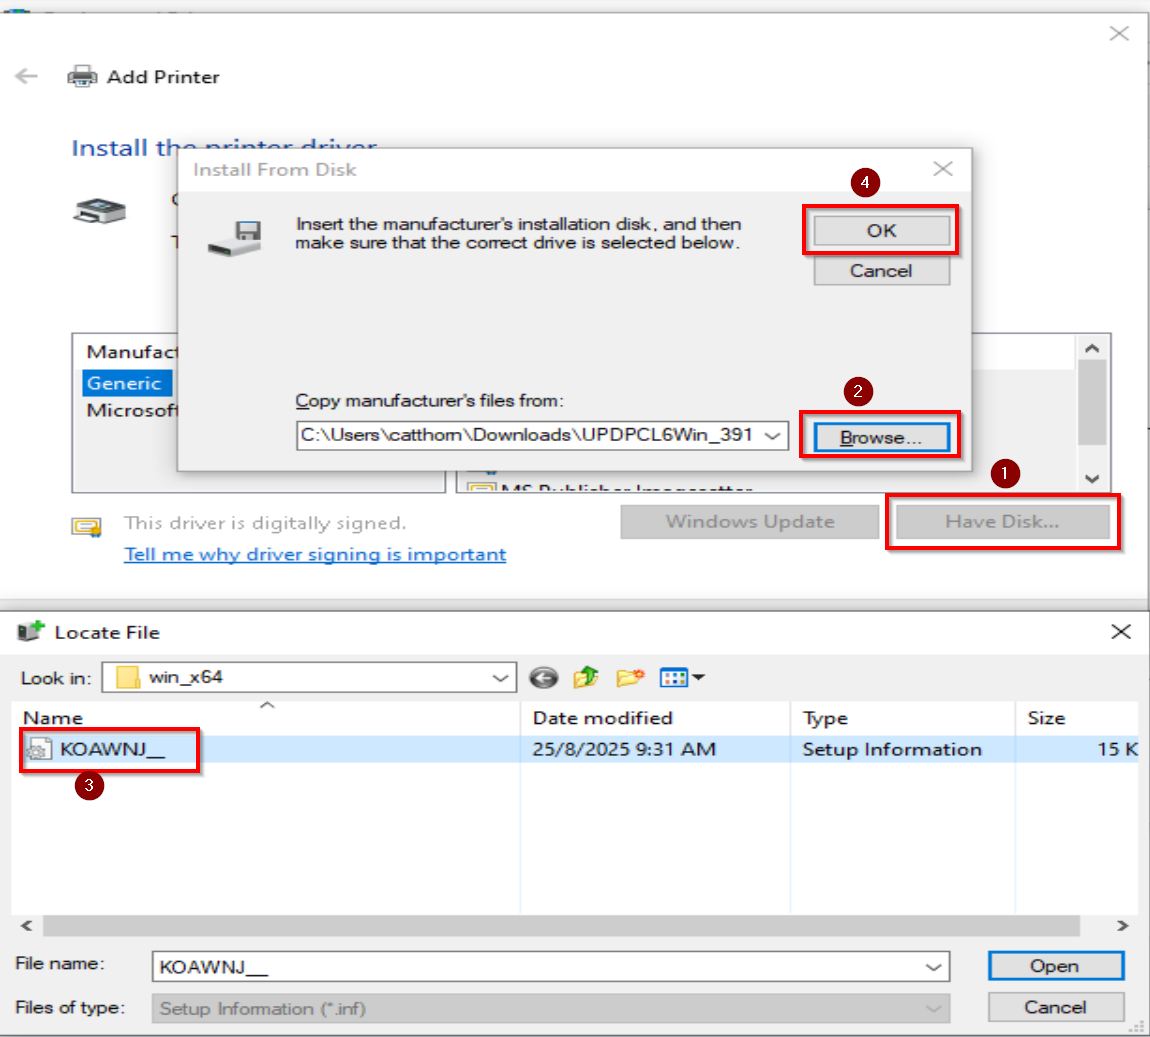
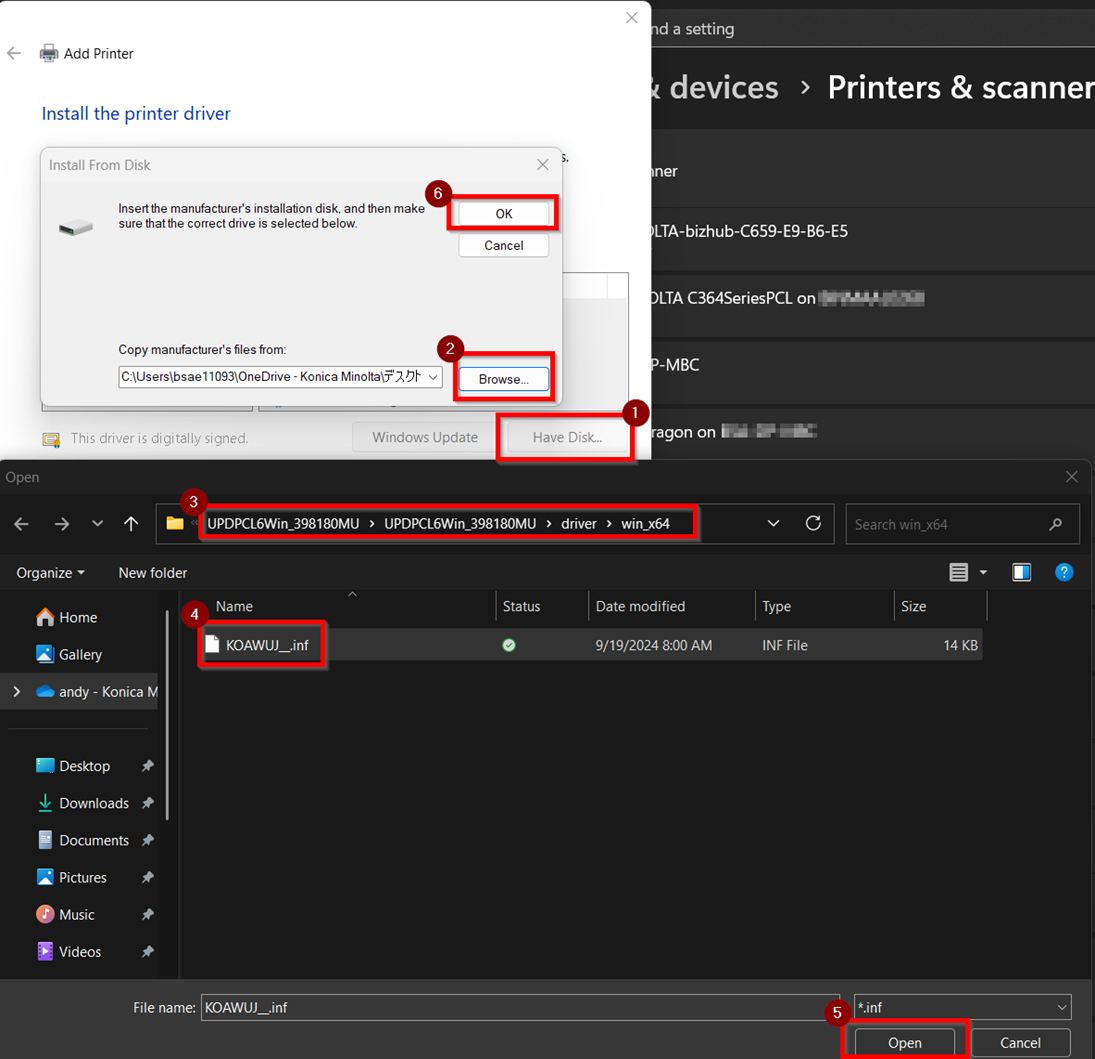
STEP 6 – Click on [Have Disk], select [Browse] and locate for the Printer Driver folder path [UPDPCL6Win_XXXXXXMU] – [driver] – [win_x64.inf]file that extracted previously.
STEP 7 – Select the [KONICA MINOLTA Universal PCL] and click [Next] to install Driver.

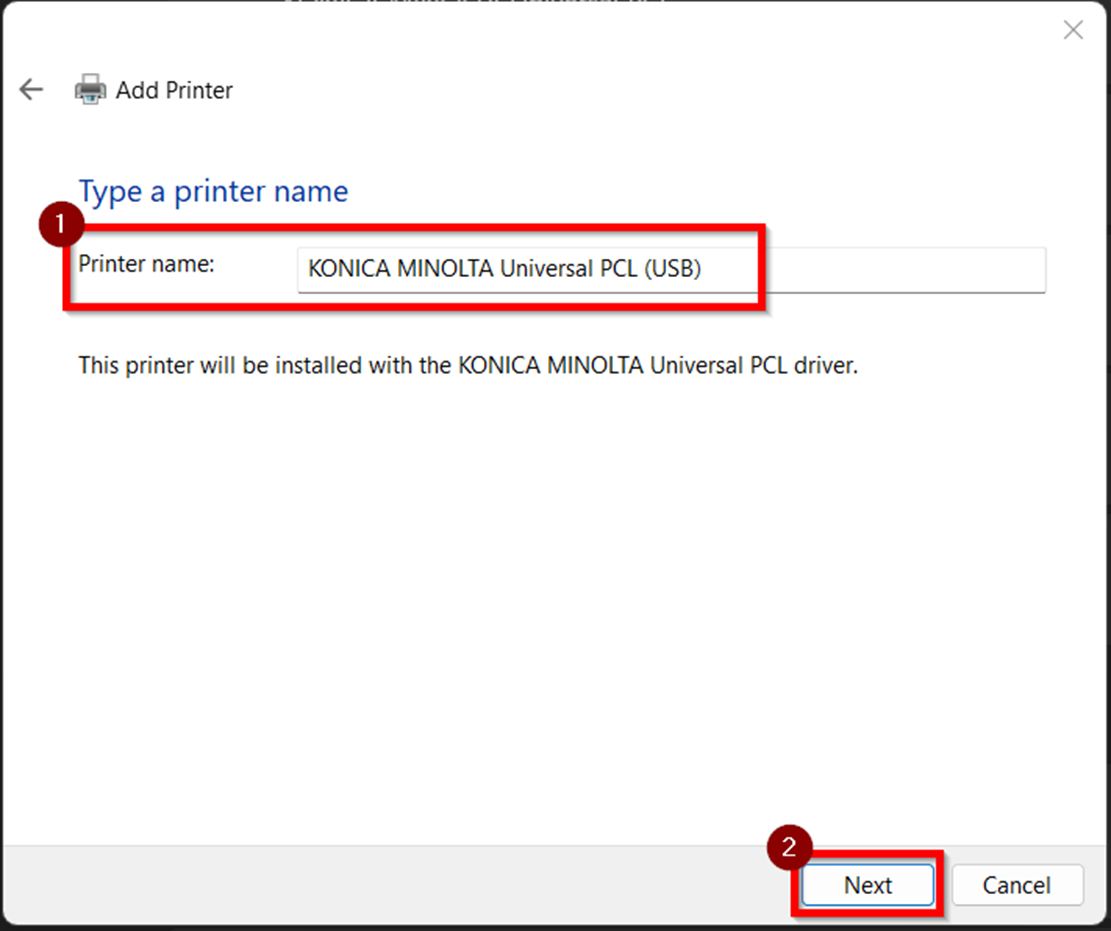
STEP 8 – You may rename the printer name if you want, select [Next] – [Finish].
Additional Note: If getting an error or are unable to print, kindly make sure that the authentication details have been updated on the printer driver before printing. Click Here for the guide on how to update the authentication details on the printer driver.
For Window 11 installation (will using Universal Printer Driver instead of Windows 10 dedicated driver)
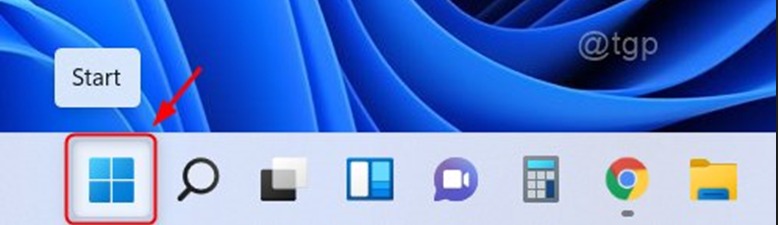
STEP 1 – Click on the [Start] button on the taskbar as shown below.
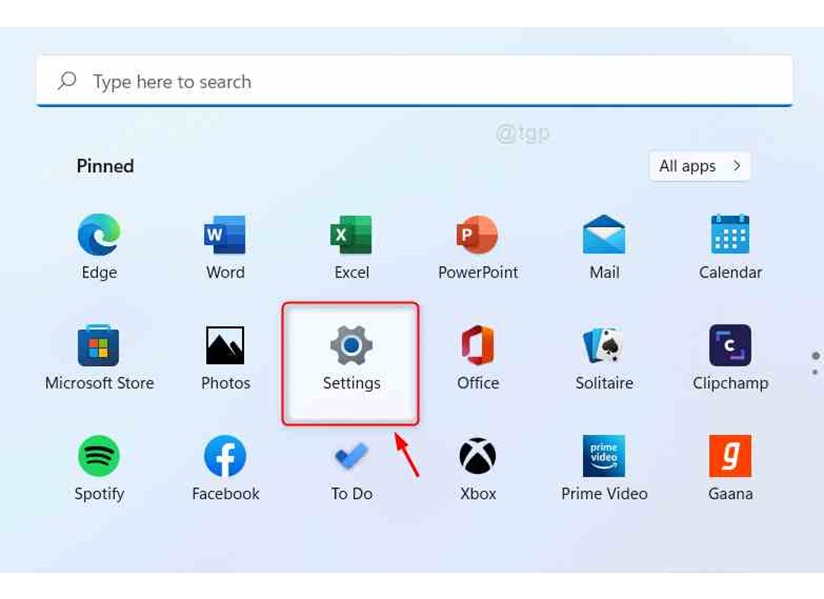
STEP 2 – Click on the [Settings] button under Pinned apps as shown below.
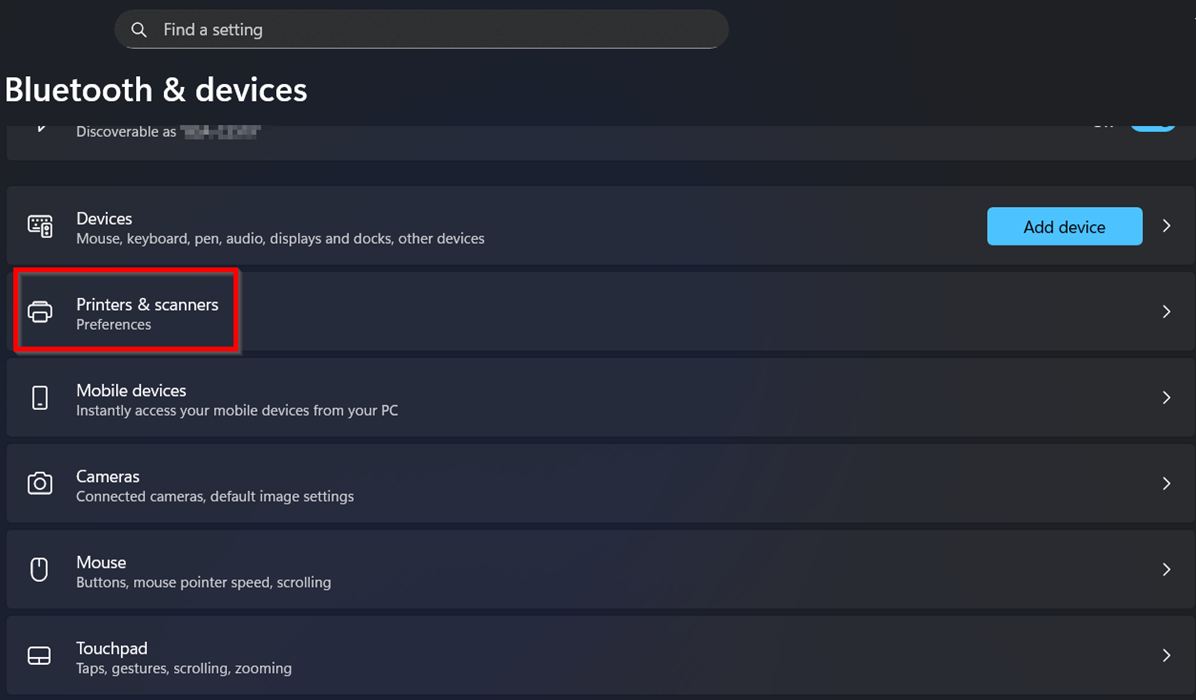
STEP 3 – Select [Bluetooth & devices] and choose [Printers & scanners].
STEP 4 – Click the [Add device] – [Add a new device manually] button.

STEP 5 – Choose [Add a local printer or network printer with manual settings] then click [Next].
STEP 6 – Under Use an existing port, select [USB001] then proceed to [Next].
STEP 7 – Click on [Have Disk], select [Browse] and locate for the Printer Driver folder path [UPDPCL6Win_XXXXXXMU] – [driver] – [win_x64.inf] file that extracted previously.
STEP 8 – Select the [KONICA MINOLTA Universal PCL] and click [Next] to install Driver.
STEP 9 – You may rename the printer name if you want, select [Next] – [Finish].
Additional Note: If getting an error or are unable to print, kindly make sure that the authentication details have been updated on the printer driver before printing. Click Here for the guide on how to update the authentication details on the printer driver.