Guide On Set Up Scan to FTP for Production Printers
STEP 1 – Download and Install the Konica Minolta FTP Utility Application on the PC/Laptop.
- Download the Konica Minolta FTP Utility.
- Kindly click on Download Now to download the application.
- A zipped file will be downloaded, make sure to un-zipped the file before installation.
- Install the Konica Minolta FTP Utility on the PC/Laptop.
- After extracting the file click on FTPUtilitySetup.exe inside the extracted folder.

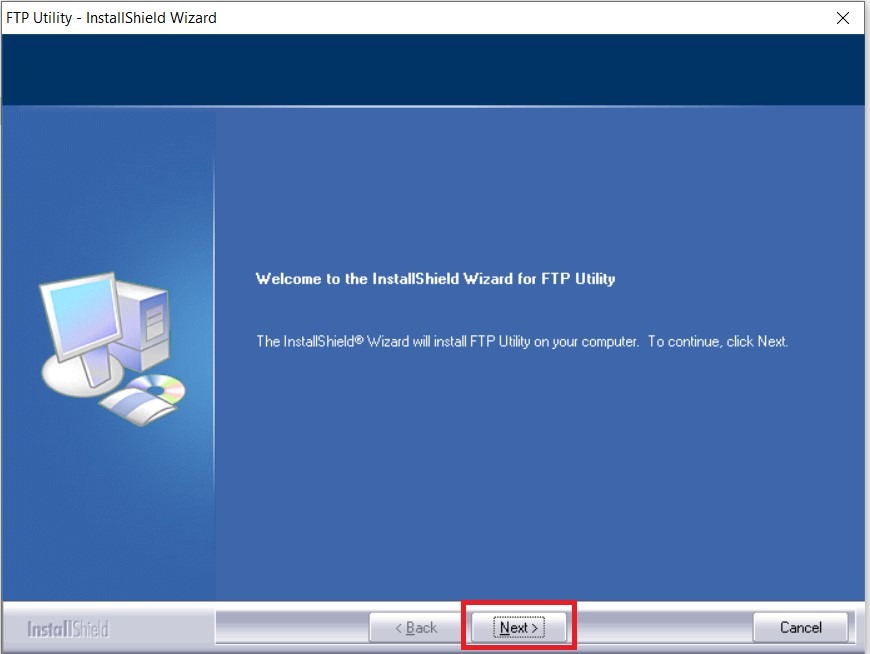
- FTP Utility Installation wizard will prompt, just press [Next] until [Finish].
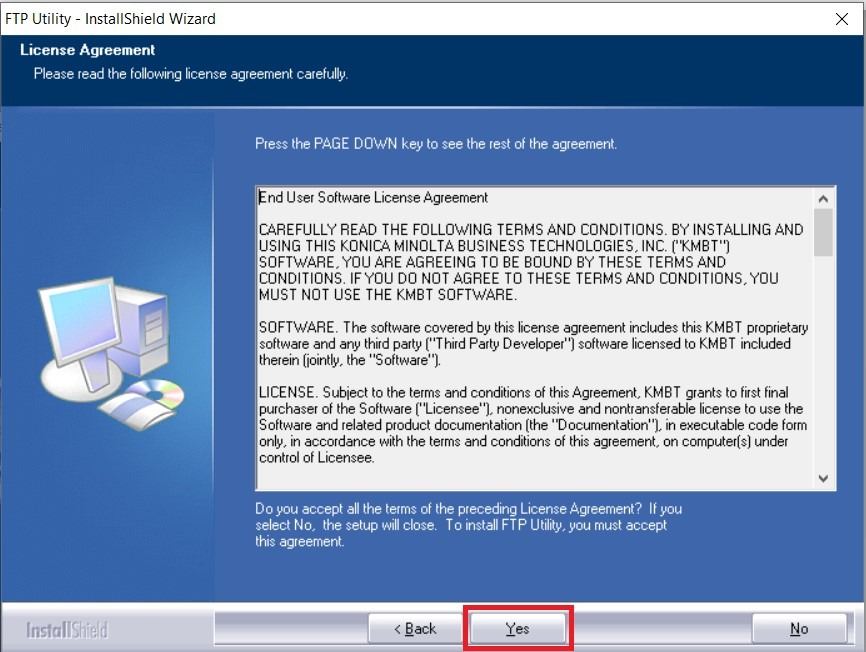
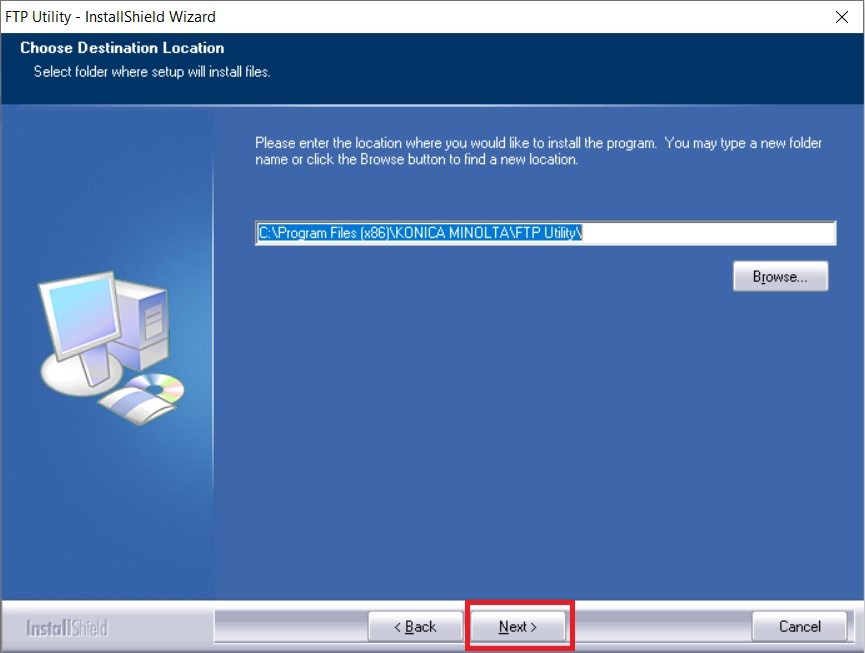
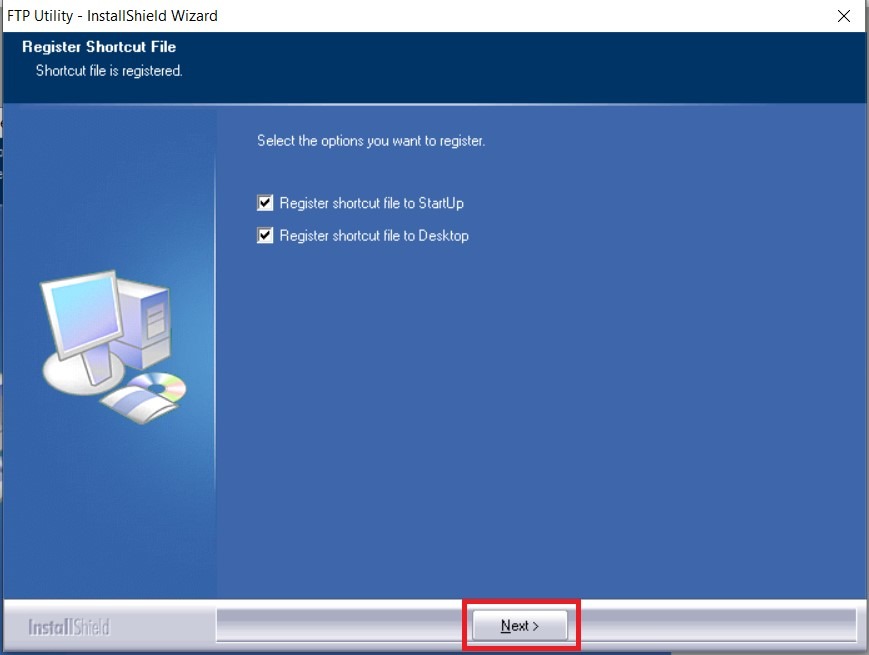
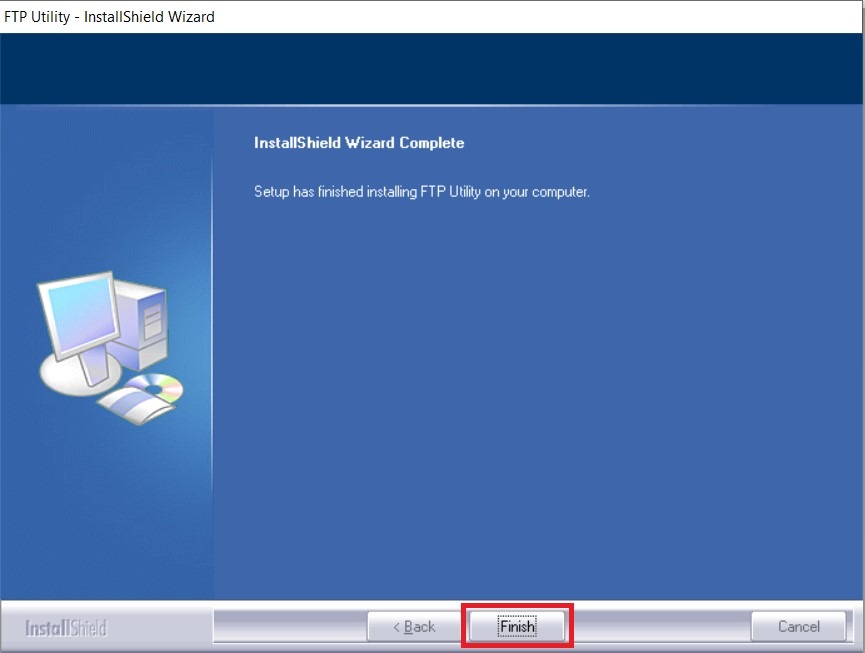
- Two icons will be added on your Desktop, first is the FTP Utility and second is the FTP Utility Settings.

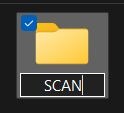
- Create a scan folder on your PC/Laptop. Open [FTP Utility Settings] and click on [Browse] to locate the scan folder that created. TCP Port remains to [21] and under FTP User the [Anonymous] must be ticked. Click [OK] to save.

STEP 2 – Register the FTP settings on the Konica Minolta Printing Production machine.
- Proceed to the machine and select [Scan].

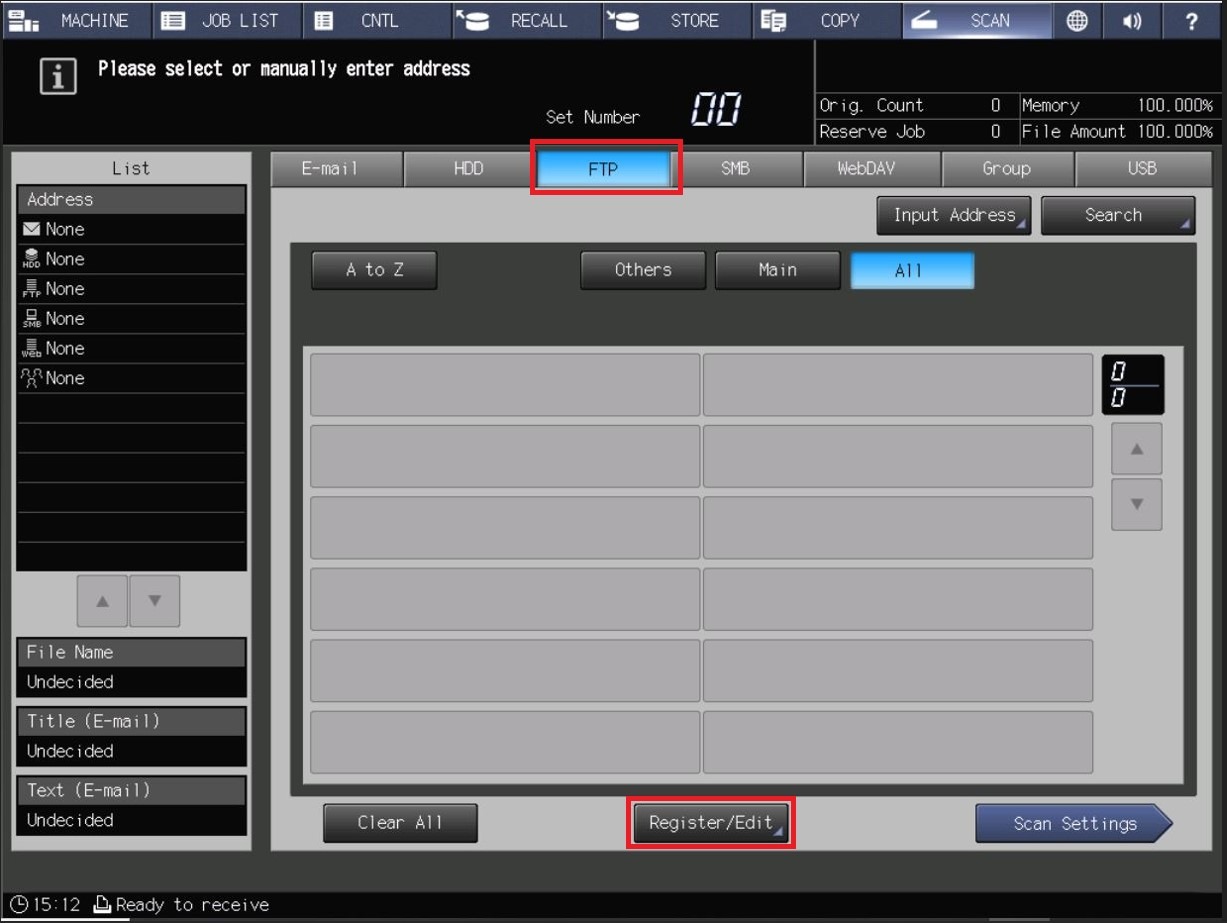
- Choose [FTP] – [Register/Edit].
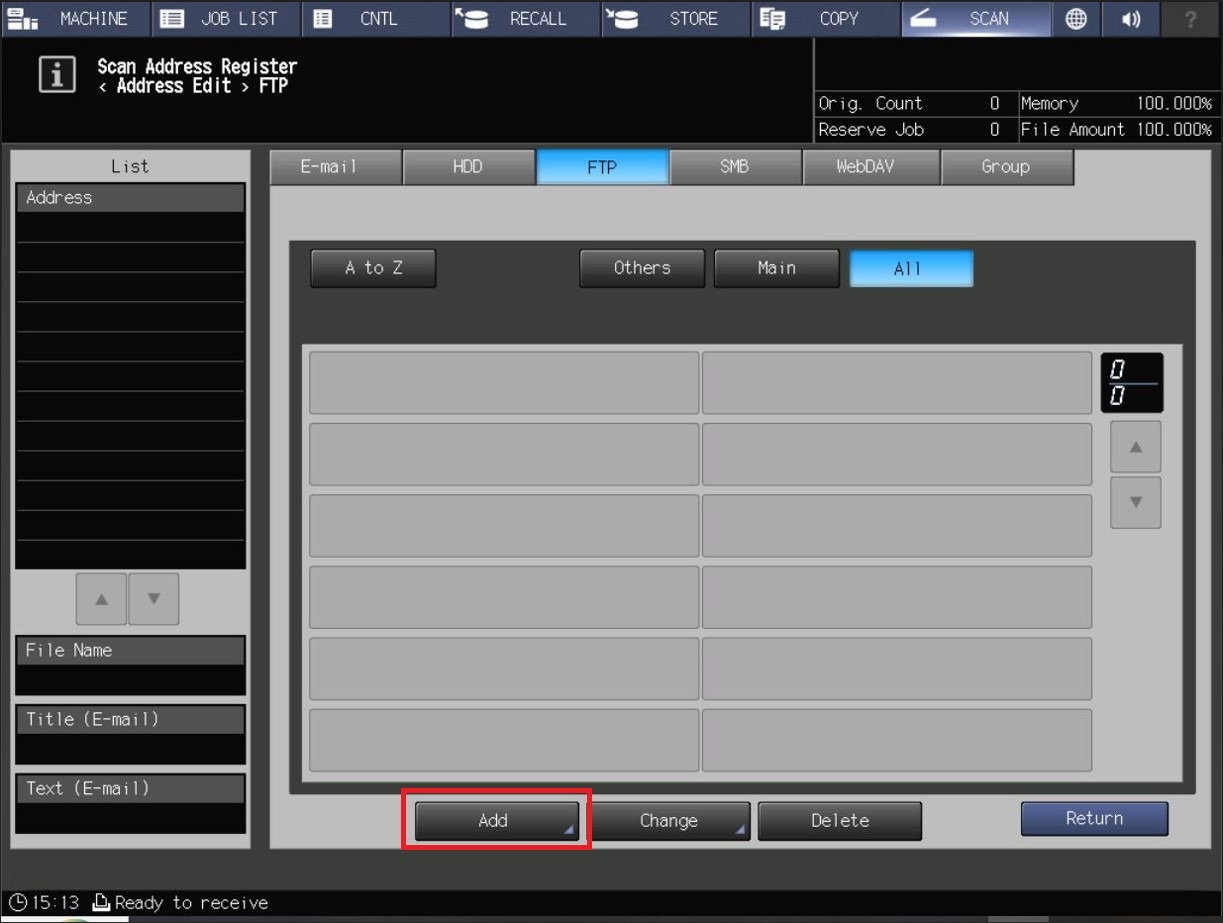
- Select [Add].
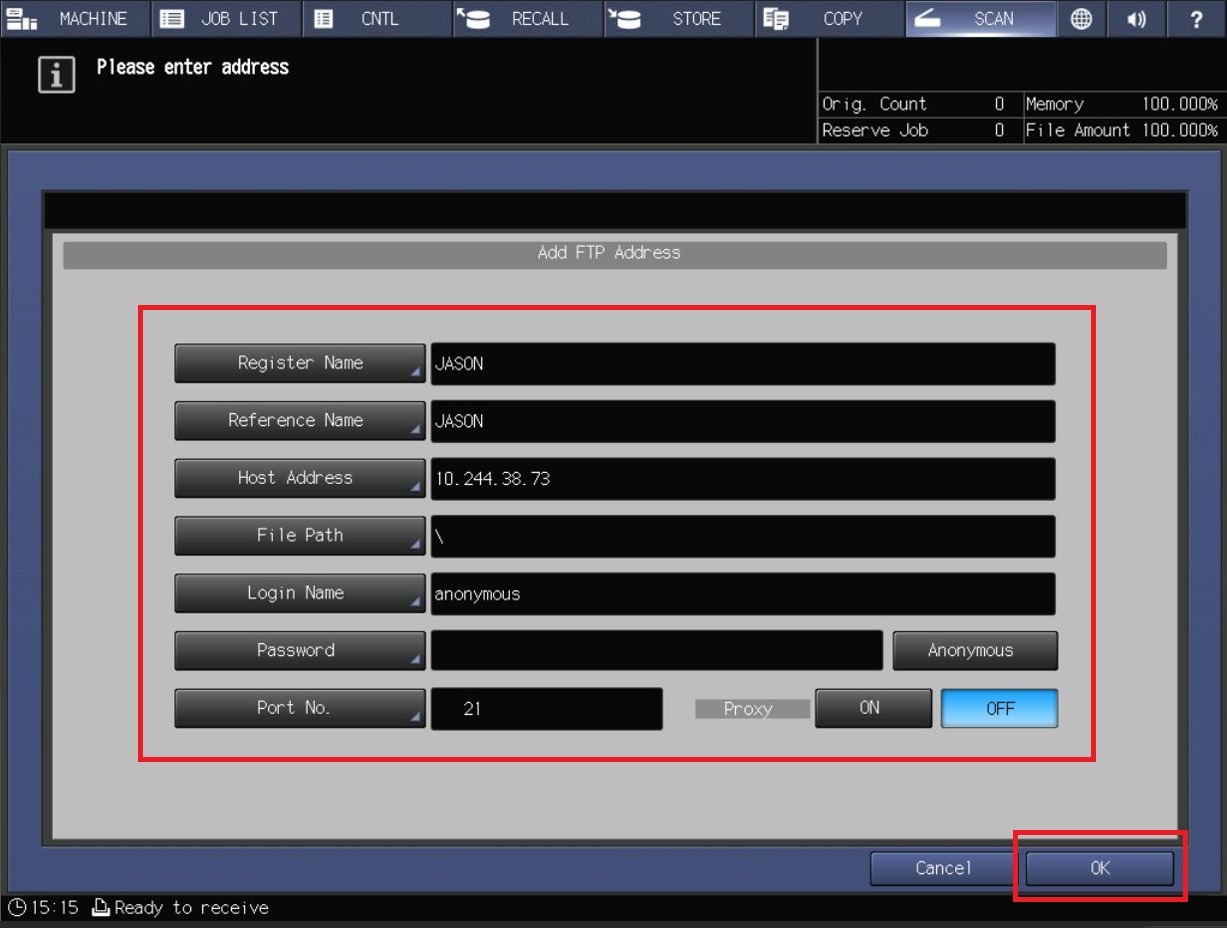
- Key in accordingly as per below. Click OK after finish to save the setting and you will be able to scan under FTP to PC/Laptop.
- Register Name: PC A (Name that shown on machine later when scan)
- Reference Name: Put same name as Register Name
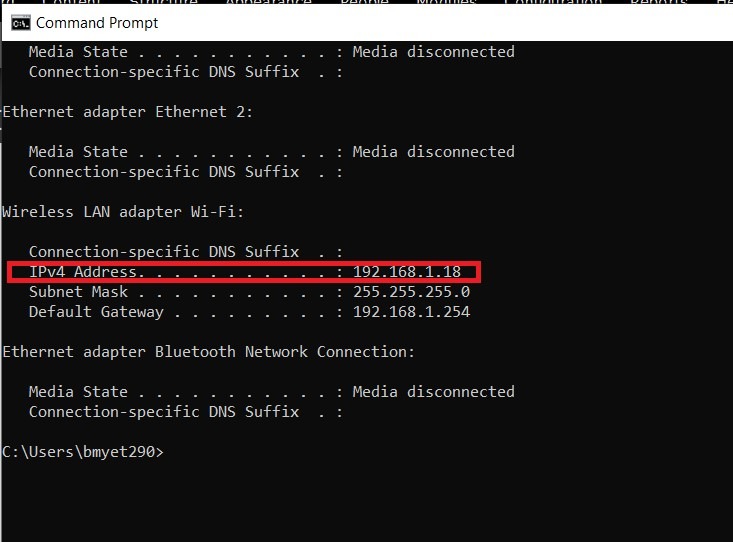
- Host Address: Computer IP Address (Can refer screenshot below on how to get the IP address for the PC)
- File Path: ( / ) or ( \ )
- Login Name: (Anonymous)
- Password: (Remain empty)
- Anonymous: (On) / (Highlighted)
- Proxy: (Off)
- Port No: (21)
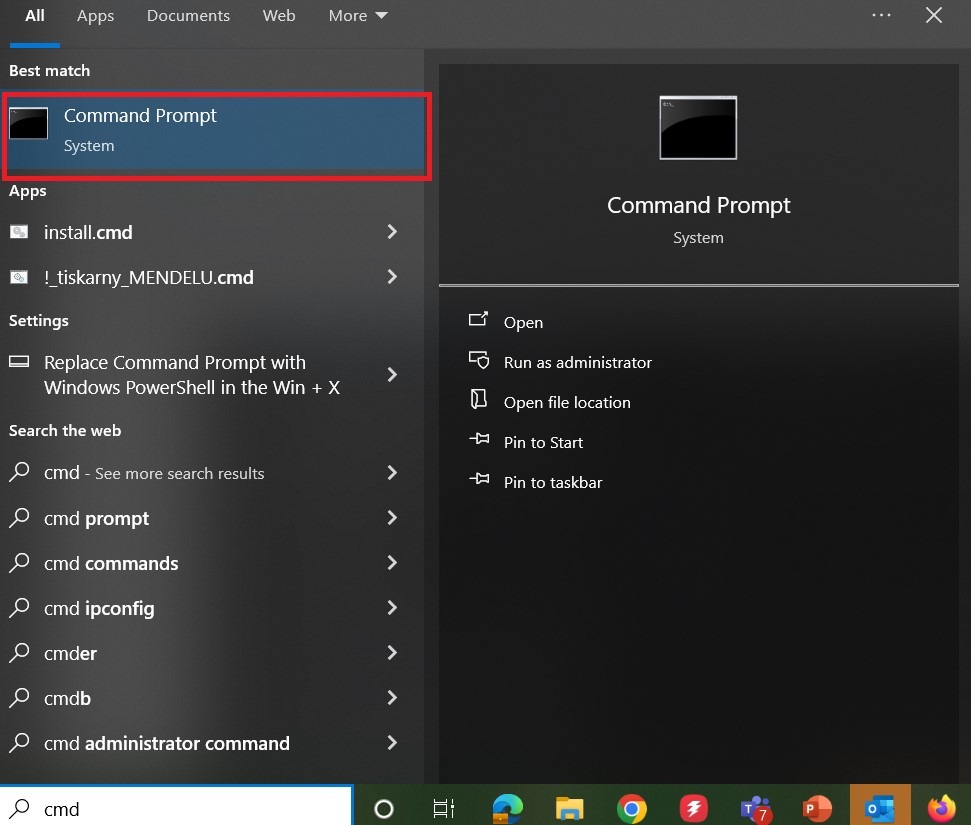
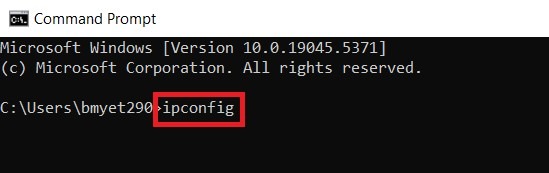
**Step below show on how to obtain IP Address in Command Prompt for PC. Open the Command Prompt, type ‘ipconfig’ and check for the IPv4 Address.